


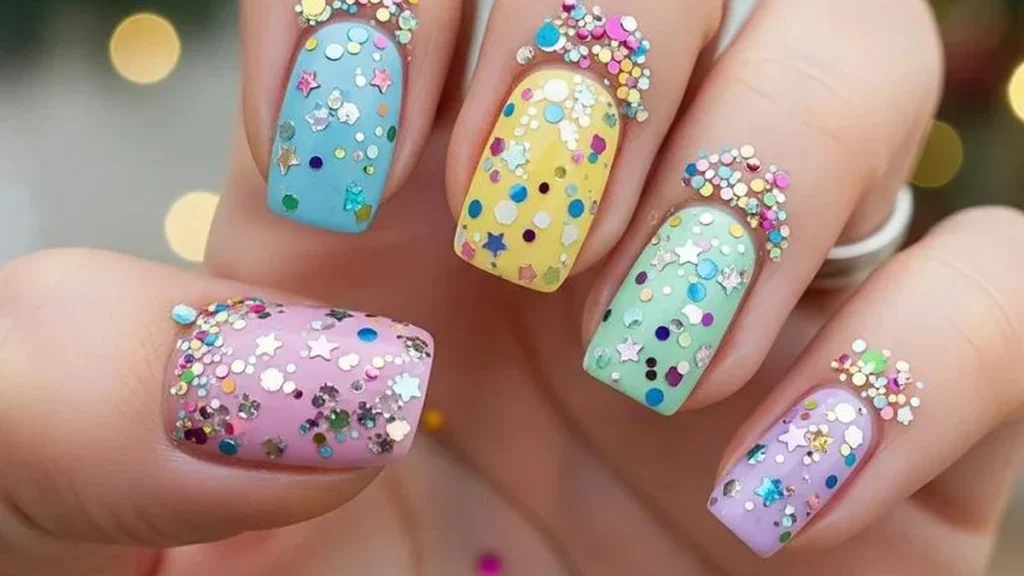
Your birthday manicure can look perfect at the salon and still start chipping before the cake arrives. The problem is often not the design itself. Poor timing, the wrong nail length, and rushed preparation can all shorten its life.
The best birthday nails balance celebration with practicality. You can choose confetti glitter, chrome, delicate stars, or a number accent, then match the design to your outfit, plans, and preferred wear time. Here are eight ideas worth considering, plus tips for choosing a shape and keeping your manicure intact through the celebrations.
AI Overview: What Are the Best Birthday Nail Ideas?
The best birthday nail designs combine one standout detail with a clean base. Popular choices include confetti glitter, chrome, rhinestone accents, star details, number art, and soft frosting-inspired swirls. Mid-length almond nails offer a balance of style and practicality, while press-ons provide a quick option when salon time is limited. For longer wear, prepare nails carefully, choose a suitable formula, and schedule your manicure at least one day before the celebration.
Key Takeaways
- Birthday nails look polished when one standout detail sits on a clean, coordinated base.
- Confetti glitter, chrome, number accents, frosting swirls, stars, and rhinestones offer different ways to personalize a manicure.
- Medium-length almond nails balance decorative space with everyday practicality.
- Gel, regular polish, and press-ons have different wear expectations.
- Careful preparation and following product instructions help reduce premature lifting.
- Schedule your manicure before the celebration rather than leaving it until the last minute.
- Choose a design that works with your outfit and your actual birthday plans.
8 Birthday Nail Designs Worth Copying
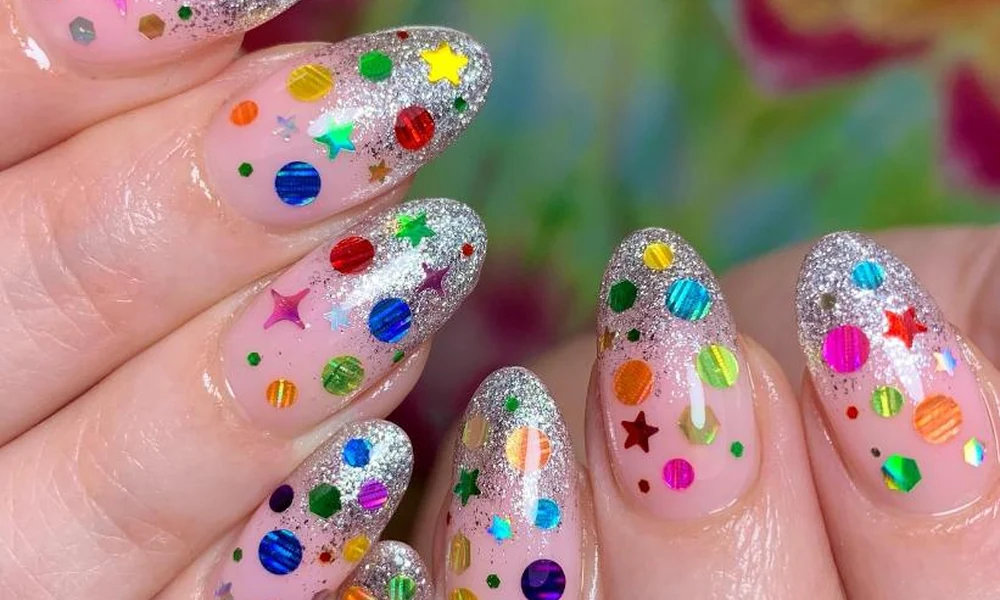
A birthday manicure does not need ten elaborate designs to feel special. One or two decorative details can make the whole set look intentional, especially in photographs.
1. Confetti Glitter Nails
Confetti glitter is an easy way to make your manicure feel like a celebration. Tiny flecks in different sizes and colors create a party-ready finish without requiring detailed nail art.
Try a sheer pink, nude, or milky base with glitter concentrated near the tips. You can use a glitter polish for a quick application or place individual pieces for a more controlled look.
Best for: Birthday dinners, parties, and colorful outfits.
2. Chrome Birthday Nails
Chrome creates a reflective finish that catches the light when you move your hands. Silver, champagne, and rose-gold tones work particularly well for evening celebrations.
Chrome is usually applied over a suitable gel system, so it may require a curing lamp and compatible products. If you want a similar effect without a salon appointment, look for ready-made chrome press-on sets.
Best for: Glamorous celebrations and metallic accessories.
3. Birthday Number Accent Nails
A number accent makes the manicure personal without turning every nail into a birthday decoration. Add your age to one nail using a small decal, stamping plate, or hand-painted detail.
Keep the remaining nails in a simple shade so the number stays readable. A nude or milky base works well because it gives the design room to stand out.
Best for: Milestone birthdays and personalized photographs.
4. Cake-Frosting Swirl Nails
Frosting-inspired swirls bring a playful, dessert-like look to your manicure. Use a sheer base and add curved white or pastel lines to resemble piped icing.
For a simpler version, paint thin swirls with regular polish instead of using raised 3D gel. Raised details can look striking, but they may catch on clothing and hair.
Best for: Sweet, playful birthday themes.
5. Glitter Fade Nails
A glitter fade concentrates sparkle near the tips or cuticle area and gradually reduces it across the nail. This creates a festive look without covering the entire nail in glitter.
A sponge can help distribute glitter polish more densely at one end. Apply thin layers and let each layer dry before adding the next.
Best for: Anyone who wants sparkle without an overly busy design.
6. Rhinestone Accent Nails
A small rhinestone can make a simple manicure look more polished. Place one stone near the cuticle or use a short line of tiny gems on a single accent nail.
Use an adhesive intended for nail embellishments and secure the design according to the product instructions. Large decorations can snag on fabric, so keep the placement practical if you have a busy weekend ahead.
Best for: Elegant birthday outfits and statement accessories.
7. Star Detail Nails
Tiny stars offer a festive alternative to glitter. You can use metallic decals, small hand-painted stars, or a combination of dots and fine lines.
Try silver stars over a sheer pink base or gold details over a warm nude. If you like celestial designs, explore more inspiration in these cute nail ideas.
Best for: Minimalist designs with a little personality.
8. Soft Pink or Red Birthday Nails
A solid color can be just as effective as detailed nail art. Soft pink gives a delicate finish, while red creates a stronger statement that works well for evening celebrations.
For more color inspiration, browse these red nail ideas or consider deeper burgundy nail designs.
Best for: A manicure that needs to work with several outfits.
Which Nail Shape Works Best for a Birthday?

The right shape depends on your preferred length and what you will be doing during the celebration. Long nails create more room for detailed designs, but shorter nails can be easier to manage.
| Nail shape | Overall look | Practical consideration |
| Almond | Soft and elongated | A balanced option at medium length |
| Stiletto | Sharp and dramatic | Pointed tips need extra care |
| Square | Clean and modern | Corners may catch if they are too sharp |
| Round | Natural and understated | Practical for shorter nails |
| Coffin | Bold and structured | Longer extensions can make daily tasks harder |
If you want a glamorous look without too much inconvenience, consider a medium-length almond shape. If you type frequently, exercise, or work with your hands, shorter round or square nails may be more comfortable.
Do not choose extra length only because it looks good in photographs. Your manicure should suit the days around your birthday, too.
How to Make Birthday Nails Last Through the Weekend

A beautiful design is less useful if the edges start lifting after one evening. Your choice of product matters, but preparation and aftercare also affect how long a manicure lasts.
Choose the Right Formula
Different manicure types have different wear characteristics:
- Regular polish: A convenient option for simple designs and easy removal. Chipping can happen sooner, especially with frequent handwashing.
- Long-wear polish: Designed to last longer than traditional lacquer when applied correctly.
- Gel polish: Often lasts around two to three weeks, although results vary with application, nail condition, and aftercare.
- Press-on nails: A useful option for quick styling. Wear time depends on fit, adhesive, preparation, and daily activities.
These are general expectations, not guarantees. Follow the product’s instructions rather than assuming every formula will last the same amount of time.
Prepare Your Nails Before Application
Oil, moisture, and leftover polish can interfere with adhesion. Before applying a new manicure:
- Remove old polish and clean the nail surface.
- Shape your nails and gently tidy the edges.
- Follow the product’s preparation instructions.
- Apply thin, even coats rather than thick layers.
- Seal the free edge when the product instructions allow it.
Avoid aggressive buffing or cutting your cuticles. The American Academy of Dermatology’s nail-care guidance explains how to care for nails while reducing unnecessary damage.
Schedule Your Appointment Strategically
Try to finish your manicure one or two days before the main event. This gives you time to fix a small issue without rushing on the day.
Complete tasks involving lots of water or cleaning before your appointment. Afterward, wear gloves for household chores and avoid using your nails as tools.
The Quick Press-On Option for Busy Birthdays
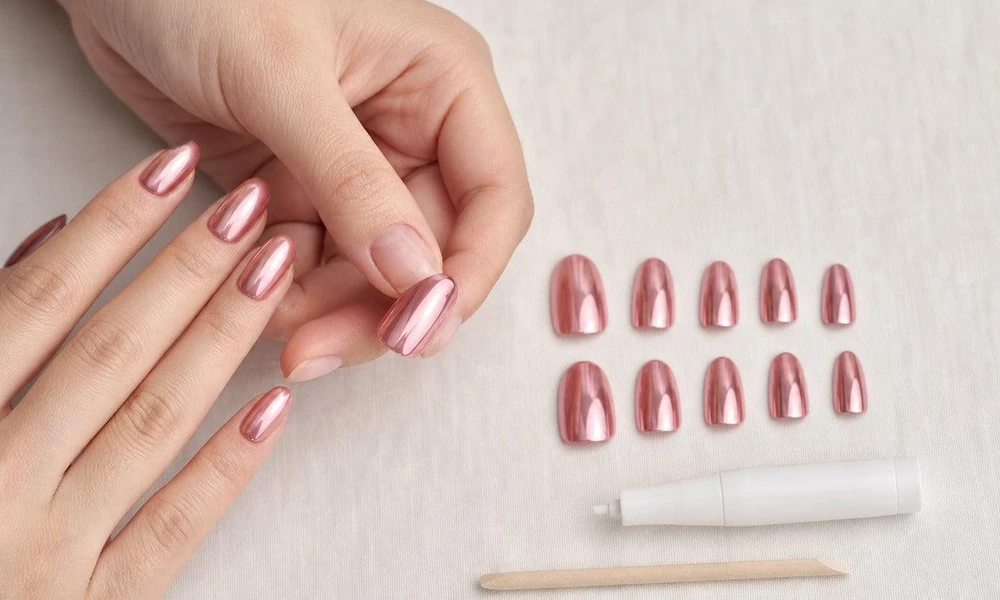
Do not have time for a salon appointment? Press-on nails can give you a coordinated birthday look without a long booking.
Modern sets are available in glitter, chrome-inspired finishes, different shapes, and detailed designs. Some use adhesive tabs, while others require nail glue. Your choice affects convenience and expected wear.
For a closer look at pre-designed options, explore Glamnetic nails or Gel-X nails if you are comparing different ways to achieve an extension-style manicure.
How to Apply Press-On Nails
- Clean your natural nails. Remove old polish and follow the kit’s preparation instructions. Make sure your nails are dry.
- Match the sizes. Choose a tip that fits each nail without pressing into the skin or covering the surrounding cuticle area.
- Apply the adhesive. Use the glue or tabs supplied with the kit, following the manufacturer’s directions.
- Press into place. Align each tip carefully and hold it as directed. Avoid trapping air beneath the nail.
- Check the fit. If an edge feels uncomfortable or catches, correct it rather than leaving it in place.
Do not force off press-ons when you are ready to remove them. Follow the removal instructions for the specific adhesive system to reduce the risk of damaging your natural nails.
Birthday Nail Mistakes to Avoid

A few common decisions can make a birthday manicure harder to maintain.
- Booking too late: A last-minute appointment leaves little time to fix mistakes or change a design.
- Choosing impractical length: Very long extensions may interfere with typing, cooking, or other daily activities.
- Combining too many details: Glitter, chrome, rhinestones, and 3D art can compete with each other. Choose one main feature.
- Ignoring the outfit: A manicure that clashes with your accessories may look less coordinated in photographs.
- Picking at lifted polish: Pulling off gel or polish can damage the nail surface.
- Skipping aftercare: Frequent soaking and rough handling can shorten the life of many manicure types.
Expert Tips for Birthday Nails That Photograph Well
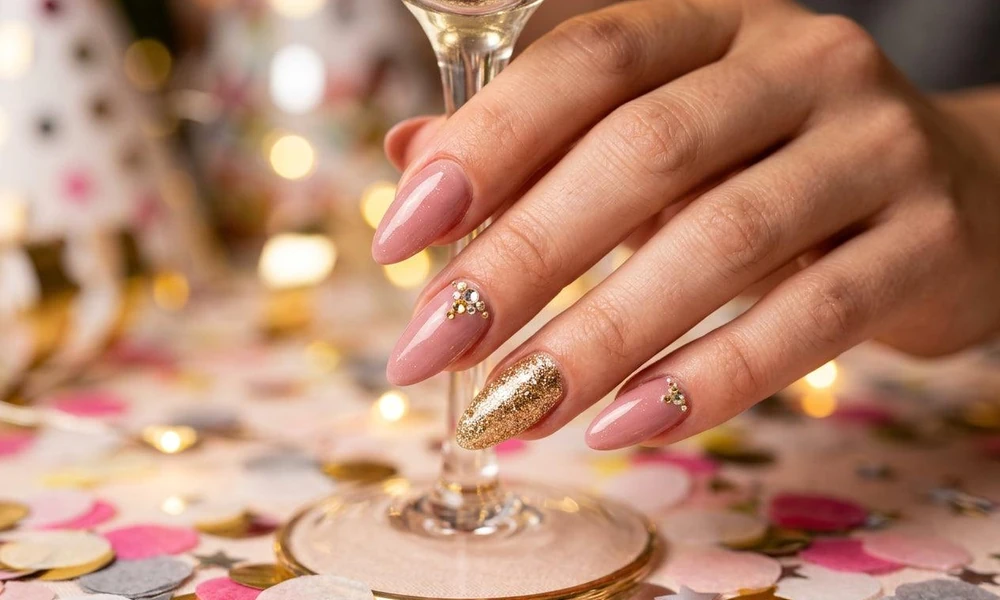
A manicure can look different under indoor lighting, phone flash, and natural daylight. Keep these points in mind before choosing your final design:
- Test the color in your party lighting. A shade that looks soft at home may appear much brighter under flash.
- Match one detail to your outfit. Repeat a color from your earrings, shoes, or bag instead of matching every nail to the entire outfit.
- Keep decorative details balanced. One accent nail can be more effective than several competing designs.
- Think about your schedule. Choose a shorter shape if you have several days of activities planned.
- Bring a small repair kit. A file and suitable adhesive can help with minor press-on problems.
Frequently Asked Questions
How many days before my birthday should I get my nails done?
One or two days before the main celebration is a practical choice for most manicures. If you want detailed nail art or extensions, book earlier so there is time to address any problems.
What are the most popular birthday nail designs?
Confetti glitter, chrome, number accents, rhinestones, stars, and frosting-inspired swirls are popular choices. A simple base with one decorative feature is often easier to coordinate with different outfits.
Can I do birthday nails at home?
Yes. Glitter polish, star decals, simple swirls, and press-on sets are manageable at home if you follow the product instructions. More complex extension work and detailed gel art may be better left to a trained nail professional.
How can I make press-on nails last through a birthday weekend?
Choose the correct sizes, prepare your natural nails as directed, and use the adhesive system supplied or recommended by the manufacturer. Avoid forcing the nails into place or exposing them to prolonged water immediately after application.
Which birthday nail colors look best in photos?
Sheer pink, milky white, nude, red, and metallic shades can all work well. The result depends on the lighting, camera flash, and outfit. Take a quick test photograph before your appointment if pictures are a priority.
Are long birthday nails better than short ones?
Neither is automatically better. Long nails provide more space for elaborate designs, while short nails are often easier to manage. Choose based on your comfort and plans rather than appearance alone.
Final Thoughts
Your birthday manicure should feel like part of the celebration, not another thing to worry about. Pick a design that reflects your style, choose a comfortable shape, and give yourself enough time to prepare.
Whether you prefer chrome, glitter, tiny stars, or a simple red manicure, the best birthday nails are the ones that look good and let you enjoy the day.









