



You save a picture of beautiful aura nails, take it to the salon, and leave with something that looks more like a blurry blob than a soft cloud of color. The problem usually isn’t the design. It’s the blending. Aura nails are a manicure with a soft burst of color that fades outward from the center of each nail, creating an airbrushed halo. The trick is building that color gradually, not applying one heavy spot and hoping it blends.
Whether you want a subtle pink glow or a bold sunset effect, this guide explains how aura nails work, what to ask your nail technician, how to try the look at home, and how to avoid the mistakes that make the gradient look messy.
What Are Aura Nails?
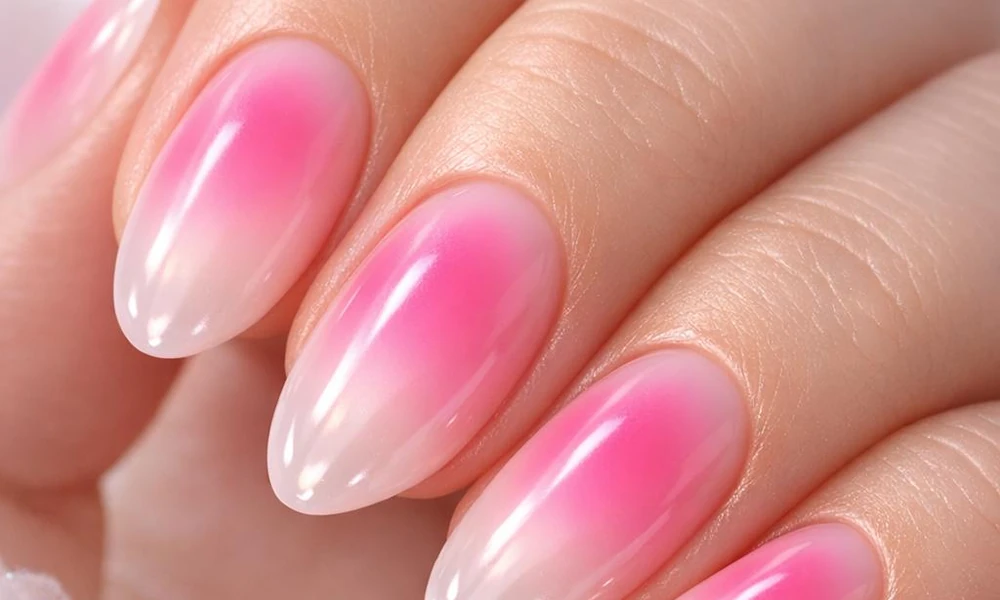
Aura nails feature a soft circle or halo of color that fades into a lighter base. The color usually starts in the center of the nail, although some designs place the glow closer to the cuticle or create several overlapping bursts.
Think of the difference between a painted circle and a blurred one. A painted circle has a clear edge. An aura effect has no obvious border; the color gradually becomes lighter until it disappears into the base.
That is also what separates aura nails from ombré nails. Ombré usually blends one color into another across the length or width of the nail. Aura nails concentrate the color in one area and let it fade in every direction.
The base is often nude, sheer pink, milky white, or another soft neutral. If you like understated manicures, a pale base can make the color look like a gentle glow rather than a bold design. For more inspiration, browse these cute nail ideas.
Why Aura Nails Sometimes Look Patchy Instead of Airbrushed
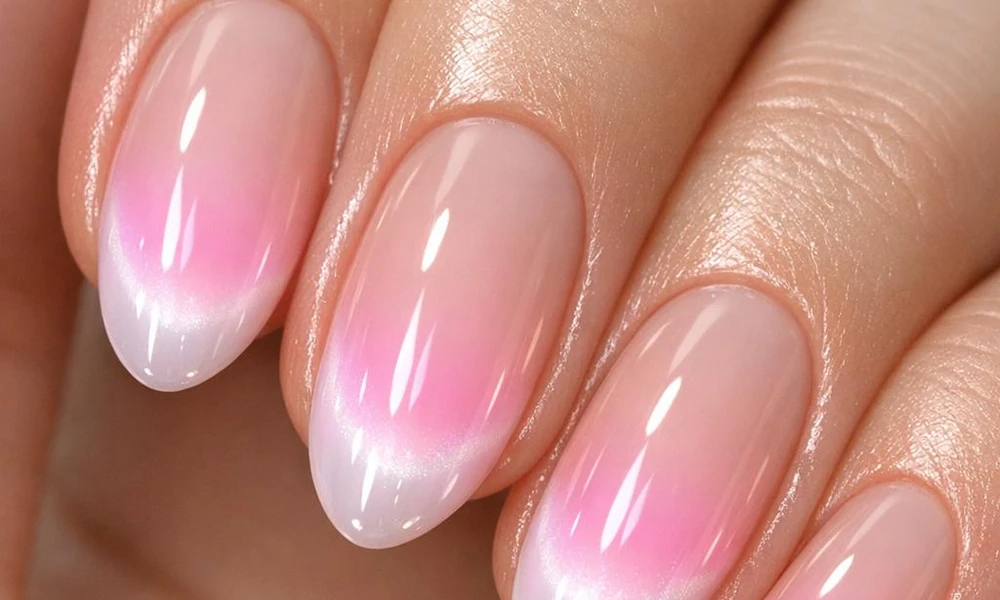
The design looks simple in photographs, but the finish is less forgiving than it seems. A few small application problems can change the entire result.
The center color is too heavy
If too much pigment lands in one spot, the middle becomes a solid dot. Instead of a soft glow, you get a colored circle with an obvious edge. The fix: Build the color in several light passes. The center should become stronger gradually, while the edges stay soft.
The gradient has visible rings
This happens when each layer is placed in a slightly different circle, leaving several separate outlines. It can make the nail look like a target rather than an aura. The fix: Use less pigment with each pass and blend the outer edge before adding more color. Keep the movement light and controlled.
Two colors turn muddy
Sunset combinations can look beautiful, but orange, pink, and yellow can become a dull mixed shade when too much pigment is layered in the same area. The fix: Start with two colors rather than three. Place them close enough to blend naturally, but avoid covering the same area repeatedly with heavy layers.
The design looks different in daylight
A color that appears soft under warm salon lighting may look much brighter or more uneven near a window. This is especially noticeable with pale pink, lavender, and nude shades.
The fix: Ask to see the colors together before the final top coat. If possible, check the result in natural light and decide whether the center needs more color or less.
How Aura Nails Are Done in a Salon
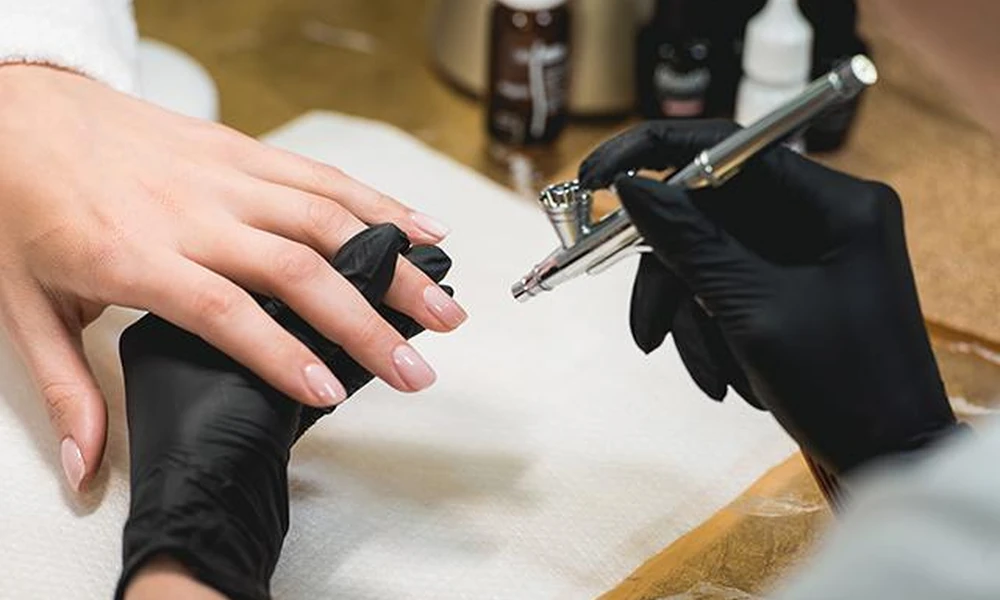
Most salon aura designs are created with an airbrush machine. The technician applies and cures or dries the base according to the product instructions, then sprays a fine layer of color onto the nail. The pigment is built up gradually until the center looks defined and the outer edges fade smoothly. Some nail artists use a sponge or another blending technique instead of an airbrush. The exact method depends on the products and the technician’s experience.
If you want a specific result, don’t just ask for “aura nails.” Show a reference picture and explain where you want the glow.
Try saying:
- “I want the color strongest in the center, with no hard circle around it.”
- “Please keep the outer edges very soft.”
- “I want a subtle glow, not a solid dot of color.”
- “Can we keep the design smaller so it doesn’t cover the whole nail?”
These details are more useful than simply naming a trend.
How to Do Aura Nails at Home
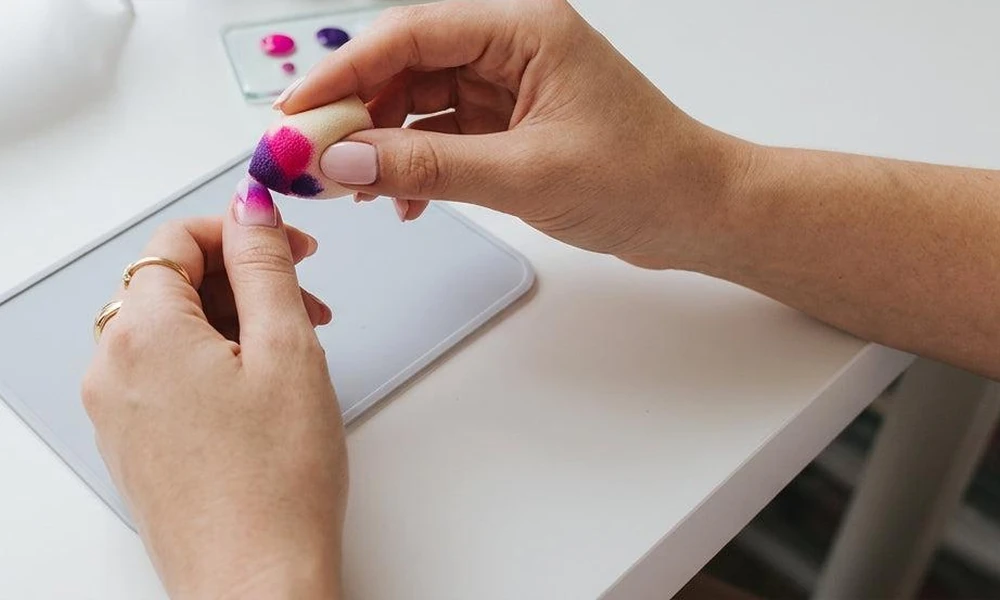
You don’t need a professional airbrush machine to experiment with aura nails. A small makeup sponge can create a diffused effect, although the result may take a few attempts to get right.
What you’ll need
- A base coat
- A neutral, nude, or milky base polish
- One aura color to start
- A small makeup sponge or nail-art sponge
- A glossy top coat
- Nail polish remover and a small cleanup brush
If you’re using gel products, you’ll also need the correct curing lamp and must follow the product manufacturer’s instructions. Don’t use a regular polish technique as though it were a gel application.
Step 1: Prepare your nails
Shape your nails and clean away dust, oil, and leftover polish. Apply a base coat, then let it dry or cure as directed.
Uneven preparation can make the finished design look rough, even if the color blending is good. If your nails are already peeling or damaged, consider using regular polish or waiting until they recover rather than covering the problem with another manicure.
Step 2: Apply the base color
Choose a sheer nude, soft pink, or milky white shade. Apply an even layer and let it dry or cure completely.
A pale base is a good starting point because it makes the aura color easy to see. For a softer, translucent finish, explore the look of milky white nails as a color reference.
Step 3: Pick up a small amount of color
Touch the sponge lightly to your aura polish. You want enough color to leave a soft mark, not so much that the sponge deposits a thick blob.
This is where many DIY attempts go wrong. If the sponge is overloaded, the first dab may be too dark to blend.
Step 4: Dab the center gently
Tap the sponge onto the center of the nail using light pressure. Don’t drag it across the surface. Swiping can create streaks and pull the color away from the area where you want the glow.
Start with a faint patch. You can always add more color.
Step 5: Soften the edges
Use a clean area of the sponge or a lighter touch to soften the outside of the colored patch. Repeat with small amounts of pigment until the center is more noticeable than the edges.
Step back and look at the nail before adding another layer. If you keep working on it without checking, the color can quickly become too strong.
Step 6: Seal the design
Once the color is dry, apply a glossy top coat. If you’re using gel, cure it according to the product instructions.
A top coat can smooth minor texture, but it won’t rescue a gradient that has already become thick or lumpy. Get the blending as even as possible before sealing.
Aura Nail Color Combinations Worth Trying
The base color changes the mood of the whole manicure. A pink aura over milky white looks soft and romantic, while a bright color over a darker base creates more contrast.
| Aura design | Base shade | Overall look |
| Pink aura | Milky white or sheer nude | Soft, romantic glow |
| Blue aura | Nude or pale blue | Cool and modern |
| Purple aura | Sheer pink or lavender | Dreamy, noticeable color |
| Neutral aura | Beige or nude | Subtle and understated |
| Sunset aura | Milky or clear base | Warm blend of orange, pink, and yellow |
| Red aura | Nude or soft pink | Bold center with a softer finish |
Pink aura nails
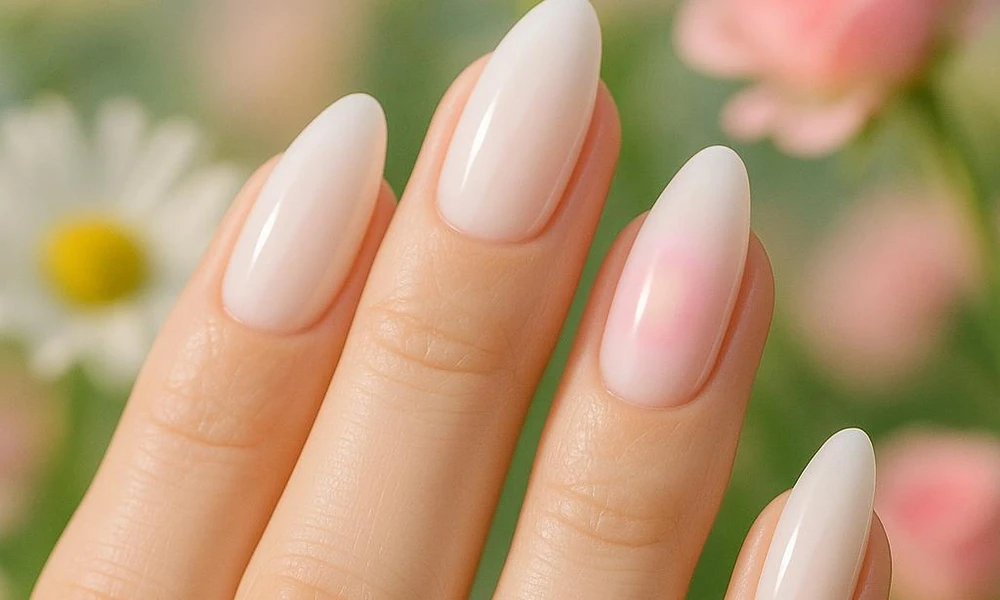
Pink is an easy starting point because it blends naturally with sheer pink and milky bases. If you want a barely-there design, ask for a pale rose center. For a stronger result, choose a deeper pink but keep the outer edge diffused.
Blue aura nails
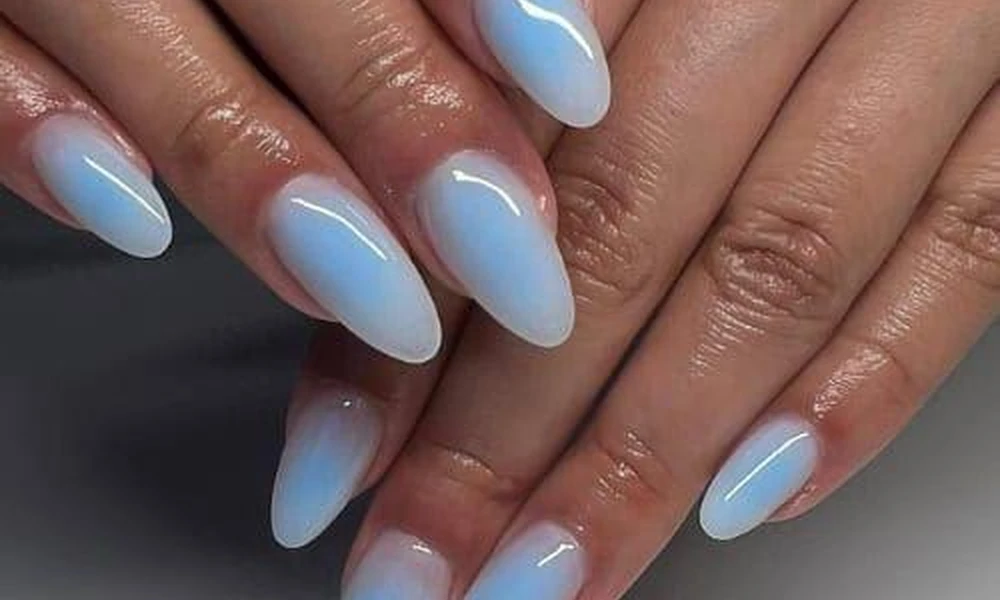
Blue creates a cooler look and can be especially striking over a nude base. Powder blue gives a gentle finish, while a deeper blue makes the center stand out more. If you’re worried about the design looking too bold, keep the blue concentrated in a small area instead of spreading it across the entire nail.
Purple aura nails
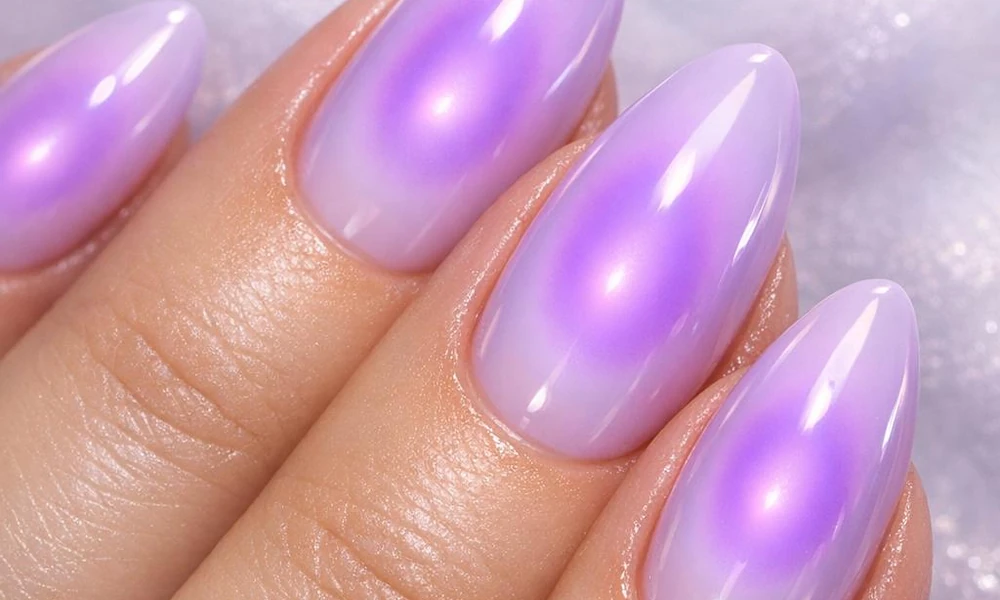
Lavender and lilac work well for a soft, dreamy manicure. A darker purple center creates more contrast, but it needs careful blending. Too much pigment can make the nail look bruised or overly dark.
Neutral and brown aura nails
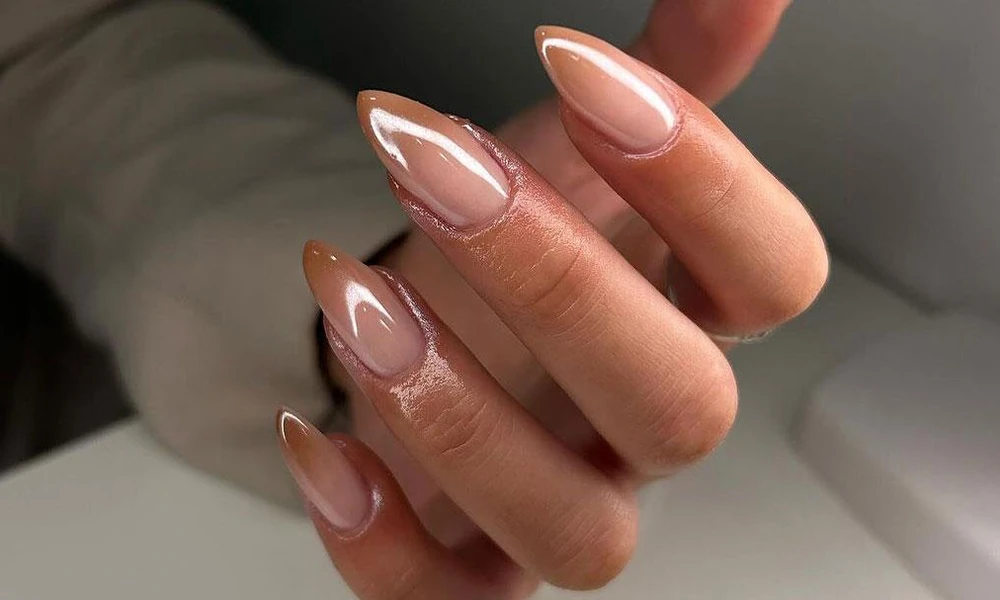
Not every aura design needs bright color. Caramel, tan, and warm brown over a nude base create a quieter version of the trend. This is a useful option if you like nail art but don’t want a manicure that clashes with your everyday outfits.
Sunset aura nails
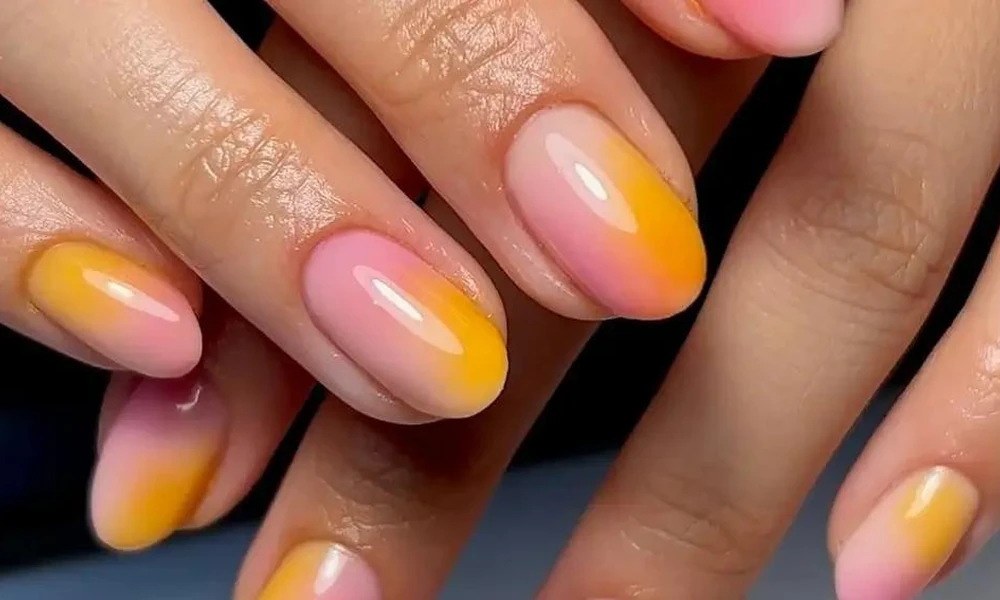
Sunset designs combine warm shades such as pink, orange, and yellow. They look striking, but they are also easier to muddy.
Ask your technician to keep the colors distinct enough to read individually while blending their meeting points. If you’re doing the design at home, practise with two shades first.
Do Aura Nails Work on Short Nails?
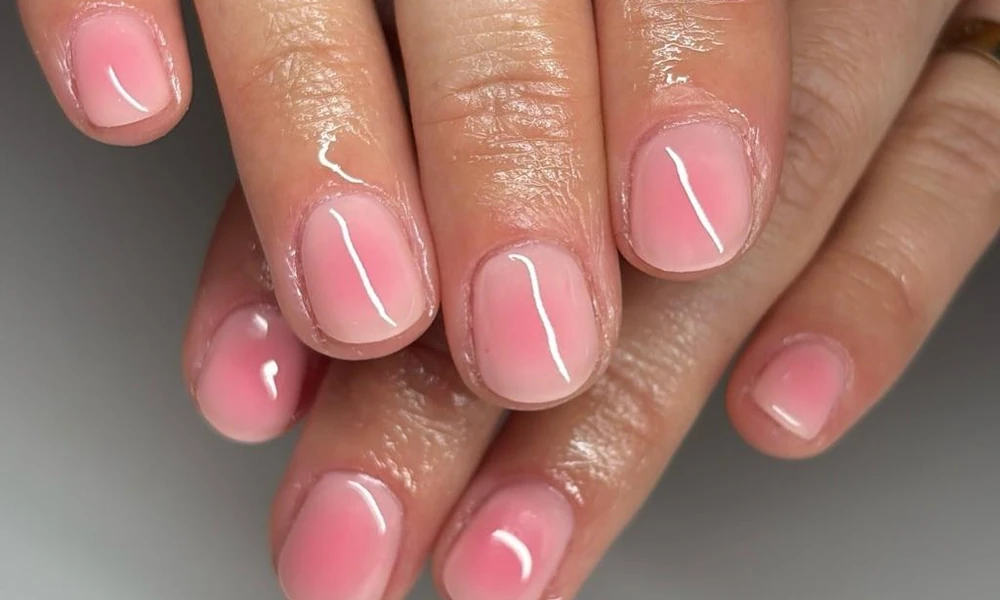
Yes. You don’t need long extensions to wear aura nails. A small, centered glow can look balanced on short natural nails, especially when the base is sheer and the color isn’t too large.
The main mistake is copying a design made for long nails without adjusting its proportions. A wide halo can cover almost the entire surface of a short nail, leaving little room for the soft fade that makes the design recognizable.
For short nails, try these adjustments:
- Keep the colored center compact.
- Choose one main aura shade.
- Use a sheer or nude base to leave some visual space.
- Avoid adding too many extra details around the glow.
If you prefer a little more structure or length, a suitable builder-gel overlay may help create a smoother base for nail art. Learn more about builder gel nails before choosing that option.
How to Keep Aura Nails Looking Fresh
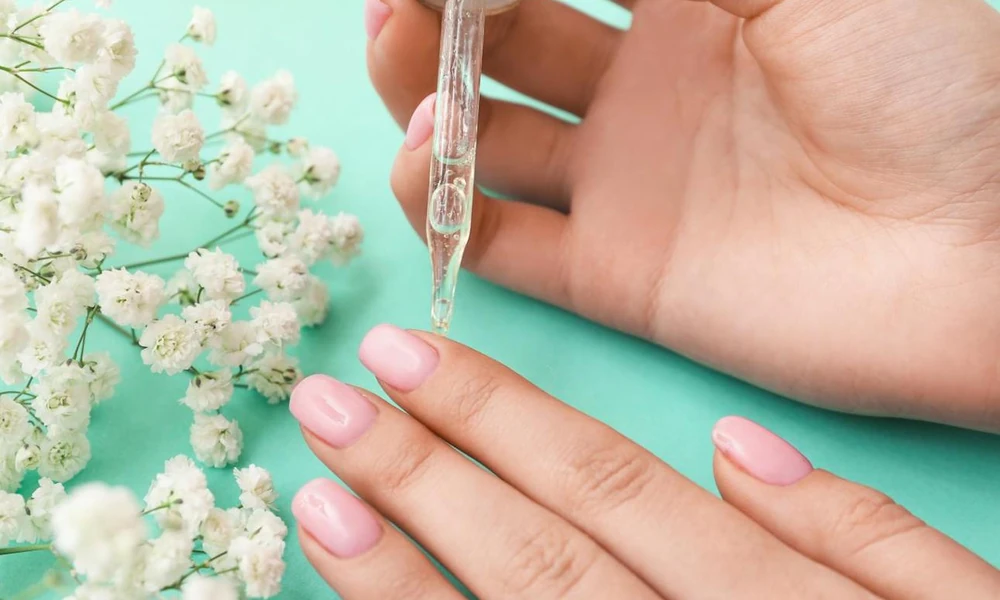
Aura nails don’t need a complicated maintenance routine, but the finish can lose its shine if you treat your hands roughly.
- Use gloves for cleaning: Detergents and frequent water exposure can affect the manicure and dry the surrounding skin.
- Moisturize your cuticles: Apply cuticle oil or a suitable hand moisturizer regularly.
- Avoid picking at lifting polish: Pulling off gel or polish can damage the natural nail.
- Don’t use your nails as tools: Opening packages and scraping labels can chip the free edge.
- Arrange careful removal: Have gel removed properly rather than peeling or scraping it off yourself.
Gel manicures can contribute to brittle, peeling, or cracked nails, particularly with repeated use or rough removal. The American Academy of Dermatology recommends not picking gel polish and suggests protecting your hands from the UV light used during curing. Read its gel manicure safety advice before choosing a gel finish.
If you use gel regularly, the AAD also recommends taking breaks and moisturizing nails and cuticles between manicures. Its artificial nail damage guidance has more practical advice.
What to Ask for Before Your Aura Nail Appointment

A reference photo helps, but it doesn’t always explain the details that matter. Before your appointment, decide how strong you want the color, where you want it placed, and whether you prefer a glossy or softer finish.
Use this quick checklist:
- Placement: Do you want the glow in the center or closer to the cuticle?
- Intensity: Should the color be barely visible or clearly defined?
- Base: Would you prefer milky white, nude, pink, or a darker shade?
- Shape and length: Should the aura be adjusted to fit short nails or longer extensions?
- Finish: Do you want a simple glossy top coat or extra nail art?
If the technician shows you a sample and the center looks too dark, say so before the design is repeated across all ten nails. It’s much easier to adjust one nail than to redo the entire set.
Frequently Asked Questions About Aura Nails
What are aura nails?
Aura nails are a manicure design with a soft burst of color that fades outward from the center or another chosen area of the nail. The blurred gradient creates an airbrushed halo effect, usually over a nude, sheer, or milky base.
Can you do aura nails without an airbrush?
Yes. A small makeup sponge can apply color in light dabs to create a similar effect. It takes practice to avoid a solid dot or harsh edges, but you can build the gradient gradually without buying an airbrush machine.
Are aura nails the same as ombré nails?
No. Ombré usually blends colors across the nail from one side or end to another. Aura nails concentrate color in a central or selected area and fade it outward.
Do aura nails look good on short nails?
Yes. Keep the colored area small and avoid covering the whole nail with a large halo. A sheer base and one main color can make the design look balanced on shorter lengths.
Which colors are best for aura nails?
Pink over milky white is a popular soft combination. Blue, lavender, caramel, brown, and sunset shades are other options. The best pairing depends on how much contrast you want between the base and the aura.
How long do aura nails last?
Aura nails don’t have one fixed wear time. Longevity depends on whether you use regular polish, gel, or extensions, as well as application quality, nail growth, and everyday activities. The gradient itself may disguise small areas of regrowth, but it won’t prevent chips or lifting.
Can aura nails damage natural nails?
The aura design itself doesn’t automatically damage natural nails. Potential damage is more closely linked to the products and application or removal method, especially repeated gel manicures, aggressive filing, and picking off polish. If your nails become painful, discolored, or persistently brittle, take a break and seek professional advice.
Final Thoughts
Aura nails look effortless when the gradient is done well, but the difference between a soft glow and a patchy circle comes down to control. Start with a simple base, use one color, and build the center in thin layers. If you’re booking a salon appointment, explain that you want the edges blurred rather than a solid spot of pigment.
You don’t need a complicated design to make the trend work. A small pink halo on short nails can look just as striking as a multi-color aura on long extensions. Choose the version that fits your everyday style, and let the blending do the work.









