

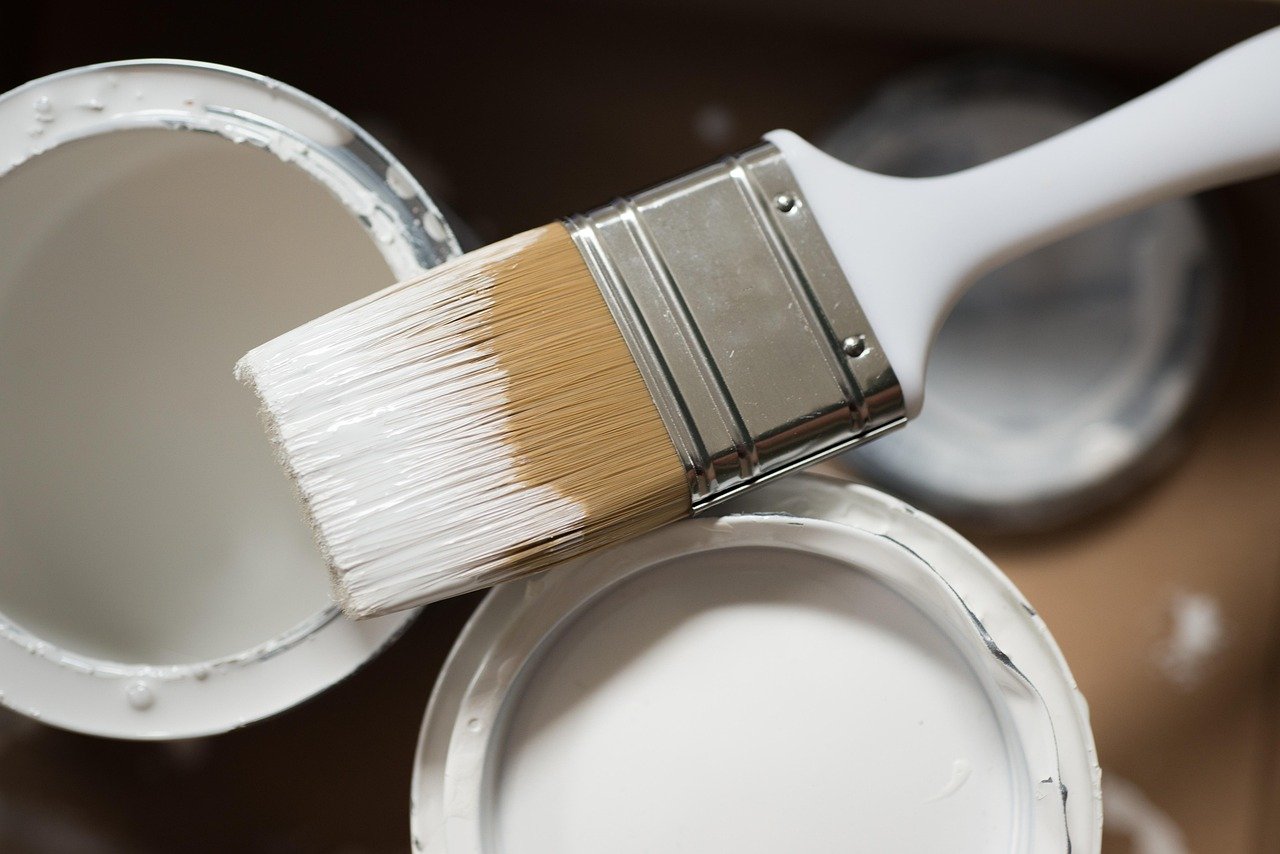
What happens when you skip the sprayer, put down the roller, and pick up a brush? For a lot of projects, that single choice is the difference between a clean, controlled finish and a mess of overspray drifting onto the neighbor’s car. Brush-on paint is the oldest method in the book, yet it’s also the one most people get wrong. The brush itself is simple. The technique, the product choice, and the surface prep are where things fall apart.
This guide walks through what brush-on paint actually is, when it beats spraying, how to apply it without leaving a trail of brush marks, and the safety issues people overlook. It’s written for the person standing in a hardware aisle holding two cans of paint and a brush, wondering which one to buy and whether they’re about to waste a Saturday.
What Brush-On Paint Really Means
Brush-on paint is not a special type of paint. It’s a method of application. The term describes any coating you apply with a paintbrush rather than a spray gun, roller, or dip tank. The same can of paint might be brushed, rolled, or sprayed depending on the job.
That distinction matters because people sometimes assume “brush-on” refers to a formula. It doesn’t. What changes between brush-on and spray-on is the delivery system. A brush lays down paint in strokes, lets you push it into corners and crevices, and gives you direct control over how much product lands where. A sprayer atomizes paint into a fine mist and throws it across a surface.
Because the paint is the same, the real questions are about technique and context. A high-quality trim paint brushed carefully can look nearly as smooth as a sprayed finish. A cheap paint brushed badly will show every stroke. The brush is a tool, not a shortcut.
When Brushing Beats Spraying
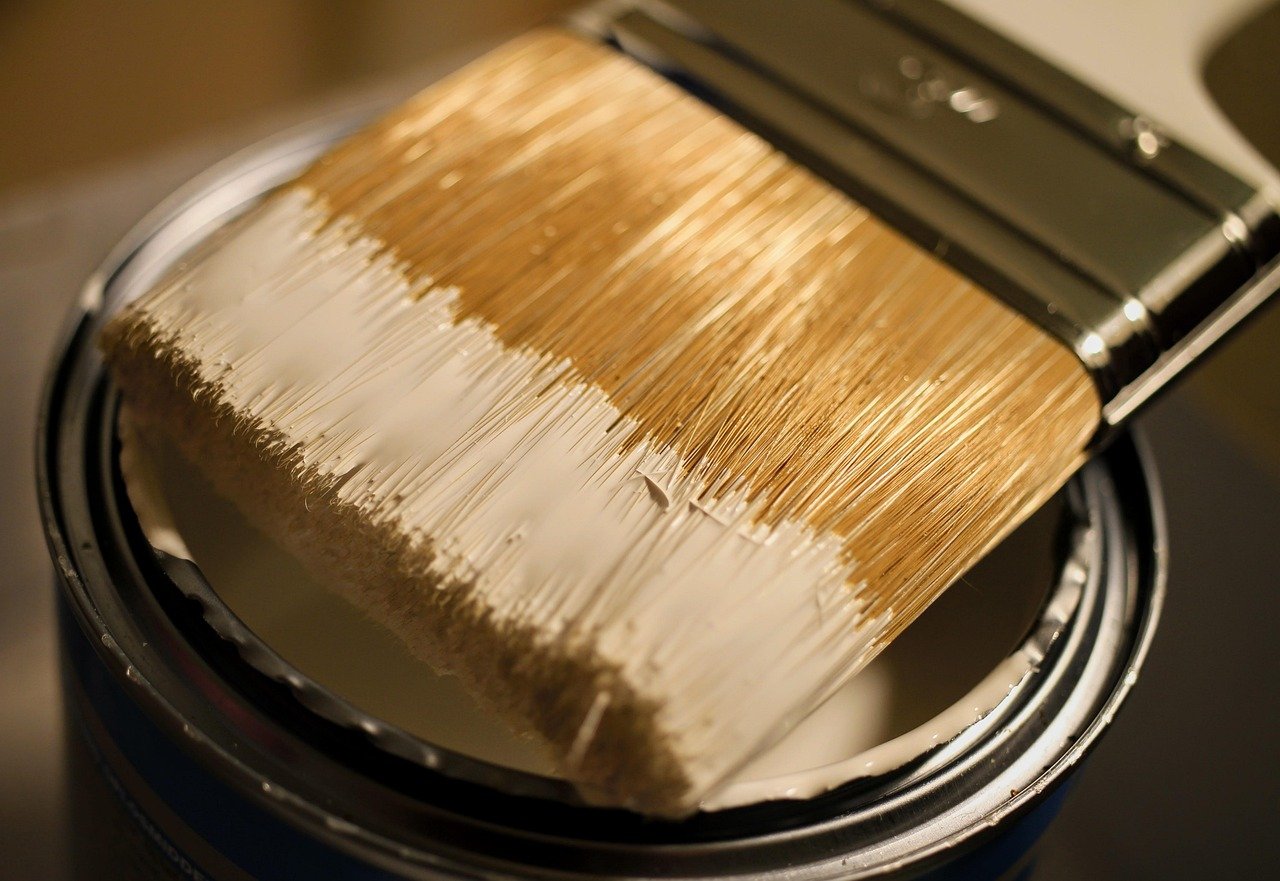
Spray equipment has real advantages: speed on large, flat surfaces, an even coat, and access to awkward shapes. But brushing wins in a surprising number of situations. Here’s a realistic comparison.
| Factor | Brush-On | Spray |
|---|---|---|
| Overspray and airborne mist | Minimal | High; drifts onto nearby surfaces |
| Setup and cleanup | Quick | Masking, ventilation, gun cleaning |
| Small jobs and touch-ups | Ideal | Overkill |
| Cutting in at edges | Excellent control | Needs masking |
| Large flat walls | Slower | Much faster |
| Visible brush marks | Possible | None |
| Equipment cost | Low | Higher |
| Best for | Trim, doors, furniture, exteriors, repairs | Cabinets, large runs, factory-smooth finishes |
The overspray point is the one people underestimate. Spray application produces airborne mist that settles on everything in the room, which is why professional shops build spray booths and wear respirators. Brush application keeps the paint where you put it. For a bedroom repaint with furniture still in it, that’s a meaningful advantage.
Brushing also shines on detail work. Window frames, door edges, stair spindles, and furniture with carved surfaces are all easier to control with a brush. If your project involves a lot of edges and not much flat area, the brush is usually the smarter tool.
Choosing the Right Brush for the Job
The brush matters more than most beginners expect. Natural-bristle brushes (often hog bristle) work well with oil-based and alkyd paints because the bristles hold their shape and spread thick coatings evenly. Synthetic brushes (polyester and nylon blends) are the better match for water-based latex and acrylic paints, since natural bristles can soften and swell when wet.
Beyond bristle type, pay attention to these practical details:
- Width. A 2- to 2.5-inch brush handles most trim and furniture. Wider brushes (3 to 4 inches) speed up flat surfaces. Narrow sash brushes (1 to 1.5 inches) fit into tight frames.
- Bristle ends. Split ends, called flags, hold more paint and release it more evenly. Cheap brushes with blunt, uniform bristles tend to drip.
- Ferrule and handle. A sturdy metal band (the ferrule) keeps bristles from shedding. A comfortable handle reduces fatigue on long jobs.
- Cutting brushes. Angled sash brushes make it easier to paint a straight line along a ceiling or window edge without tape.
One common mistake: buying a five-dollar brush for a twenty-dollar can of paint. A good brush costs more but lays down a smoother coat and lasts for years if cleaned properly. For decorative work like airbrush nail art, the tool choice is equally decisive, and the same principle applies: the applicator shapes the result as much as the product does.
How to Apply Brush-On Paint Without Leaving Marks
Brush marks come from three sources: too much paint, the wrong technique, and paint that’s drying too fast. Fix those and the finish improves dramatically. Here’s a sequence that works for most surfaces.
- Prep the surface first. Sand, clean, and patch. Paint magnifies imperfections rather than hiding them. A smooth surface is the foundation of a smooth finish.
- Load the brush properly. Dip about a third of the bristle length into the paint. Tap off excess against the inside of the can. Don’t scrape the brush across the rim; that damages bristles.
- Apply in a “cut-in, then lay-off” pattern. First push paint into the surface with short strokes, then finish with long, light strokes in one direction to smooth the coat.
- Keep a wet edge. Work from one end of a section to the other without letting the edge dry. Once paint starts to set, brushing over it creates drag marks.
- Use thin coats. Two thin coats beat one thick coat almost every time. Thick paint sags, pools, and dries unevenly.
- Match the brush to the paint. Synthetic for water-based, natural bristle for oil-based, as noted above.
A frequent beginner error is over-brushing. Once the paint starts to tack up, every extra stroke makes it worse. The instinct to keep smoothing is strong, but the correct move is to stop and let it dry.
Temperature and humidity also play a role. Painting in direct sun or in a hot, dry room causes water-based paint to skin over before it levels out. Working in shade and moderate temperatures gives the paint time to flow.
Paint Types and What They Mean for Brushing
The paint itself determines how forgiving the brush will be. Water-based acrylic and latex paints are the most common choice for interiors. They clean up with soap and water, dry relatively quickly, and have lower flammability than solvent-based products. Oil-based and alkyd paints flow out more smoothly and level better, which reduces visible brush marks, but they smell stronger, require mineral spirits for cleanup, and are flammable.
Low-VOC and zero-VOC paints are defined by their volatile organic compound content, not by the application method. VOC limits vary by jurisdiction and product category, so check the label rather than assuming a number. Lower-VOC formulas are generally a good choice for indoor work, especially in rooms with limited ventilation.
For exterior surfaces, the brush has a practical edge: it works paint into the grain and around fasteners in ways a sprayer struggles to match. Wood siding, fences, and trim all benefit from brushed application, particularly on rough or weathered surfaces.
If you’re working on textured or coily hair-adjacent projects like dyeing wigs or painting a mannequin head for display, the brush technique differs from wall painting, but the rule holds: thin coats, controlled loading, and patience. The 4c hair tag on our site covers texture-related styling topics if you’re curious how surface texture changes application.
Safety: Lead Paint, VOCs, and Ventilation
Safety is the part of brush-on painting that gets skipped in most tutorials. Three issues deserve attention.
Lead paint. In the United States, lead-based paint was common in homes built before 1978. Brushing over it can create dust and chips, which is a real hazard, especially for children. Federal rules govern how lead paint can be disturbed during renovation in pre-1978 housing. If your home predates 1978 and the paint is in poor condition, test before you sand or scrape. Brushing over intact lead paint is one thing; sanding it is another entirely.
VOCs and indoor air. Volatile organic compounds are released as paint dries. Water-based paints generally emit fewer VOCs than solvent-based ones, but “low-VOC” doesn’t mean zero. Ventilate the room, take breaks, and avoid painting a sealed room overnight.
Flammability. Solvent-based paints and their thinners are flammable. Keep them away from open flames, pilot lights, and space heaters. Store rags soaked in oil-based paint in a sealed metal container; spontaneous combustion is a documented risk with some oil finishes.
Brush application produces far less airborne mist than spraying, which reduces inhalation exposure. That’s one reason brushing is often the safer choice for indoor work without professional ventilation.
Common Mistakes and What Actually Works
After enough projects, patterns emerge. These are the errors that show up again and again, along with the fix.
- Skipping primer. Primer bonds to the surface and gives topcoat something to grip. On bare wood, glossy surfaces, or repairs, it’s not optional.
- Painting over dirt and grease. Paint won’t adhere to oily kitchen walls or dusty trim. Clean first, then paint.
- Reusing a dried-out brush. A brush left to harden is a brush you throw away. Clean it immediately after use.
- Ignoring recoat times. “Dry to touch” and “ready to recoat” are different things. Follow the label.
- Overloading the brush. More paint on the brush means more drips, not more coverage.
- Painting in the wrong conditions. Too hot, too cold, or too humid all cause problems. Check the label’s temperature range.
For larger projects involving multiple surfaces, a simple system helps: prep one area completely, then paint it, then move on. Bouncing between tasks leads to half-prepped surfaces and dried-out brushes.
Brushing as a Skill Worth Keeping
There’s a reason brush-on paint has survived the rise of sprayers and rollers. It’s controllable, quiet, and forgiving of small spaces. It keeps paint off your car and out of your lungs. And it rewards patience in a way that power tools rarely do.
The best results come from treating the brush as a precision instrument rather than a way to avoid buying equipment. Match the brush to the paint, load it correctly, work with a wet edge, and respect the cure times on the label. Do those things and the finish will hold up. Skip them and you’ll be sanding back a streaky coat on a Sunday afternoon, which is exactly the outcome most people are trying to avoid.
Whether you’re touching up a doorframe or repainting a whole room, brushing gives you control that spraying can’t. The the row archive has more on related styling and finish topics if you want to explore how application technique shifts across different materials.
FAQ
Is brush-on paint different from regular paint?
No. Brush-on paint is a method of application, not a separate product. The same can of paint can be applied with a brush, roller, or sprayer. What changes is the tool and the technique, not the chemistry inside the can.
Do I need special paint for brushing?
Not usually. Most interior and exterior paints are designed to work with a brush. The one thing to check is the brush type: synthetic bristles for water-based paints, natural bristles for oil-based. Some fast-drying or highly thixotropic paints are formulated for spraying and can be difficult to brush, so read the label if the product seems spray-specific.
How do I stop brush marks from showing?
Use thin coats, keep a wet edge, and stop brushing once the paint begins to set. Loading the brush properly and matching the bristle type to the paint also help. Oil-based paints tend to level out more than water-based ones, which naturally reduces visible strokes.
Can I brush over old lead paint?
Brushing over intact lead paint is generally lower-risk than sanding or scraping it, but any disturbance can create dust. In the U.S., homes built before 1978 may contain lead paint, and renovation work is regulated. Test the paint and follow local guidance before starting, especially if the surface is chipping or peeling.
How long should I wait between coats?
Follow the recoat time printed on the label. It’s usually shorter than full cure time and depends on temperature, humidity, and film thickness. Rushing the second coat can trap solvent and cause wrinkling or poor adhesion.
Is brush-on paint safe indoors?
Brush application produces much less airborne mist than spraying, which lowers inhalation exposure. Still, ventilate the room, choose low-VOC products where possible, and keep solvent-based paints away from flames and pilot lights. Store oily rags in a sealed metal container.









