

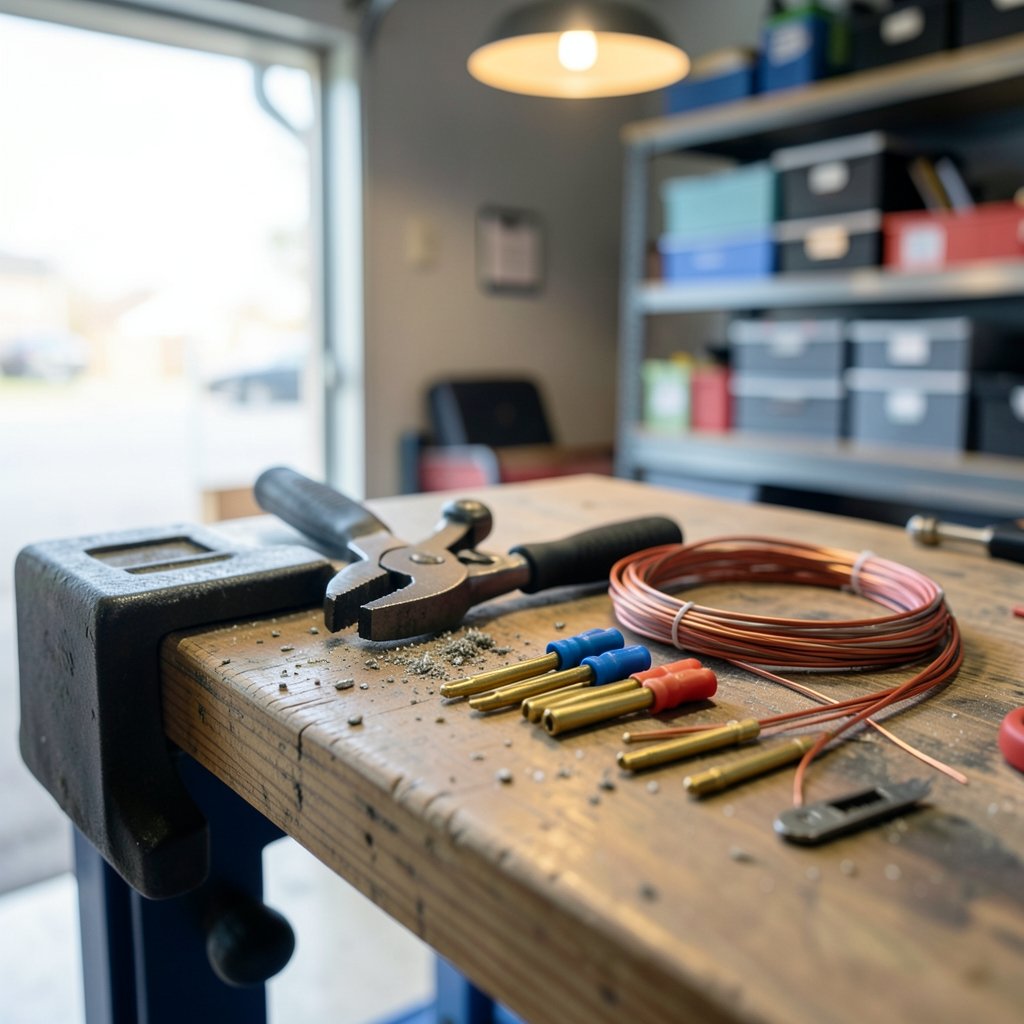
Quick Answer: What is a crimping tool?
A crimping tool is a hand tool or machine that presses a metal connector around a wire to create a permanent electrical and mechanical joint. Instead of melting solder, it cold-works the metal so the terminal grips the conductor tightly. These tools appear in automotive shops, network wiring, aerospace wiring benches, and home garages.
The two main families are ratchet crimpers, which lock until a full cycle is finished, and simple plier-style models without that lock. Ratcheting types are the usual pick for production and safety-critical work because they prevent half-finished crimps.
Before buying or using one, check the terminal type, wire gauge, die compatibility, ratchet mechanism, handle comfort, and whether the tool needs calibration or pull-test verification.
Have you ever yanked a wire and watched the terminal slide right off? That small failure is exactly what a crimping tool is built to prevent. It looks like a simple pair of pliers with opinions, but the way it squeezes metal around copper decides whether a connection lasts thirty years or thirty minutes.
The tool itself is only half the story. The other half is matching it to the terminal, the wire, and the job. Get that trio right and crimping becomes fast, repeatable, and honestly a bit satisfying. Get it wrong and you end up with loose strands, high resistance, and a mystery intermittent fault that eats an entire afternoon.
This guide walks through what crimping tools actually do, the types you will meet, where they show up, and the mistakes that trip up beginners and veterans alike.
The basic idea: squeeze metal, not melt it

A crimping tool deforms a metal connector, whether that is a terminal, splice, or contact, around a conductor. The joint is created by cold working the metal. No heat, no flux, no molten alloy.
That matters more than it sounds. Soldering introduces heat that can damage insulation and wick up stranded wire, stiffening it where flexibility matters. Crimping avoids both problems and, when done with the right tooling, produces a joint that is consistent from the first wire to the thousandth.
The trade-off is that crimping is unforgiving about setup. A soldered joint can be visually inspected and reflowed. A bad crimp often looks fine until it is pulled apart or sliced open under a microscope.
The main types of crimping tools
Walk into any electrical supplier and the wall of crimpers can be overwhelming. Most of them fall into a handful of families.
Ratchet crimpers
These are the workhorses of professional work. A ratchet mechanism keeps the handles locked until the full crimp cycle is complete. You cannot cheat by squeezing halfway and letting go, which is precisely the point. Ratcheting tools are widely recommended for production and safety-critical work because they deliver consistent crimp force every time.
The catch: if you grab the wrong wire size mid-cycle, you still have to finish the squeeze before the tool releases. That is a feature, not a bug, but it surprises first-timers.
Non-ratchet crimpers
Simple plier-style tools squeeze as hard as your hand allows and release whenever you let go. They are cheap, light, and fine for occasional hobby work. They are also the number one source of inconsistent crimps in amateur hands, because human grip strength varies from wire to wire.
Ferrule crimpers
These form a square or trapezoid profile around wire ferrules used on stranded wire, common in European-style terminal blocks and control panels. The square shape gives better contact than a flattened oval.
Coaxial and network crimpers
These are built around specific connector geometries, such as coaxial RF connectors and RJ45 network plugs. They often combine a crimp cavity with a stripper or cutter, which is handy until one function wears out before the others.
Crimping machines
At production scale, benchtop and automated presses do the same job with controlled force and depth. The principle is identical; only the power source changes.
Crimp versus solder: why the choice matters
The crimp-versus-solder debate shows up in every forum eventually. In aerospace, automotive, and telecom work, crimped connections are generally preferred. The reasons are practical rather than sentimental: no heat damage, no wicking, and far better repeatability across thousands of joints.
Crimping is treated as a controlled process with defined inspection criteria rather than a craft skill. Workmanship standards spell out exactly what an acceptable crimp looks like, including bell mouth, brush and strand capture, insulation clearance, and cut or crushed strands.
That level of documentation is why crimping scales. Two technicians in different buildings can produce identical joints if they follow the same tooling and criteria. (The row)
What standards actually govern crimp quality
Crimp quality is not a matter of opinion. Several standards define what counts as acceptable.
| Standard | What it covers |
|---|---|
| IPC/WHMA-A-620 | Requirements and acceptance for cable and wire harness assemblies, including visual crimp criteria |
| NASA-STD-8739.4 | Crimp, interconnect, and wiring assembly workmanship for controlled crimping and inspection |
| UL 486A-486B | Requirements for wire connectors |
| MIL-DTL-22520 | Military specification for crimping tools |
| IEC and MIL publications | Additional tool and crimp specifications |
These documents define pass and fail. A crimp with cut strands, an incomplete bell mouth, or insulation trapped inside the barrel fails, no matter how solid it feels in the hand.
For anyone doing paid work, reading the acceptance criteria once is worth more than a dozen YouTube tutorials. It changes how you look at a finished terminal.
Tool and terminal matching: the rule people break most
Here is the mistake that causes the most failures: using whatever crimper is within arm’s reach. Crimp quality depends on using the correct die or tool for the specific terminal and wire gauge. A mismatched tool can produce a weak or high-resistance joint that passes a casual tug and fails in service.
Manufacturers publish crimp tooling cross-references for exactly this reason. Standards require verification by pull test or cross-section inspection, not by eyeballing.
A practical habit that works: keep terminals and their matching crimper together in the same bin. If a terminal type enters the shop, its die enters with it. Mixed bins and borrowed tools are how mismatches happen.
How crimps are inspected
Two methods dominate quality control in wiring assembly manufacturing.
Pull testing measures the tensile strength of the joint. The wire is clamped and pulled until something gives. A proper crimp should hold to a specified force before the wire breaks or pulls out.
Cross-sectioning involves potting the crimp, cutting it, polishing the face, and examining it under magnification. Inspectors look at voiding, compression, and strand distribution inside the barrel. It is destructive, slow, and the most honest picture of crimp quality you can get.
For hobbyists, a firm pull test plus a close visual check covers most needs. For production, both methods belong in the quality plan.
Where crimping tools show up in real work
The range of uses is wider than most people expect:
- Electrical terminals and splices in panels, vehicles, and appliances
- Coaxial and RF connectors for antennas and broadcast gear
- Network plugs such as RJ45 for structured cabling
- Ferrules on stranded wire in control cabinets
- Automotive and aviation wiring harnesses
- Battery lugs and heavy-gauge power cables
Hair and beauty routines even borrow the vocabulary, which is why searches sometimes wander. Someone looking for a way to shape 4c hair or smooth 2b hair may land on a page about wire terminals by accident. Different crimp, different tool, same word.
Choosing the right crimper for your bench
A few factors separate a tool you will keep for decades from one that ends up in a drawer.
Terminal compatibility. Check the die list against the terminals you actually use. A crimper with no die for your connector is a paperweight.
Wire gauge range. Most dies cover a span, not a single size. Confirm your smallest and largest wires fall inside it.
Ratchet or not. For anything safety-related or repetitive, ratcheting wins.
Handle ergonomics. You will squeeze this tool hundreds of times. Sharp edges and stiff springs add up by mid-afternoon.
Calibration and service. Production tools need periodic verification. Cheap tools often cannot be calibrated at all.
Replacement dies. Dies wear out before handles do. A tool with available spare dies outlives one with a sealed head.
Common mistakes and what actually works
A few habits separate clean work from callbacks.
Stripping too much insulation. Excess bare wire spills outside the barrel and invites shorts. Strip to the length the terminal specifies, no more.
Twisting strands before inserting. A light twist can help, but over-twisting creates a bulge that will not seat properly in the barrel.
Skipping the pull test. A two-second tug catches most bad crimps. It feels crude; it works.
Reusing a deformed terminal. Once a terminal is crimped, it is done. Cutting it off and starting fresh is cheaper than a fault call.
Ignoring the insulation crimp. The rear crimp wings hold the wire’s insulation for strain relief. Crimping only the conductor leaves the joint vulnerable to flex fatigue.
Buying one tool for everything. The universal crimper is a myth in practice. Two or three good tools beat one that does everything badly.
In workshops that crimp daily, the pattern is consistent: a small rack of matched tools, labeled bins, and a pull tester within reach. Nothing fancy. Just discipline.
A quick note on terminology and history
The word crimp comes from the action of folding or pressing metal. Crimped electrical connections spread alongside twentieth-century electrification and later hardened into formal practice through aerospace and telecom standards. The exact origin date is murky, so treat the history as background color rather than a citable milestone.
What is clear is the direction of travel. As harnesses grew denser and reliability demands rose, crimping moved from a bench shortcut to a documented engineering process with its own standards, tooling catalogs, and inspection regimes.
Conclusion
A crimping tool is a deceptively simple device with a serious job: forming a permanent, low-resistance joint between metal and wire without heat. The tool matters, but the system around it matters more. The right die for the terminal, the right wire gauge, a ratchet that finishes what it starts, and an inspection habit that includes an honest pull test.
Get those pieces aligned and crimping becomes one of the most reliable joining methods available. Skip them and you get the classic failure: a connection that looks perfect and behaves badly. Whether you are wiring a boat, terminating a network rack, or repairing a wiring assembly, the principle holds. Match the tool to the terminal, finish every cycle, and test what you build.
FAQ
What is the difference between a crimping tool and a crimper?
They are the same thing. Crimper, crimping tool, and crimp tool all describe a device that deforms a connector around a conductor. The naming varies by region and trade, but the function does not change.
Can I use pliers instead of a crimping tool?
You can, and people do, but the results are unpredictable. Pliers flatten rather than form the barrel, grip force varies between squeezes, and there is no way to verify consistency. For a temporary repair it may hold. For anything permanent, use a proper crimper.
Why do ratcheting crimpers cost more?
The ratchet mechanism adds machining complexity and must be reliable across thousands of cycles. That extra engineering buys consistency: the tool will not release until the crimp is complete, which removes human grip strength from the equation.
How do I know if a crimp is good?
Three checks cover most situations. Look for a visible bell mouth at the conductor end, confirm no insulation is trapped inside the barrel, and give the terminal a firm pull. In production settings, pull testing to a specified force and cross-section inspection provide the definitive answer.
Do crimping tools need maintenance?
Yes, and it is usually neglected. Keep dies clean, check for wear or chipping, lubricate the ratchet pivot occasionally, and store the tool away from moisture. Production tools should be checked against a calibration reference on a schedule.
What wire gauge can a typical hand crimper handle?
It depends entirely on the dies. Many hand tools cover roughly 22 to 10 AWG with interchangeable dies, while heavy lugs and battery cables need larger, often hydraulic, tools. Always confirm the tool’s rated range before buying.









