

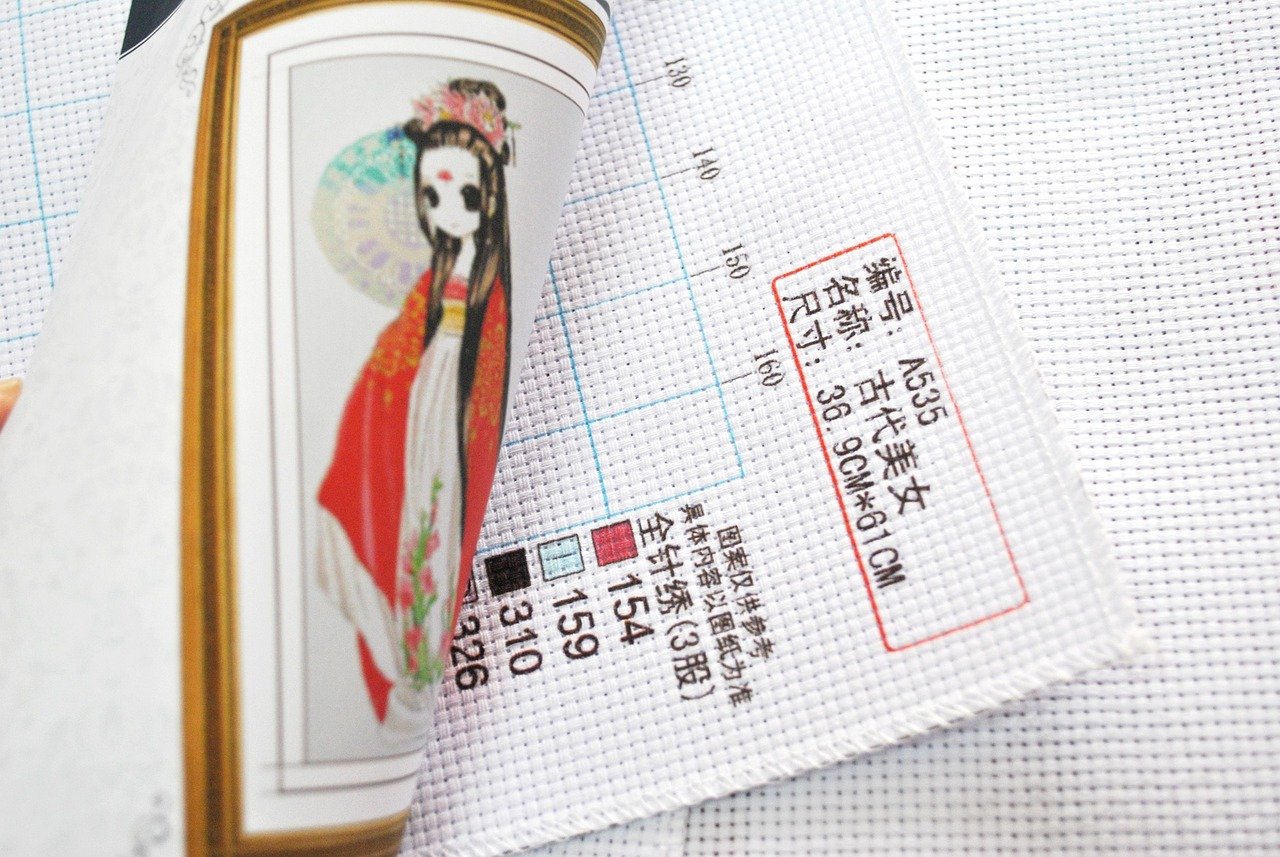

What if the hardest part of a cross stitch project isn’t the stitching at all, but picking the right pattern and learning to read it without a single mis-stitch? Anyone who has stared at a grid of tiny symbols knows the feeling. The chart in front of you looks like a secret code, the fabric count is a mystery, and the thread list runs to forty colors.
The good news is that counted cross stitch patterns are more logical than they first appear. Once you understand how they are built, how they relate to your fabric, and where to find designs worth your time, the whole craft opens up. This guide walks through the practical side: choosing patterns, decoding charts, matching fabric and thread, avoiding the mistakes that stall beginners, and sorting out what you can legally do with a chart you bought.
What makes a pattern “counted” rather than stamped?
Counted cross stitch means the design lives on a chart, not on the fabric. The stitcher counts threads or fabric squares to place each X-shaped stitch, following a grid where every square equals one stitch. Stamped cross stitch works differently: the design is printed directly onto the cloth, and you simply cover the printed lines with thread.
That distinction matters more than it sounds. Counted work demands attention to the grid, but it gives you freedom. You can swap fabric colors, change thread palettes, enlarge or shrink a design by changing fabric count, and stitch on almost any evenweave ground. Stamped kits are faster to start but far less flexible.
Most modern charts follow the same convention: a grid of squares, each one carrying a symbol or color that keys to a thread list. That shared language is why a pattern designed in one country can be stitched in another without translation.
How to read a counted cross stitch chart without losing your place
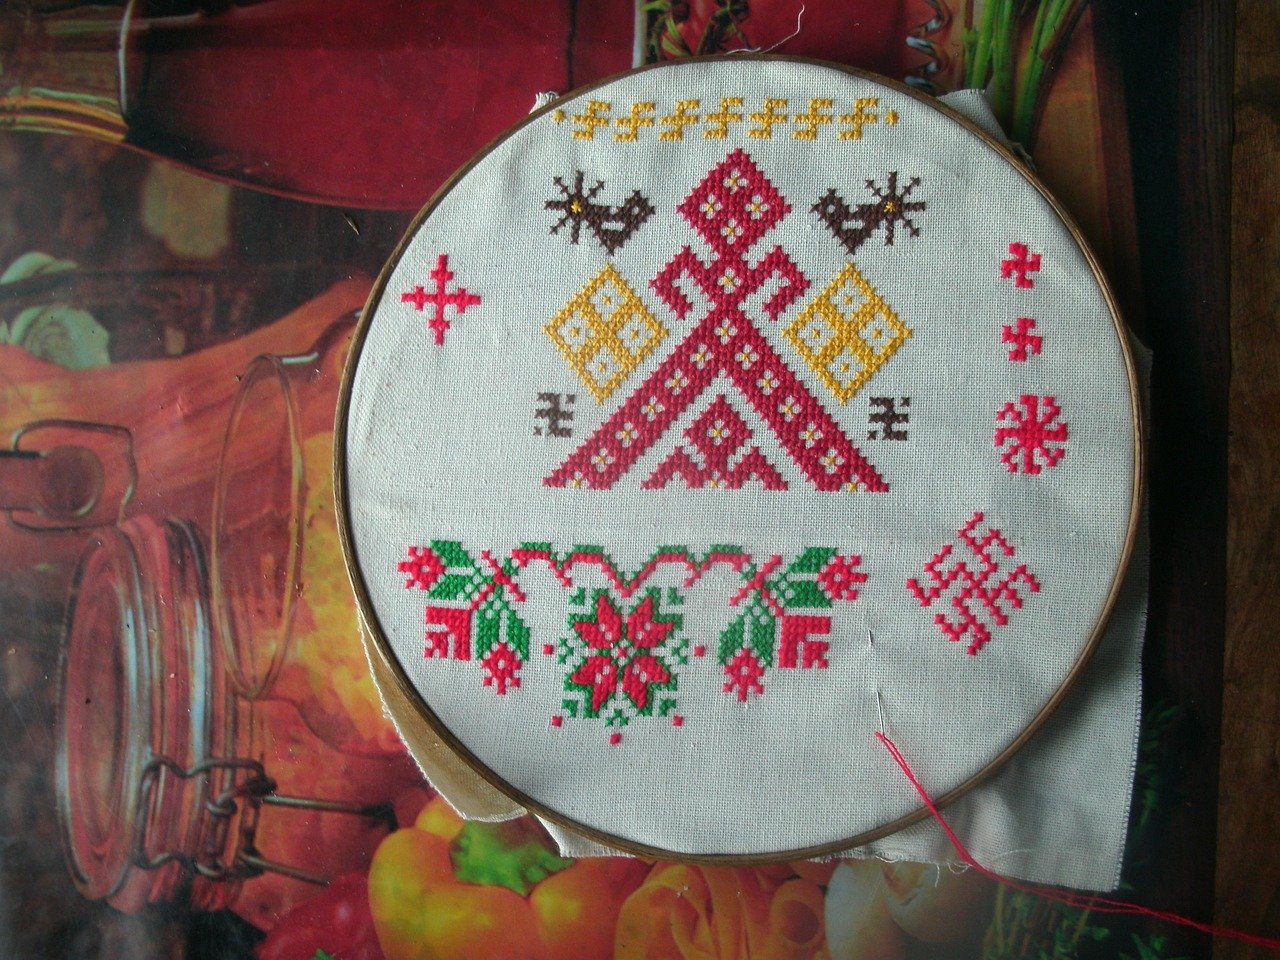
A chart is a map, and like any map it has a legend. Here is the order that works in practice.
- Find the center mark. Most charts mark the center of the design with arrows or a bold line. Fold your fabric in half both ways to find its center, then start stitching from the middle outward. Starting at an edge seems easier but drifts badly if your count is off by one square.
- Read the thread key first. Before you thread a needle, note how many strands each symbol requires. Blending two colors in one needle is common and easy to miss.
- Work in blocks of color. Complete one patch before moving on. Jumping between colors creates confetti-like stitching and makes counting errors harder to spot.
- Mark your progress. A highlighter on a paper chart or a tap-to-mark app both work. Marking completed squares is the single biggest defense against re-stitching the same area twice.
- Count in groups of ten. Counting one square at a time invites mistakes. Counting in tens matches how most charts are gridded with heavier lines every ten squares.
A common beginner error is stitching the entire outline first and filling in later. It feels tidy, but if the count is wrong anywhere, the error compounds across the whole design. Filling color blocks as you go keeps mistakes local.
Matching fabric count to your pattern
Fabric count is the number of squares per inch on Aida cloth. A 14-count Aida has 14 squares in every inch, so a design that is 140 stitches wide will finish about 10 inches across on that fabric. Switch to 18-count and the same chart finishes around 7.8 inches. Higher counts mean smaller stitches and a finer look.
| Fabric count | Stitch size | Best suited to | Finished size for a 140-stitch width |
|---|---|---|---|
| 11-count | Large, chunky | Beginners, children, quick gifts | About 12.7 inches |
| 14-count | Standard | Most kits and general projects | About 10 inches |
| 16-count | Small | Detailed designs, framed pieces | About 8.75 inches |
| 18-count | Fine | Portraits, intricate detail | About 7.8 inches |
| 25-count evenweave (over two threads) | Very fine | Heirloom and fine-art pieces | About 5.6 inches |
Always add a margin. A working rule is three inches of extra fabric on every side, which gives room for framing and keeps the edges out of your hoop. Nothing ends a project faster than discovering the design barely fits.
Fabric choice also affects the mood of a piece. Aida’s block structure suits bold, graphic designs. Evenweave and linen, where stitches typically cover two threads, give a softer, more antique finish and reward patience. If a chart was designed for 14-count Aida and you want it on linen, do the math before buying thread, because the finished size will change.
Hair texture comes up in unexpected ways too. Stitchers who also follow curly-hair communities sometimes adapt portrait charts to reflect different textures, and the same design principles apply: small, deliberate variations read as realism at a distance. If a portrait pattern includes hair, look at how the designer handles 4c hair in the source artwork before you substitute colors, since coil patterns need contrast to read clearly in stitches.
Where to find patterns worth your time
Pattern sources fall into a few broad camps, and each has trade-offs.
Published charts and books. Traditional publishers edit and test their charts, which reduces the chance of a counting error in the grid. They cost more, but the reliability is usually higher.
Independent designers. Small studios often produce the most distinctive work, from minimalist botanicals to elaborate samplers. Quality varies, so look for designers who show stitched samples rather than only digital mock-ups. A photo of the actual finished piece tells you far more than a rendered image.
Pattern-sharing communities. Online groups trade finished photos, corrections, and stitch-alongs. These communities are also where errata surface first, so a chart with a known mistake often has a fix posted within days.
Charting software. Converting a photo into a chart is now straightforward, and it suits people who want a specific image. The catch is that automatic conversions produce huge color counts and scattered single stitches. Cleaning up the palette by hand, reducing to twenty or thirty colors, almost always produces a better result.
Digital distribution has reshaped the hobby. Since the 2000s, patterns have spread widely as PDF charts and through online communities, which means near-instant access to designs from anywhere. It also means the market is crowded, so a bit of discernment pays off.
Practical tips that separate smooth projects from stalled ones
Experienced stitchers tend to converge on the same handful of habits.
- Grid your fabric. Running a washable marker or a basting thread in a ten-square grid across the fabric removes most counting anxiety on large pieces.
- Use the right needle. Tapestry needles have a blunt tip that slips between fabric threads instead of splitting them. Size 24 suits 14-count, size 26 suits 18-count.
- Keep thread length modest. Strands around 18 inches long resist tangling and fraying. Longer lengths save threading time but cost you in knots.
- Railroad your stitches. Laying the two strands parallel before pulling through gives fuller, more even coverage. It slows you down slightly and improves the finish noticeably.
- Photograph your progress. A quick photo at the end of each session helps you relocate your place and shows mistakes before they spread.
- Wash with care at the end. Cool water, a drop of mild soap, no wringing, and drying flat face down on a towel.
One mistake deserves special mention: starting a large project on dark fabric with a dark thread palette. It is a classic trap. The stitches are nearly invisible under lamplight, progress feels glacial, and motivation drains. Save dark grounds for smaller pieces or use a bright light and white towel on your lap to backlight the fabric.
Copyright, sharing, and what you can do with a chart
A published chart is generally a copyrightable work, and buying one usually licenses personal use rather than redistribution. That means stitching the design for yourself is fine, but copying the chart to share with a group, or selling finished pieces from a commercial pattern, may not be.
Rules differ by country, so the safe approach is to check the designer’s stated terms and, where it matters, the relevant copyright guidance. Many independent designers publish clear permissions on their pattern pages, including whether finished items can be sold. When in doubt, ask. Designers are usually generous about personal gifts and honest questions, and less so about finding their chart uploaded elsewhere.
There is also a practical courtesy angle. Photographing a finished piece and crediting the designer is welcome in most communities. Scanning the chart itself and posting it is not.
Building a stash that supports the patterns you actually stitch
Thread collections grow faster than projects finish. A workable approach is to buy for the next two projects only, plus a small core of neutral shades that appear in almost every chart. Black, white, ecru, and a few skin tones earn their place.
Storage matters as much as selection. Bobbins in a box keep colors identifiable, and a labeled ring for the current project’s threads prevents the mid-project scramble. If a chart calls for a shade you don’t have, stitching the rest of that color block and returning later is far more efficient than a special order that stalls everything.
Fabric scraps are worth keeping too. Small pieces suit ornaments, bookmarks, and test stitches, and having them on hand means a new chart can start the same evening it arrives.
Conclusion
Patterns for counted cross stitch reward a little preparation. Read the chart’s key before the first stitch, match fabric count to the size and detail you want, and start from the center. Choose designers who show real stitched samples, grid your fabric on big projects, and respect the copyright terms that come with a chart. None of these steps is difficult, and together they turn a cryptic grid of symbols into an evening of steady, satisfying work. The pattern is only the plan. The patience you bring to it is what finishes the piece.
Frequently asked questions
How many strands of thread should I use on 14-count Aida?
Two strands is the standard for 14-count Aida and gives solid coverage without bulk. Use three strands if you want a chunkier, more textured look, or one strand for a delicate, watercolor effect. Always follow the chart’s key, since some designs specify different strand counts for backstitch and fill.
Can I use a pattern designed for Aida on linen fabric?
Yes, but plan the size first. On linen you typically stitch over two threads, so the effective count is half the fabric’s thread count. A 28-count linen stitched over two behaves like 14-count, which means the finished size stays the same. Stitch over one thread and the design shrinks dramatically.
What does the backstitch line on a chart mean?
Backstitch appears as solid lines, often black, drawn over the grid rather than as squares. It adds outlines, lettering, and fine detail after the cross stitches are complete. Work it last, keep the tension light, and use one strand unless the key says otherwise.
Is it legal to sell items made from a cross stitch pattern?
It depends on the designer’s terms and your local copyright rules. Many independent designers allow selling finished pieces while prohibiting copying the chart itself. Commercial and licensed patterns often restrict sales entirely. Check the pattern’s stated permissions before listing anything for sale.
How do I fix a counting mistake several rows back?
First, decide whether it matters. A single misplaced stitch in a busy area often disappears visually. If it affects an outline or a symmetrical element, undo to the error rather than patching over it. This is exactly why gridding fabric and marking charts as you go saves hours.
What is the difference between 2b hair and cross stitch color blending?
They belong to different worlds, but both involve reading tone carefully. Curl-pattern references like 2b hair describe wave shape, while cross stitch blending combines two thread colors in one needle to create depth. Designers use blending to soften transitions, especially in skin tones and skies. For row-by-row planning on large samplers, stitchers often follow a charted sequence similar to the row approach used in other fiber crafts, working methodically rather than jumping around the grid.









