

Ever looked at a photo of a mullet and wondered how the same haircut can look sharp on one person and chaotic on another? The answer almost always comes down to styling, not the cut itself. A mullet is short on top and sides with length left at the back, and that uneven structure means each zone needs different handling. Get the front right and the back neat, and the whole thing clicks. Get it wrong, and you end up with a shape that looks accidental rather than intentional. (Helt menswear name actually means modern mens style)
This guide walks through the practical side: what products suit which hair type, how to dry each section, how to build a “business in front” finish, and how often the cut needs maintenance. It also covers the mistakes that quietly ruin a good mullet and the styling habits that keep it looking deliberate.
Start with the three zones, not the whole head
The single most useful way to think about a mullet is in three parts: the front and top, the sides, and the back tail. Each has a different job.
The top carries the volume and the personality. It is where you create lift, texture, or a swept fringe. The sides are usually kept tight and clean, framing the face without competing with the top. The back is the statement piece, and it needs to look smooth and intentional rather than stringy or forgotten.
Most styling failures happen when people treat the whole head the same way. A heavy product that tames the back will flatten the top. A texture spray that makes the top look great can leave the tail looking fuzzy. Separate the zones and the cut starts behaving.
Match the product to your hair type
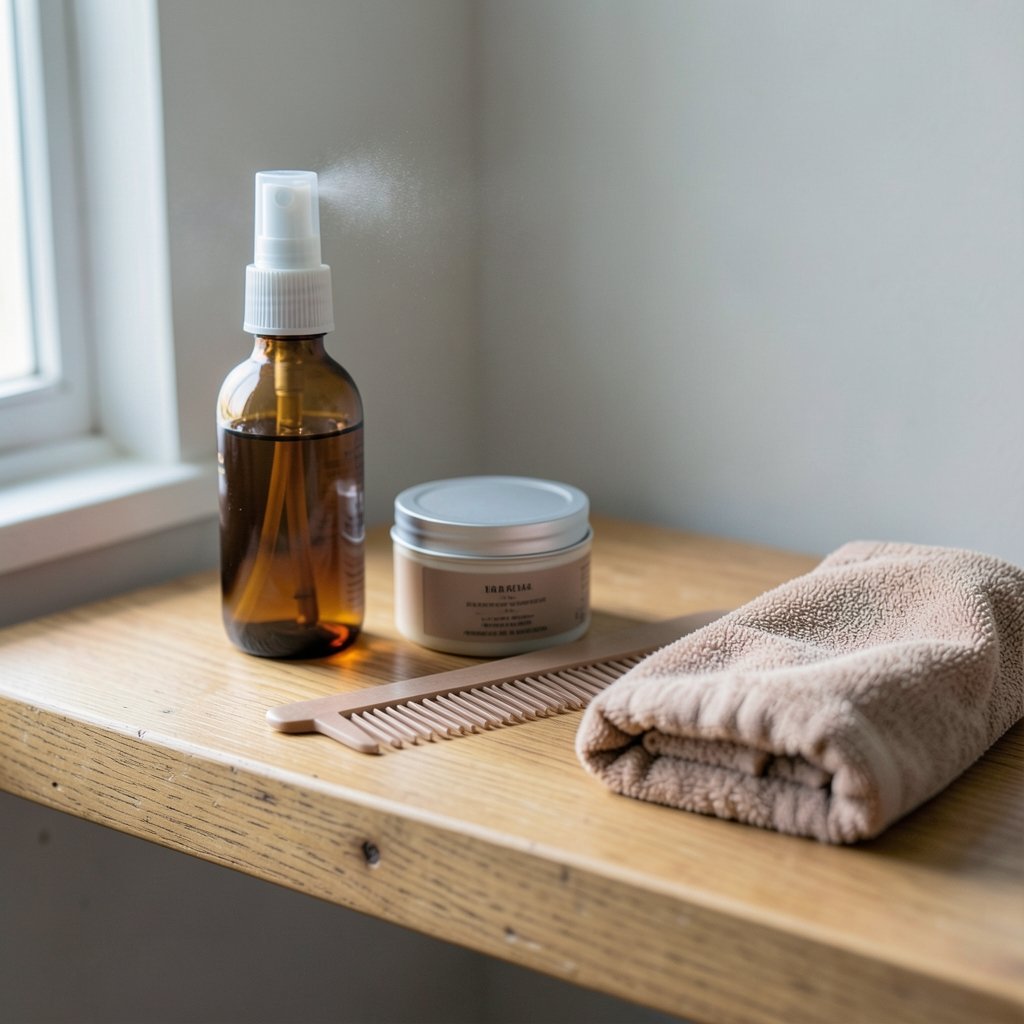
Product choice is where hair type matters most. Fine hair collapses under weight, while thick or curly hair fights anything too light. Here is a rough starting point.
| Hair type | Best product | What to avoid |
|---|---|---|
| Fine or thin | Sea-salt spray, lightweight texturizing spray | Heavy wax, thick pomade, oil-based creams |
| Thick or coarse | Light cream, leave-in conditioner, matte clay | Heavy gels that crust and flake |
| Curly or wavy | Light curl cream, sea-salt spray for definition | Brushing dry curls, heavy pomade |
| Straight and dense | Matte clay or texturizing paste | Over-application near the roots |
The principle is simple: fine hair needs lightweight texture to avoid collapse, and thick or curly hair often needs a light cream or leave-in to control frizz. Start with less product than you think you need. You can always add more, but you cannot easily take it out.
Dry the top and the back differently
Drying technique does more for a mullet than most people realize. Many stylists recommend rough-drying the top for volume while smoothing the back with a brush and low heat to keep the tail neat. That split approach is the difference between a top that stands up and a back that looks polished.
For the top
- Towel-dry gently until the hair is damp, not dripping.
- Apply a small amount of texturizing spray or sea-salt spray at the roots.
- Flip your head over or use your fingers to lift the hair while blow-drying on medium heat.
- Once mostly dry, use your fingers to push the front up and slightly back for lift.
- Finish with a burst of cool air to set the shape.
For the back
- Use a brush or comb to pull the tail straight down.
- Dry on low heat, following the brush with the nozzle pointing down the hair shaft.
- Keep the nozzle moving so you do not concentrate heat in one spot.
- Stop when the tail is smooth and mostly dry, then let it finish air-drying.
Always use a heat protectant before any hot tool. High heat on bleached or fine hair carries a real risk of damage, and the tail is often the most over-processed part of a mullet because it gets the most attention.
Build the “business in front” finish
The front is where a mullet earns its reputation. The classic look is usually achieved with a light pomade or matte clay on the top, applied sparingly so it does not weigh the hair down. The goal is control with movement, not a helmet.
Warm a small amount of product between your fingers, then work it through the top from back to front. Push the fringe up and slightly to one side, or sweep it forward for a softer finish. Keep the product away from the roots at the very front if you want volume; too much there flattens the lift you just created.
If you want a sleeker, more polished front, a light pomade gives a subtle sheen. If you want a dry, matte look, matte clay is the better choice. For a more styled, put-together finish overall, the same restraint applies as with any sophisticated style: less product, more intention. (Glasses style guide)
Handle the sides with restraint
The sides of a mullet are usually short, and short hair shows every mistake. Keep them clean with a light touch. A tiny amount of the same product you used on top is enough to keep flyaways in check.
Avoid piling product on the sides. It creates a greasy contrast against the textured top and makes the cut look unbalanced. If the sides are faded or closely cropped, they often need nothing at all beyond a brush.
Make the tail look intentional
The back is the part people notice first, and it is also the part most likely to look neglected. A few habits keep it sharp.
Comb or brush the tail downward after styling so it lies flat and even. If your hair is wavy, a light cream run through the ends reduces frizz without killing the texture. If it is straight, a small amount of pomade on the ends gives it weight and direction.
Trim the ends regularly. Split ends make a tail look thin and frayed, which undermines the whole shape. A mullet lives or dies on looking deliberate, and clean ends are half of that.
Common mistakes that ruin a good mullet
Plenty of people get the cut right and then undo it in five minutes of styling. These are the mistakes that show up most often.
Using too much product. Heavy application flattens the top and makes the tail look greasy. Start small and build.
Treating all three zones the same. The top, sides, and back need different handling. One product and one technique for the whole head rarely works.
Skipping heat protection. It is the easiest step to forget and the most expensive to skip. Damaged hair does not hold shape well.
Over-brushing dry curls. Brushing curly hair when dry creates frizz and breaks up definition. Use your fingers or a wide-tooth comb instead.
Letting the tail go too long between trims. The shape depends on the contrast between short and long. When the top and sides grow out, the mullet turns into a shaggy bob.
Ignoring the hairline. The front hairline sets the whole look. If the fringe is flat or greasy, the cut looks tired even when it is fresh.
Maintenance: the real cost of a mullet
A mullet needs regular trims to keep the top and sides short while the back grows. Typical advice is every four to eight weeks, though the interval depends on how fast your hair grows and how sharp you want the contrast.
That schedule is the main ongoing cost. The cut itself is not complicated, but it relies on contrast, and contrast disappears as the short sections grow out. If you want the shape to stay crisp, book the trim before the top starts looking shaggy.
Between appointments, a few small habits help. Keep the ends of the tail trimmed at home if you are confident with scissors, or ask your stylist to point-cut the ends so they stay soft as they grow. Wash with a gentle shampoo and use conditioner mainly on the tail, where the hair is older and drier.
Adapt the styling to the occasion
A mullet is flexible, which is part of its appeal. The same cut can read casual, sharp, or somewhere in between depending on how you style it.
For a relaxed, everyday look, rough-dry the top, skip the product, and let the tail air-dry. For something sharper, blow-dry the top with lift, smooth the tail with a brush, and finish with a light pomade. For a more polished finish, sweep the fringe to one side and keep the sides tight.
The same logic applies to accessories and overall styling: small, deliberate choices carry more weight than piling on detail. A clean finish and one strong element, whether that is the fringe or the tail, usually beats trying to make every part of the look shout. If you enjoy building a look from small details, browsing ideas for cute nail designs for every style, season and occasion shows the same principle at work: restraint and contrast do more than excess.
What to tell your stylist
A good mullet starts in the chair. Bring photos, but more importantly, describe the shape you want in plain terms. Say how short you want the top and sides, how long you want the back, and whether you want the transition blended or sharply disconnected.
Mention your routine. If you will not blow-dry, ask for a cut that works with air-drying. If you have fine hair, ask for texture rather than weight. Stylists can adjust the shape to suit how much effort you are actually willing to put in, and that honesty saves months of frustration.
Conclusion
Styling a mullet is less about following a rigid routine and more about respecting its structure. Treat the top, sides, and back as three separate jobs. Match your product to your hair type, dry the top for volume and the back for smoothness, and use a light hand on the front. Keep the ends clean and book trims every four to eight weeks so the contrast that defines the cut never disappears.
Get those basics right and the mullet stops being a gamble. It becomes a deliberate, flexible style that works with your hair instead of against it.
How often should a mullet be trimmed?
Most stylists suggest every four to eight weeks, depending on how fast your hair grows. The top and sides need regular trimming to stay short while the back keeps its length. Wait too long and the contrast fades, which is the thing that makes a mullet look like a mullet.
What is the best product for a mullet?
It depends on your hair type. Fine hair usually does best with sea-salt spray or a lightweight texturizing spray. Thick or curly hair often needs a light cream or leave-in to control frizz. For the front, a small amount of light pomade or matte clay gives control without weighing the hair down.
Can you style a mullet without blow-drying?
Yes. Air-drying works well if you apply a texturizing spray to damp hair and use your fingers to lift the top as it dries. The tail will usually lie flatter on its own. If you want more lift or a smoother back, a quick blow-dry with a brush makes a noticeable difference, but it is not mandatory.
How do you stop a mullet from looking messy?
Keep the three zones separate. Use less product than you think you need, smooth the tail with a brush, and trim the ends regularly. Messy mullets usually come from heavy product, skipped trims, or treating the whole head with one technique. Clean ends and a defined front do most of the work.
Does a mullet work on curly hair?
It can, and many people with curls wear one well. The key is to work with the curl pattern instead of against it. Use a light curl cream or sea-salt spray, avoid brushing dry curls, and let the tail keep some natural texture. Ask your stylist to cut the back with the curls in mind so it does not turn into a triangle.
How long does it take to grow a mullet?
It varies by person, but hair typically grows around half an inch per month. If you are starting from short hair, expect several months before the back reaches a noticeable length. Many people grow the back first and then have the top and sides shaped, which keeps the cut looking intentional during the transition.









