

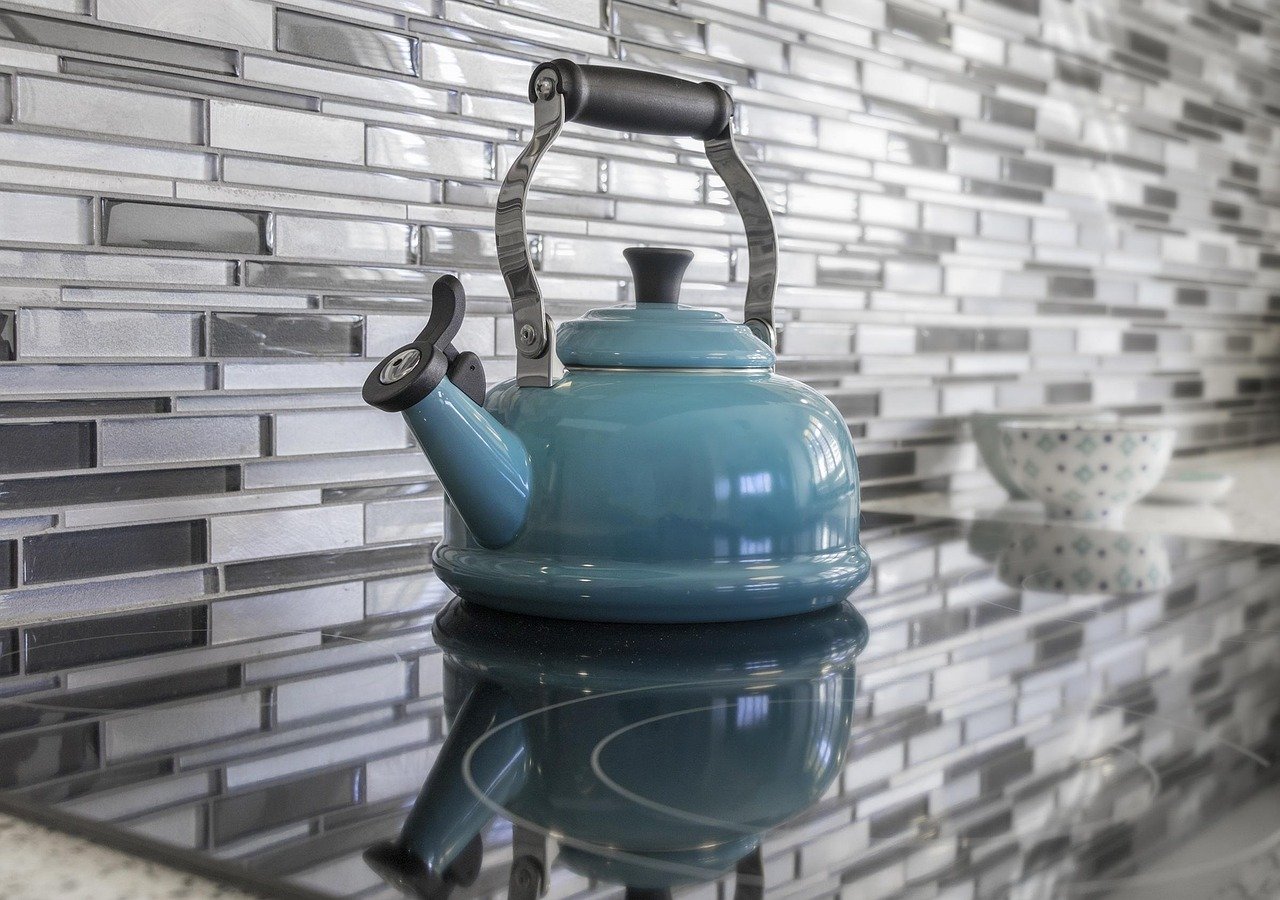

What if the most expensive mistake in a kitchen isn’t the countertop you chose, but the backsplash you put above it? It happens more often than anyone likes to admit. A homeowner falls in love with a dramatic veined stone slab, then adds a busy mosaic behind it, and suddenly the whole wall looks like two patterns arguing. The materials are fine. The pairing is not.
Countertop and backsplash pairing is one of those decisions that looks purely aesthetic but quietly controls how a kitchen feels for the next fifteen years. Get it right and the room looks calm, intentional, and larger than it is. Get it wrong and every guest notices something is off, even if they can’t say what.
This guide walks through the practical logic designers actually use: how to balance pattern, how tall a backsplash should be, which materials survive the splash zone, and the small installation details that separate a crisp job from a sloppy one.
Why the pairing matters more than either material alone
A countertop and a backsplash occupy the same visual plane. They meet in a hard line that runs around the entire kitchen, so the eye reads them as a single composition whether you planned it that way or not. That’s why a gorgeous countertop can look worse after a backsplash goes in, and why a modest countertop can look expensive when the wall above it stays quiet.
The core principle is simple: one element should lead and the other should support. If the countertop has strong movement, the backsplash should recede. If the countertop is a solid, near-flat color, the backsplash can carry texture or pattern. Two loud surfaces next to each other compete, and competition reads as clutter no matter how much the materials cost.
There’s a second reason the pairing deserves real thought: water. The backsplash is the splash zone. Whatever you choose has to handle standing water, steam, grease, and the occasional scrubbing without staining, etching, or growing mold in a seam.
The contrast rule: let one surface do the talking

Most pairing decisions come down to a single question: which surface is the star?
| Countertop style | Backsplash approach that works | Why it works |
|---|---|---|
| Bold veining or heavy movement | Solid color, subtle texture, or a plain slab | The countertop stays the focal point |
| Quiet solid color | Patterned tile, mosaic, or textured stone | The backsplash adds interest without fighting |
| Warm undertone (cream, beige, warm gray) | Warm-toned tile or stone, or a matching neutral | Undertones stay consistent |
| Cool undertone (white, gray, cool marble) | Cool-toned tile or a crisp white | Prevents a muddy clash |
| Dramatic dark stone | Light, simple backsplash or a matching dark slab | Either contrast or continuity, never a third color |
Notice what’s missing from that table: exact color matching. Designers tend to coordinate by undertone rather than by identical color. Two whites from different families, one warm and one cool, will look wrong together even though both are technically white. Holding a sample against the countertop in the actual room, under the actual lighting, is the only reliable test.
Match the slab or contrast it
There are two clean strategies for a stone countertop.
The first is continuity: run the same slab up the wall. This is the backbone of a lot of high-end kitchen design, and for good reason. The veining flows from horizontal to vertical, the seam nearly disappears, and the kitchen reads as one carved piece. It costs more because you’re buying more slab, and it requires a fabricator who can book-match or sequence the cuts carefully.
The second is contrast: keep the countertop as the hero and put a calm, solid surface above it. This is often the smarter budget move, and it’s more forgiving if the slab has a wild pattern.
What rarely works is a third path: a busy countertop plus a busy tile in a different color family. That’s the classic pairing mistake, and it’s expensive to undo.
How tall should the backsplash be?
The traditional answer is about 4 inches, roughly 10 centimeters, which matches the gap between most countertops and the bottom of upper cabinets. That’s a long-standing convention rather than a legal requirement, and it exists mostly because it’s the minimum that protects the wall from splashes.
The alternatives:
- Short backsplash (about 4 inches): cheapest, least visual weight, and fine in kitchens where the wall above is painted and you want it to stay visible.
- Full-height backsplash: runs from countertop to the underside of upper cabinets, or all the way to the ceiling where there are no uppers. This has been a dominant trend through the 2010s and 2020s because it makes the wall feel taller and eliminates a paint strip that inevitably gets greasy.
- Full-height with a slab: the most seamless version, and the most expensive.
Full-height is usually the better call behind a range, where steam and oil land well above four inches. Before committing, check the actual cabinet layout, because the “standard” gap varies with the design, and a short backsplash under unusually high uppers can look stranded.
Material choices and what they demand
Material selection is where good intentions meet reality. Every surface has a maintenance contract attached.
| Material | Sealing needed | Heat tolerance | Best use in a pairing |
|---|---|---|---|
| Quartz | No | Moderate; check manufacturer guidance near ranges | Countertops, and matching backsplashes |
| Porcelain tile | No | High | Full-height backsplashes behind ranges |
| Natural stone (marble, granite) | Typically yes | High, but some stones can scorch or stain | Slab backsplashes, with regular sealing |
| Ceramic tile | No | High | Budget-friendly patterned backsplashes |
| Laminate and some solid surfaces | No | Lower; can be damaged near cooktops | Short backsplashes away from heat |
Two facts drive most of this. Natural stone is porous and generally needs sealing, while porcelain and quartz do not, which makes them easier in the splash zone. And heat matters: some countertop and backsplash materials can be damaged by proximity to a cooktop, so manufacturer clearance guidance is worth reading rather than assuming.
For anyone planning a bigger change, the pairing decision usually sits inside a wider scope. It’s worth thinking about it alongside the rest of your kitchen remodeling plan rather than as a last-minute add-on, because the backsplash height affects electrical outlets, cabinet placement, and lighting.
Grout, caulk, and the seam nobody thinks about
Here’s a detail that separates a professional job from an amateur one. The joint where the backsplash meets the countertop should be caulk, not grout. Houses move. Cabinets flex slightly, countertops expand and contract, and rigid grout in that joint will crack. A flexible caulk joint absorbs that movement and keeps water out.
The same logic applies to inside corners and where the backsplash meets the cabinet. Grout lines elsewhere should be consistent and narrow enough to read as a clean grid rather than a distraction.
A few practical tips from the field:
- Lay out tile before mixing anything. Dry-fit a row to see how cuts land at corners and around outlets. Centered layouts look intentional; edge slivers look like a mistake.
- Align grout lines with the countertop edge where possible. A slightly off grid is more noticeable than a bold pattern.
- Seal natural stone before grouting, not after, so grout doesn’t stain the face.
- Keep a spare box of tile and a scrap of caulk. Future you will be grateful.
Color and lighting: the test most people skip
Samples lie in showrooms. A tile that looks warm gray under fluorescent showroom light can turn green in a north-facing kitchen and pink under warm bulbs.
The practical move is to bring samples home and look at them at three times of day: morning, midday, and evening with the lights on. Prop the tile against the countertop sample exactly as it will sit, vertically against horizontal. Undertones that look fine flat can clash once one surface is standing up.
Designers also lean on a simple hierarchy: pick the countertop first because it’s the largest and most permanent surface, then let the backsplash respond to it. Choosing the backsplash first and hunting for a countertop to match is backwards, and it usually costs more.
If the kitchen is heading toward a high-end renovation, this is exactly the kind of decision that defines luxury kitchen remodeling: not the price tag, but whether the surfaces feel like they were chosen together on purpose.
Common mistakes and how to avoid them
The same errors show up again and again.
Fighting patterns. A veined countertop plus a patterned tile plus a busy floor is three competing rhythms. Pick one to be interesting and let the others be quiet.
Ignoring undertones. Matching “white to white” without checking warm versus cool is the most common regret.
Skipping the heat check. Putting a heat-sensitive material directly behind a range because it looked good in a photo.
Undersizing the splash zone. Four inches is fine in dry areas, but behind a sink and range, more coverage saves the wall.
Forgetting outlets and switches. A full-height backsplash changes how outlets are placed and finished. Plan the layout before the tile order, not after.
Grouting the countertop joint. It will crack. Use caulk.
Conclusion
Pairing a countertop with a backsplash isn’t about finding two beautiful materials. It’s about deciding which one leads, keeping undertones consistent, choosing a height that protects the wall where it matters, and respecting what each material needs to stay looking new. The kitchens that age well are rarely the boldest ones. They’re the ones where the surfaces were chosen as a pair, with one clear voice and no argument at the seam.
Start with the countertop, bring samples home, look at them under your own lighting, and let the backsplash play a supporting role unless you’ve deliberately decided otherwise. Do that, and the wall above your counter will quietly do its job for decades.
FAQ
What is the standard height for a kitchen backsplash?
About 4 inches, or roughly 10 centimeters, above the countertop. That matches the typical gap between the counter and the bottom of upper cabinets. It’s a long-standing convention rather than a code requirement, and many kitchens now run the backsplash full height to the cabinets or ceiling.
Should the backsplash match the countertop exactly?
Not necessarily. Matching by undertone usually works better than matching by exact color. If the countertop has strong veining, a quieter backsplash in a compatible tone keeps the room calm. Running the same slab up the wall is the one case where an exact match makes sense.
Is a full-height backsplash worth it?
Often, yes, especially behind a range or sink where splashes travel well above four inches. It also makes walls feel taller and removes a paint strip that tends to collect grease. The trade-offs are cost and the need to plan outlet placement before installation.
Which backsplash materials need sealing?
Natural stone such as marble and granite typically needs sealing, and sometimes resealing over time. Porcelain, ceramic tile, and quartz generally do not. In a splash zone, lower-maintenance materials are often the practical choice.
Can I put a patterned tile above a veined countertop?
You can, but it’s risky. Two strong patterns compete for attention and usually read as clutter. If the countertop has movement, a solid or subtly textured backsplash is the safer pairing. Save pattern for a kitchen with a quiet countertop.
Should the countertop-to-backsplash joint be grouted or caulked?
Caulk. That joint moves as cabinets and countertops expand and contract, and rigid grout will crack. A flexible caulk joint handles movement and keeps water from getting behind the backsplash.









