

What if the most important part of your blood pressure monitor is not the screen, the app, or the brand name, but a fabric band that wraps around your arm? It sounds almost too simple. Yet that band, the bp monitor cuff, can swing your reading by enough points to change a diagnosis, a medication dose, or a doctor’s decision. People spend hours comparing monitor features and almost no time checking whether the cuff actually fits. That is a costly mistake, and it is easy to fix.
This guide covers how cuffs work, how to size one correctly, how to put it on, and what to do when the numbers look strange. It is practical, a little opinionated, and grounded in how blood pressure measurement actually behaves in the real world.
What the Cuff Actually Does
A blood pressure cuff is not a passive strap. It is an inflatable bladder inside a fabric sleeve, and it temporarily squeezes the brachial artery in your upper arm to stop blood flow. As it deflates, the monitor watches for changes.
There are two main measurement methods:
- Auscultatory: a clinician listens with a stethoscope for Korotkoff sounds, the tapping noises blood makes as flow returns. This is the classic method taught in medical training.
- Oscillometric: an automated monitor senses pressure oscillations in the cuff and calculates systolic and diastolic values from them. Most home monitors work this way.
The oscillometric method is convenient, but it is also sensitive to cuff fit and arm position. A loose cuff, a cuff over a sleeve, or an arm hanging at your side can all distort the signal the device is trying to read. The cuff does more than hold the sensor. In an automated monitor, the cuff is the sensor.
Why Cuff Size Changes the Number on the Screen
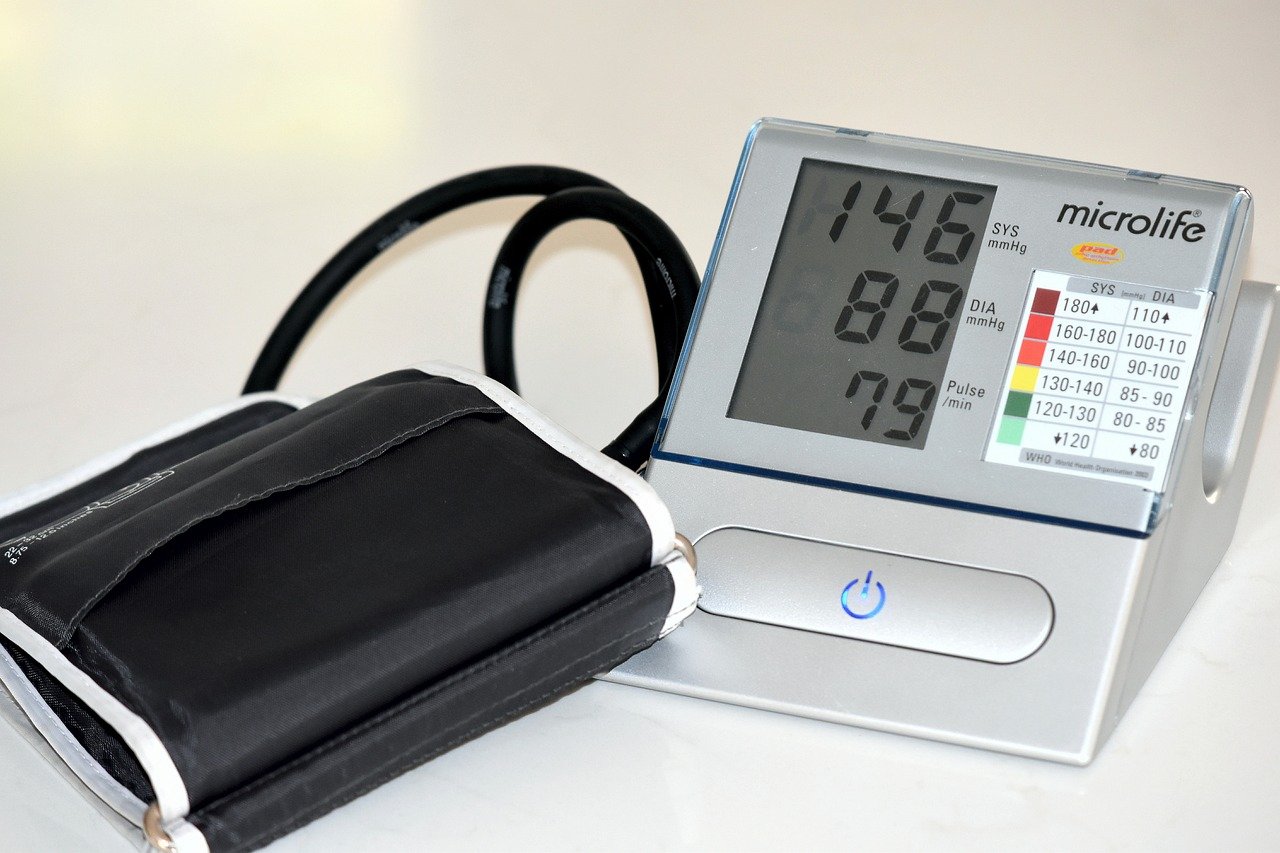
Here is the core fact that surprises most people: a cuff that is too small tends to overestimate blood pressure, and a cuff that is too large tends to underestimate it. The effect is not trivial. For someone near the boundary between normal and high blood pressure, a wrong-sized cuff can push a reading across the line.
The reason is mechanical. The bladder must transmit pressure evenly to the artery underneath. If the bladder is too short or too narrow for the arm, it has to be inflated harder to compress the artery, and the device reads that extra effort as higher pressure. If the bladder is oversized, pressure is distributed over a larger area and the reading drifts lower.
Measurement guidance sets the bladder dimensions relative to arm circumference: bladder length of roughly 75 to 100 percent of arm circumference, and width of roughly 37 to 50 percent. In everyday terms, that means the cuff has to wrap most of the way around your bare upper arm, not perch on top of it.
Manufacturers print a range on the cuff, often something like 22 to 32 cm for a standard adult cuff. Small-adult, large-adult, and thigh cuffs cover other ranges. Those centimetre bands are not identical from brand to brand, so the printed range on your specific cuff is the one that matters. A “one size fits most” cuff is a marketing convenience, not a clinical guarantee.
How to Measure Your Arm and Pick the Right Cuff
You need one number: the circumference of your upper arm at its midpoint. Here is the reliable way to get it.
- Stand relaxed with your arm hanging down or resting on a table.
- Find the midpoint between the bony tip of your shoulder and the crease of your elbow.
- Wrap a soft tape measure snugly around that midpoint, level all the way around.
- Write the number down in centimetres.
- Compare it to the range printed on the cuff, not to a guess.
If your measurement falls near the top of one range and the bottom of the next, choose the larger cuff. A slightly generous cuff is generally the safer error, since oversizing tends to lower readings rather than inflate them. If you are buying a monitor for two people with very different arm sizes, buy two cuffs. Sharing one cuff across a 24 cm arm and a 38 cm arm guarantees at least one person gets bad data.
A few practical notes from people who measure often:
- Fabric cuffs with a firm, marked bladder are easier to position consistently than soft, floppy ones.
- A cuff with a clear artery marker (usually an index line or arrow) helps you place the bladder over the brachial artery instead of the side of the arm.
- Cuffs with a rigid pre-formed shape are easier to put on one-handed, which matters if you live alone.
- Replacement cuffs are cheap. If yours is cracking, leaking, or the hook-and-loop fastener no longer grips, replace it rather than fighting it every morning.
The Placement Mistakes That Ruin Readings
Good technique is not fussiness. It is the difference between a number you can trust and a number you cannot. These are the errors that show up again and again. (The row)
Cuff over clothing
A cuff over a shirt sleeve adds a layer between bladder and artery. Thin fabric is a small error; a sweater is a large one. Roll up the sleeve or take the shirt off. If a sleeve is tight enough to bunch under the cuff, remove it entirely.
Cuff too low on the arm
The bottom edge of the cuff should sit about 2 to 3 cm above the elbow crease. Push it lower and you are compressing the wrong part of the artery.
Arm not supported at heart level
If your arm hangs down, gravity adds pressure. If it is raised too high, the reading drops. Rest the arm on a table so the cuff sits at roughly heart level.
Talking, crossing legs, or a full bladder
All three push readings up. Sit with your back supported, feet flat on the floor, and stay quiet during the measurement. Empty your bladder first.
One reading, taken once
Guidelines recommend at least two readings about a minute apart, with the average recorded. A single reading is a snapshot; two readings are data.
Wrist and finger cuffs used as a shortcut
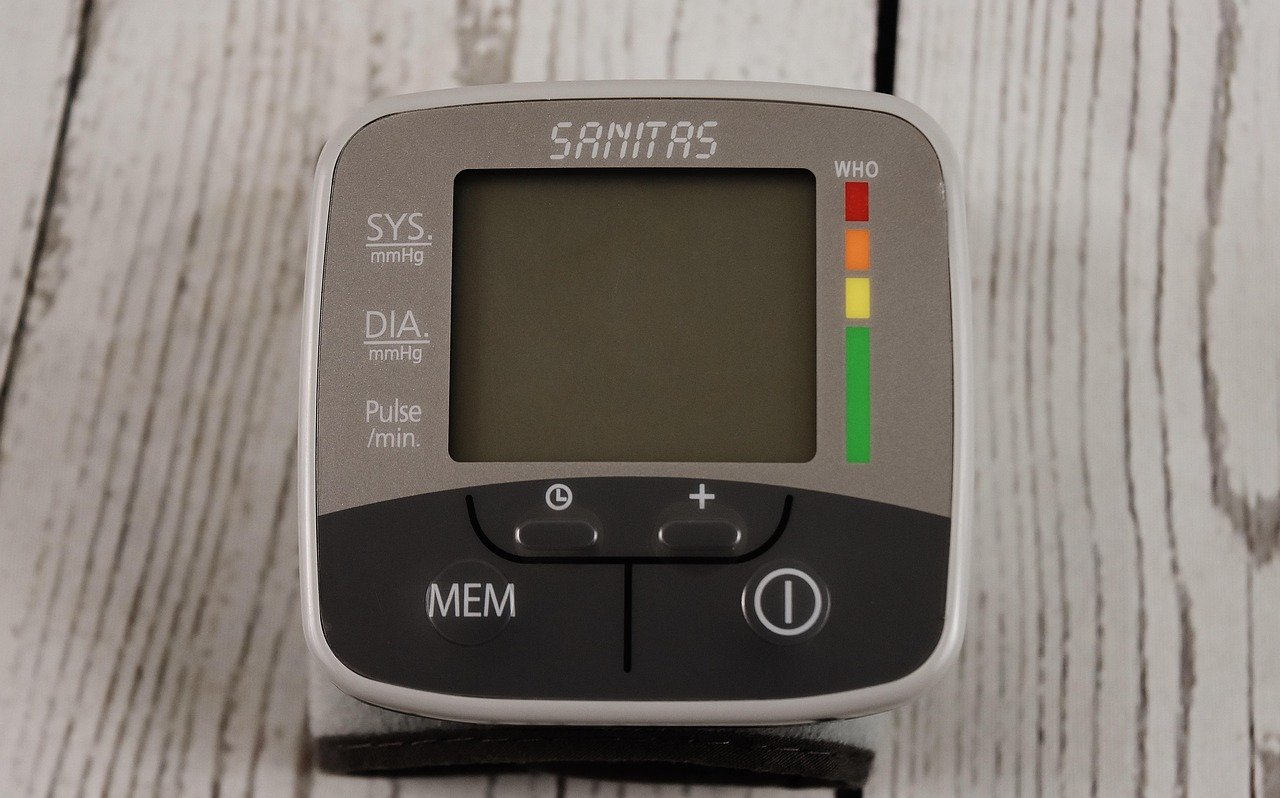
Wrist monitors are convenient but generally less reliable than upper-arm cuffs, and most guidance points to validated upper-arm devices for routine home monitoring. If a wrist cuff is the only option due to mobility limits, positioning becomes even more critical: the wrist must be supported at heart level, which is harder than it sounds.
Reading the Numbers: What a Good Cuff Session Looks Like
A clean measurement has a rhythm to it. Sit for five quiet minutes first. Wrap the cuff on bare skin, snug enough that you can slide one fingertip under the edge but no more. Press start. Do not talk, do not check your phone, do not shift. Wait a minute. Take the second reading. Average them.
| Problem | Likely cause | Fix |
|---|---|---|
| Reading much higher at home than at the clinic | Cuff too small, arm unsupported, talking, recent caffeine or smoking | Re-measure arm, rest 5 minutes, retake silently |
| Reading much lower than expected | Cuff too large, arm raised above heart level | Check cuff range, lower arm to heart level |
| Wildly different numbers back to back | Cuff slipping, loose fastener, movement | Reposition, tighten, retake after a minute |
| Error message or repeated inflation | Cuff too tight, kinked tube, movement | Loosen one notch, check tubing, stay still |
| Numbers drifting upward over months | Possible real trend, or a worn cuff | Replace cuff, then compare trends again |
One more habit worth building: bring your monitor and cuff to a clinic appointment once a year and compare a reading against the clinician’s measurement. It is the simplest way to catch a cuff that has quietly stopped doing its job.
Cuffs, Hair, and Skin: Small Details That Matter
For readers with thick or tightly coiled hair on the arms, or with sensitive skin, cuff comfort affects consistency. A cuff that pinches gets readjusted mid-measurement, and readjusting mid-measurement ruins the reading. If you have 4c hair on your forearms or a cuff that tugs at the skin, position the bladder on smooth skin above the elbow crease and keep the fastener flat. The same logic applies to anyone with a snug sleeve line or a skin fold under the cuff: smooth the area first, then inflate. (2b hair)
Cuff fit also interacts with hair type in a less obvious way. Very curly or coarse arm hair can make a fabric cuff slide during inflation, so a cuff with a wider fastener panel holds position better than a narrow one. It is a small thing that makes a real difference over hundreds of readings.
Manual vs. Automated Cuffs: A Quick Comparison
| Feature | Manual (auscultatory) cuff | Automated (oscillometric) cuff |
|---|---|---|
| Who uses it | Trained clinicians, some home users | Most home monitors |
| Skill needed | High: placement plus listening | Low: press start |
| Cuff fit sensitivity | Moderate | High |
| Best for | Clinical settings, verification | Daily home tracking |
| Common failure | Poor stethoscope placement | Loose or wrong-sized cuff |
Neither type is “better” in the abstract. The automated cuff wins on repeatability for daily use; the manual cuff wins on transparency because a trained ear hears what is happening. What both share is a hard dependency on correct sizing.
When to Replace a Cuff
There is no universal replacement interval, and any specific number you hear is manufacturer guidance rather than a standard. What matters is condition. Replace the cuff when:
- The bladder no longer holds pressure or deflates on its own.
- The tube is cracked, kinked, or loose at the connector.
- The fastener no longer holds firmly during inflation.
- The fabric is torn enough that the bladder shifts position.
- Readings have become erratic and technique has been ruled out.
Cuffs are among the least expensive parts of a monitor and the most consequential. Keeping a spare is not excessive; it is sensible, especially for anyone measuring daily.
Conclusion
The bp monitor cuff is the part of the kit nobody brags about and everybody depends on. Size it to your actual arm, put it on bare skin, keep the arm supported at heart level, stay quiet, and take two readings instead of one. Those five habits do more for accuracy than any upgrade to the device itself. If your numbers have ever looked strange, start with the cuff before you doubt the diagnosis. Measure your arm this week, check the range printed on the band, and if it does not fit, fix it. Your readings, and the decisions made from them, will be better for it.
Frequently Asked Questions
What size cuff do I need for a blood pressure monitor?
Measure your upper arm circumference at the midpoint between shoulder and elbow, then match that number to the range printed on the cuff. Standard adult cuffs typically cover roughly 22 to 32 cm, with small-adult and large-adult sizes for other ranges. Bands vary by manufacturer, so trust the printed range on your specific cuff rather than a general rule.
Does cuff size really change blood pressure readings?
Yes. A cuff that is too small tends to overestimate blood pressure, and one that is too large tends to underestimate it. Measurement guidance ties bladder dimensions to arm circumference for exactly this reason. For someone near the threshold between normal and high blood pressure, the difference can affect how a reading is interpreted.
Can I use a wrist cuff instead of an upper-arm cuff?
Wrist monitors are convenient but generally less reliable than upper-arm cuffs, and most guidance favors validated upper-arm devices for routine home monitoring. If you use a wrist cuff, the wrist must be supported at heart level during measurement, which is harder to maintain than an arm resting on a table.
Why are my home readings higher than at the doctor’s office?
Common causes include a cuff that is too small, an unsupported arm, talking during measurement, a full bladder, or recent caffeine or smoking. Two readings a minute apart, taken while seated quietly with the arm at heart level, usually bring home numbers closer to reality. If the gap persists, compare your monitor against a clinical reading.
How often should I replace a blood pressure cuff?
There is no universal replacement interval; guidance varies by manufacturer. Replace the cuff when the bladder leaks or deflates on its own, the tube cracks, the fastener stops holding, the fabric tears, or readings become erratic after technique has been ruled out. Cuffs are inexpensive relative to the cost of bad data.
Does it matter if I put the cuff over my sleeve?
Yes. A cuff over clothing adds a layer between the bladder and the artery, which distorts the reading. Roll the sleeve up or remove the shirt. If the sleeve bunches under the cuff, take it off entirely rather than trying to make it work.









