


Removing acrylic nails at home takes time and patience. The safest approach is to soften the acrylic with pure acetone and remove it gently. You should never pull, bite, or force the nails off.
There are two common ways to use acetone at home: the foil method and the soak method. The foil method keeps most of the acetone on the nails instead of soaking your fingertips. If your acrylic nails are thick, painful, badly lifted, or difficult to remove, a nail salon is the better choice.
This guide explains both methods, what you need, and how to care for your natural nails after removal.
Key Takeaways
- Never pull or bite off acrylic nails.
- Use pure acetone to soften acrylic before removal.
- The foil method limits how much acetone touches your skin.
- The soak method exposes more skin and needs extra care.
- Never heat acetone directly because it is flammable.
- Stop if the acrylic resists instead of forcing it off.
- Keep natural nails short and moisturized after removal.
- Visit a salon if your nails are damaged or the product will not soften.
Why You Should Never Pull Off Acrylic Nails
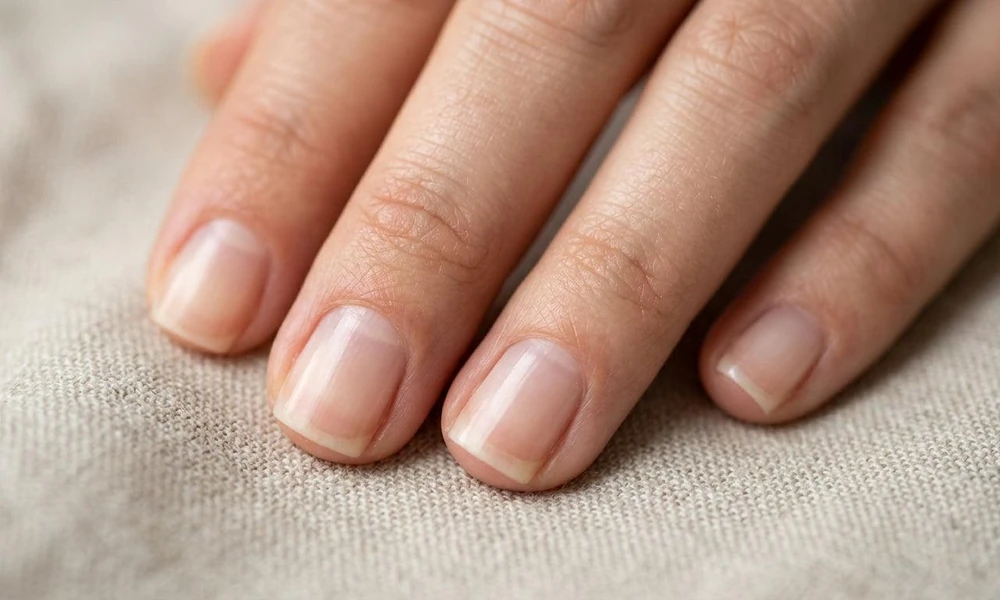
It can be tempting to pull off acrylic nails when they start lifting. However, this can damage your natural nails.
Acrylic products stick firmly to the nail surface. When you force them off, you may also remove layers of your natural nail.
This can leave your nails:
- Thin and weak
- Rough or uneven
- Sensitive to touch
- More likely to split or break
- Sore around the nail bed
The damage may take months to grow out fully. That is why you should let the acrylic soften before trying to remove it.
If you want to understand the differences between acrylics, press-ons, and other types of fake nails, read our complete guide.
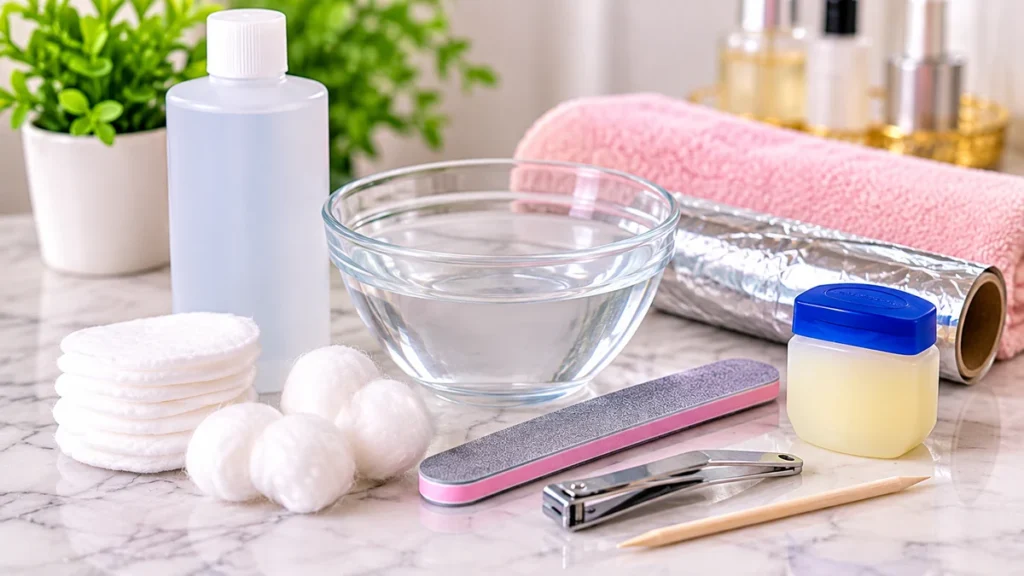
What You Need to Remove Acrylic Nails at Home
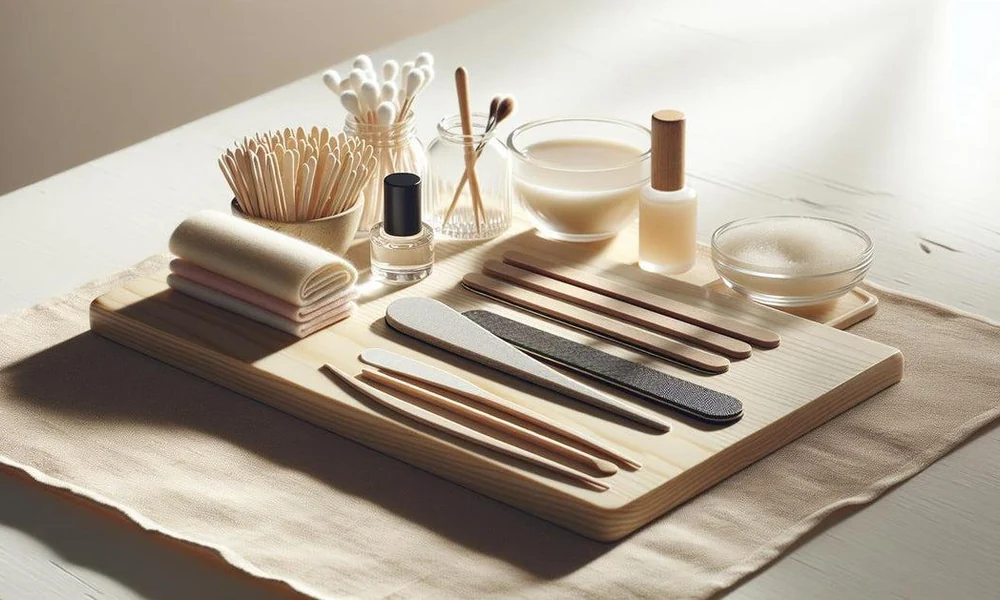
Prepare everything before you begin. This helps you avoid rushing or trying to pull off acrylic that has not softened enough.
You will need:
- Pure acetone
- Cotton balls or cotton pads
- Aluminum foil
- A nail file
- Nail clippers
- Petroleum jelly
- A wooden cuticle stick
- A soft towel
- Hand cream or cuticle oil
Important safety tips: Acetone is highly flammable. Keep it away from candles, cigarettes, stoves, heaters, and other heat sources. Never microwave acetone or heat it directly. Work in a well-ventilated room and follow the warnings on the product label.
Method 1: Remove Acrylic Nails With the Foil Method
The foil method is a useful option because it keeps the acetone-soaked cotton in contact with each nail. It also limits how much acetone touches your skin.
Set aside enough time to work slowly. Thick acrylic may need more than one soaking round.
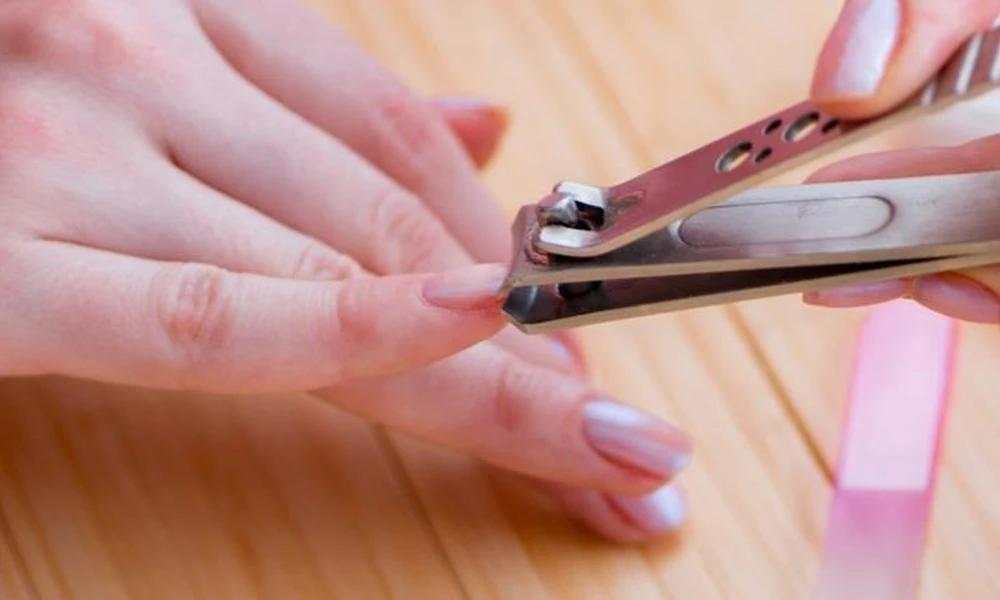
Step 1: Trim the Acrylic Length
Use nail clippers to shorten the artificial nail if it is long.
Do not cut too close to your natural nail. Leave enough space so you do not accidentally clip your own nail.
Step 2: File the Shiny Top Layer
Use a nail file to gently remove the shiny top coat.
You do not need to file all the acrylic away. The goal is only to remove the surface seal so acetone can reach the product more easily.
Avoid filing into your natural nail.
Step 3: Protect the Skin Around Your Nails
Apply a thin layer of petroleum jelly around your nails.
Try to keep it on the surrounding skin rather than covering the acrylic itself. This helps reduce direct contact between acetone and your skin.
Step 4: Soak the Cotton in Acetone
Cut small pieces of cotton that fit over each nail.
Soak each piece in pure acetone. Place one piece on each acrylic nail.
Use enough cotton to cover the nail, but avoid soaking the surrounding skin.
Step 5: Wrap Each Nail With Foil
Place a small square of aluminum foil around each fingertip.
Wrap it firmly enough to hold the cotton in place, but not so tightly that it causes discomfort.
Repeat this process on all ten nails.
Step 6: Wait and Check the Acrylic
Leave the wraps in place for around 15 to 20 minutes as a starting point. Thicker or older acrylic may need more time.
Remove one wrap and check the product. It should look softer and may begin to lift or crumble.
If it still feels hard, put the cotton and foil back on for a few more minutes.
Step 7: Remove the Softened Acrylic Gently
Use a wooden cuticle stick to gently move the softened acrylic away from the nail.
Work from the cuticle area toward the tip without pressing hard.
If the product does not move easily, stop. Reapply acetone and wait longer.
Never scrape, pull, or force acrylic that is still attached.
Method 2: Remove Acrylic Nails With the Soak Method
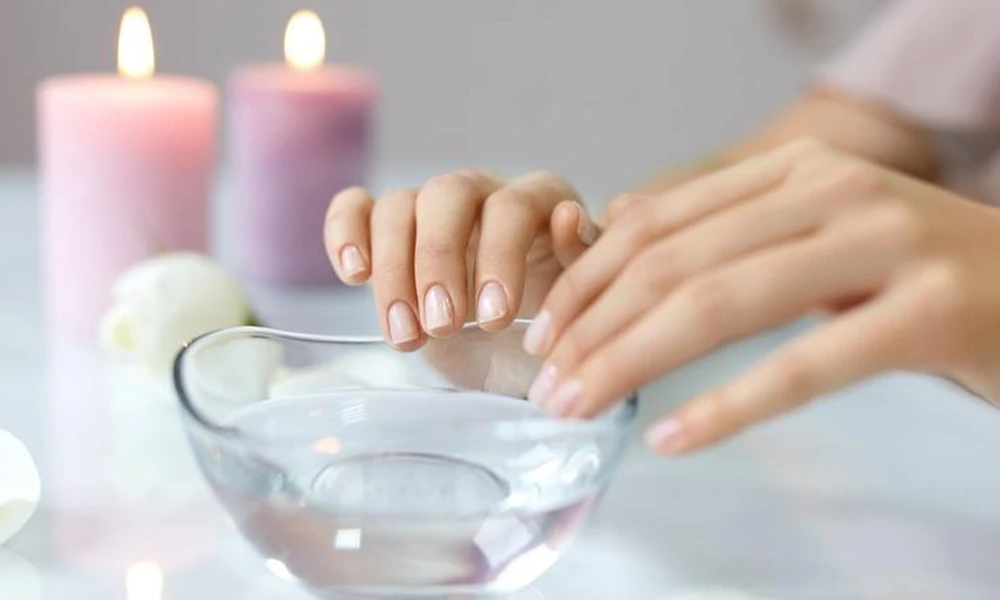
The soak method involves placing your fingertips in a small amount of acetone. It can be useful if you prefer not to wrap every finger with foil.
However, it exposes more skin to acetone, so the foil method is usually the better home option.
Step 1: Shorten and File the Acrylic
Trim the artificial nail length carefully.
Then file the shiny top layer to help the acetone reach the acrylic.
Step 2: Protect the Skin
Apply petroleum jelly around the nails. Keep it off the acrylic surface as much as possible.
Step 3: Prepare a Small Glass Bowl
Pour a small amount of pure acetone into a suitable glass bowl.
Place the bowl in a larger bowl containing warm water if you want to make the soak more comfortable. Keep water out of the acetone.
Do not heat acetone directly. Never use a microwave, stove, open flame, or hot heating device. Keep the setup away from all flames and heat sources.
Step 4: Soak Your Fingertips
Place only your fingertips in the acetone. Avoid soaking your whole hands.
Check the acrylic after about 20 minutes. Some sets may need longer, depending on their thickness and the product used.
Step 5: Check Whether the Acrylic Has Softened
Remove one finger and gently check the acrylic.
If it has softened, use a wooden stick to move it away without force.
If it remains hard, put your fingertip back into the acetone for a little longer.
Step 6: Wash Your Hands
Once the acrylic has been removed, wash your hands with mild soap and water.
Dry them gently and apply hand cream or cuticle oil.
Do not use this method if the acetone causes strong irritation or discomfort. Stop and rinse your skin if you notice a reaction.
Foil Method vs. Soak Method vs. Salon Removal
Not sure which option to choose? This table explains the main differences.
| Method | How It Works | Main Benefit | Main Concern |
| Foil method | Acetone-soaked cotton is wrapped around each nail | Less acetone touches the skin | Requires a little preparation |
| Soak method | Fingertips are placed in acetone | Simple setup | More skin is exposed to acetone |
| Salon removal | A nail technician removes the acrylic | Professional help and nail-by-nail checks | Requires an appointment and a service fee |
For most people removing acrylics at home, the foil method is a practical starting point. If you have damaged nails or are unsure what product is on your nails, choose professional removal.
How to Care for Your Natural Nails After Acrylic Removal

After removing acrylics, your natural nails may feel dry, thin, or sensitive. This can happen because of the filing and soaking involved in wearing and removing artificial nails.
Give your nails gentle care instead of applying another set right away.
1. Apply Cuticle Oil
Use cuticle oil around your nails and along the free edges.
Apply it regularly to help keep the nail area and surrounding skin moisturized.
2. Use Hand Cream
Wash your hands gently and apply hand cream afterward.
Acetone can dry the skin, so moisturizing helps reduce that dry feeling.
3. Keep Your Nails Short
Long, thin nails can catch on clothes and other objects.
Trim them to a comfortable length and file any rough edges gently.
You can explore simple short nail ideas while your natural nails grow.
4. Avoid Another Acrylic Set Immediately
If your nails feel weak or sore, give them a break from artificial products.
You do not need to follow a fixed one-week rule. The right time depends on the condition of your nails. Wait until they feel comfortable, and do not cover damaged nails with another set.
5. Do Not Over-Buff Your Natural Nails
After removal, you may notice small rough areas or white patches.
Do not keep buffing the nail to make the surface look smooth. This can make thin nails even weaker.
If the nail surface is damaged, let the affected area grow out.
6. Watch for Unusual Changes
Mild dryness can happen after acetone use. However, pain, swelling, redness, nail separation, or a rash should not be ignored.
If these problems continue or become worse, speak with a dermatologist.
For more advice on caring for your own nails, visit our natural nails guide.
When Should You Visit a Nail Salon?
Removing acrylics at home is not always the best choice.
Book a professional removal if:
- Your natural nails are already thin or painful.
- The acrylic is badly lifted or cracked.
- You cannot tell whether you have acrylic or a file-off gel product.
- The acrylic does not soften after repeated soaking.
- You have cuts, swelling, or irritation around your nails.
- You are worried about damaging your natural nails.
A nail technician can check the product and choose the correct removal method. Some hard gel products, for example, are filed off rather than soaked away with acetone.
If you are not sure which type of artificial nail you have, do not assume that every product can be removed in the same way.
Common Mistakes to Avoid When Removing Acrylic Nails
A few small mistakes can cause unnecessary nail damage.
Pulling off lifted acrylic: Even if one side is loose, the rest may still be attached. Soften it first.
Using non-acetone remover: Regular non-acetone polish remover may not remove acrylic extensions effectively.
Filing too deeply: Only remove the shiny surface layer before soaking. Do not file down to your natural nail.
Pushing too hard: If the acrylic resists, it needs more time. Do not use force.
Heating acetone directly: Acetone is flammable. Never microwave it or place it over a stove or direct heat.
Skipping aftercare: Acetone can dry the skin and nails. Wash your hands and apply moisturizer after removal.
Frequently Asked Questions
How do you remove acrylic nails at home without acetone?
Pure acetone is commonly used to soften acrylic nails for removal. Non-acetone polish remover and warm soapy water are not reliable substitutes for removing acrylic extensions. If you cannot use acetone, ask a nail technician to remove them.
How long does it take to remove acrylic nails?
The time depends on the thickness of the acrylic and the removal method. The first soak may take around 15 to 20 minutes, but some sets need extra time and another round. Allow enough time for preparation, soaking, and gentle removal.
Why are my nails thin after removing acrylics?
Acrylic application and removal can leave natural nails thin or weak, especially if too much of the nail surface was filed or the product was pulled off. Moisturize your nails and keep them short while they grow.
Can I remove acrylic nails if they are already lifting?
Yes, but do not pull them off. A lifted area does not mean the rest of the acrylic has released safely. Soften the product and let it come away gently. If the natural nail is damaged or painful, visit a salon.
Is the foil method better than soaking nails in acetone?
The foil method is often a better home choice because it keeps acetone on the nail and reduces contact with the surrounding skin. The soak method exposes more of your fingertips to acetone.
Can I apply new acrylic nails immediately after removal?
It is better to check the condition of your natural nails first. If they are thin, sore, peeling, or damaged, wait and care for them before applying another set. A nail technician can help you decide whether your nails are ready.
What should I do if my nails hurt after removing acrylics?
Stop filing or applying nail products. Keep the nails short and use a gentle moisturizer. If the pain continues, or you notice swelling, redness, or nail separation, contact a dermatologist.
Final Thoughts
Removing acrylic nails safely is mostly about taking your time. The foil method is a useful option at home because it keeps acetone on the nail instead of soaking your whole fingertips.
The most important rule is simple: never force the acrylic off. If it does not soften, give it more time or ask a nail technician for help. The American Academy of Dermatology’s guide to artificial nails explains how artificial nail application and removal can affect natural nails and how to reduce damage.
After removal, keep your natural nails short, use cuticle oil, and apply hand cream regularly. A little care can help your nails feel more comfortable while they grow.









