

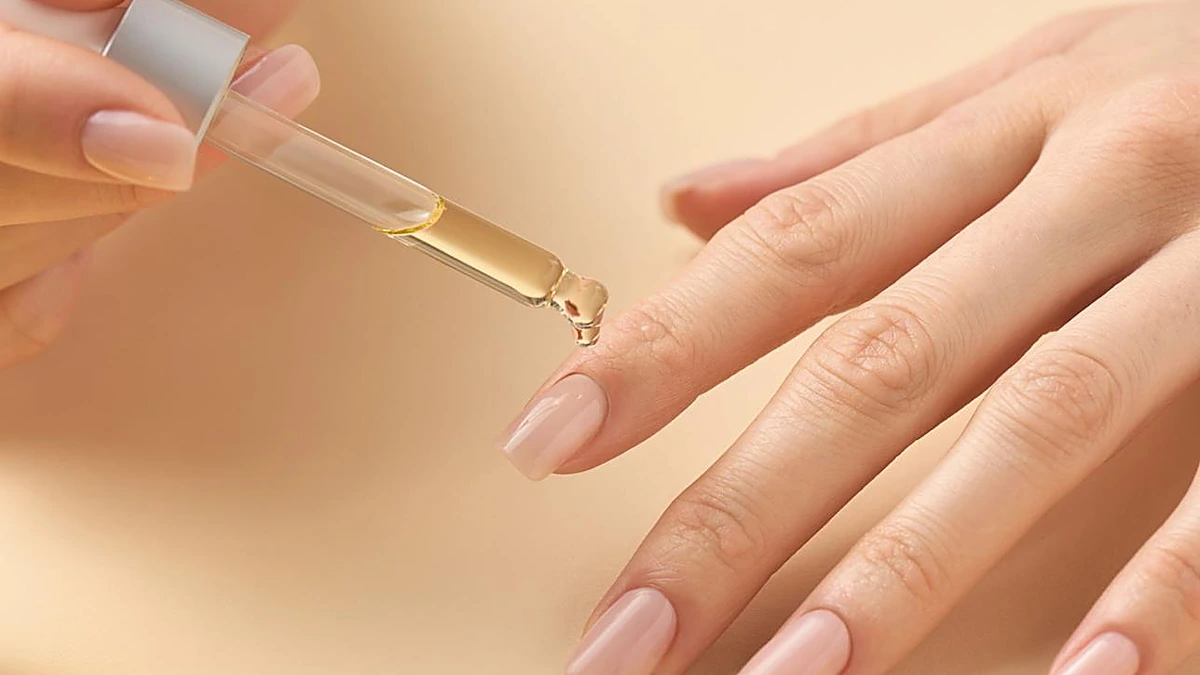

KISS nails are a popular option for anyone who wants a salon-style manicure at home. The brand offers glue-on press-on nails, magnetic designs, no-glue imPRESS nails, and nail adhesives for application and repairs.
The main difference between these products is how they attach to your natural nails. Glue-on KISS nails use liquid adhesive for a stronger hold, while imPRESS nails come with adhesive already attached. Each option also has its own removal method.
This guide explains the main KISS nail products, how to apply glue-on nails correctly, how long they can last, and how to remove them without pulling or damaging your natural nails.
Quick Answer: What Are KISS Nails?
KISS nails are artificial press-on nails made by KISS Products. The brand sells several types, including Core glue-on nails, magnetic-effect designs, imPRESS nails with built-in adhesive, and SuperGrip brush-on nail glue.
KISS glue-on nails can last up to 14 days when applied correctly, according to the brand. imPRESS nails use pre-applied adhesive and advertise up to 10 days of wear. Glue-on nails usually require acetone or a suitable nail remover, while imPRESS nails can be gently removed from the sides, using warm soapy water if needed.
Key Takeaways
- KISS offers Core glue-on nails, magnetic-effect designs, imPRESS no-glue nails, and SuperGrip adhesive.
- KISS Core includes everyday colors, French designs, and magnetic-effect styles.
- Glue-on nails are advertised for up to 14 days of wear.
- imPRESS nails are advertised for up to 10 days.
- Apply glue to both surfaces and hold the artificial nail for the time stated in the instructions.
- Glue-on nails need acetone or a suitable remover for safe removal.
- imPRESS nails can be gently lifted from the sides, with warm soapy water if needed.
- Never pull or force artificial nails off your natural nails.
What Are the Main KISS Nail Product Lines?

KISS offers different products for different manicure needs. Here are the main options to understand before choosing a kit.
1. KISS Core Press-On Nails
KISS Core is the brand’s everyday press-on collection. It includes solid colors, French tips, decorative designs, and different nail shapes and lengths.
You can choose short nails for a simple daily manicure or longer styles for a more noticeable look. The collection also includes magnetic-effect designs.
Core glue-on kits are a practical option if you want a ready-made design without visiting a salon.
2. KISS Core Magnetic Nails
KISS Core Magnetic nails have a special light-catching, velvet-like appearance. They are designed to give the nails a multi-dimensional magnetic-powder effect.
These are ready-made press-on designs. You do not need to apply magnetic polish or use a salon magnet to create the finish.
Choose this style if you like the look of magnetic cat-eye manicures but want the convenience of press-ons.
3. imPRESS No-Glue Press-On Nails
imPRESS is KISS’s no-glue press-on line. Each nail has adhesive already attached, so you do not need a separate glue bottle.
The application is simple: choose the correct size, prepare your nails, remove the backing, and press each artificial nail into place.
This option is useful if you want a quick manicure or prefer not to work with liquid nail glue. The brand advertises up to 10 days of wear, depending on application and daily habits.
4. KISS SuperGrip Brush-On Nail Glue
SuperGrip is a brush-on adhesive designed to attach artificial nail tips and press-on nails.
The small brush helps spread a thin layer of glue across the nail surface. This makes it easier to apply the adhesive evenly than using a narrow nozzle.
It can also be useful when you need to replace a lost or lifted press-on, provided the nail and adhesive are still suitable for reuse.
5. KISS Nail Tools and Accessories
KISS kits may include basic tools such as:
- Mini nail files.
- Wooden manicure sticks.
- Nail preparation pads.
- Nail glue.
- Artificial nail tips.
These accessories help with sizing, preparation, application, and removal. Check the kit contents before buying because not every package includes the same tools.
How to Apply KISS Glue-On Nails in 6 Steps
A good application starts before you open the glue. Correct sizing, clean nails, and even adhesive coverage help the artificial nails stay in place.
KISS’s instructions recommend applying glue to both surfaces and holding the artificial nail firmly for 20 seconds.
Step 1. Clean and Prepare Your Natural Nails
Wash your hands with soap and dry them completely.
Wipe each natural nail with an alcohol pad or the preparation product supplied in your kit. This removes oil and residue that may affect the adhesive.
Avoid applying glue over nail polish, lotion, or oily surfaces unless the product instructions specifically allow it.
Step 2. Choose the Correct Nail Sizes
Place all the artificial nails against your natural nails before opening the glue.
Each tip should fit from side to side without pressing into the surrounding skin. If a tip is slightly too wide, file its sides carefully.
Arrange the selected nails in order so you can apply them without stopping to search for the correct size.
Step 3. Prepare the Nail Surface Gently
Use the included file to lightly prepare your natural nails if the instructions recommend it.
Do not aggressively buff or thin the nail plate. Heavy filing can weaken natural nails and make later removal more difficult.
Step 4. Apply Glue to Both Surfaces
Brush a thin, even layer of nail glue over your natural nail and the back of the artificial tip.
Cover the bonding area without using so much glue that it spreads onto your skin. Too little adhesive can leave gaps, while excessive glue can create a messy application.
Step 5. Position and Hold the Artificial Nail
Place the artificial nail near your cuticle at a slight angle, then lower it onto your natural nail.
Press firmly so the tip makes full contact with the nail surface. Hold it for 20 seconds, following the KISS glue-on instructions.
Repeat the process for the remaining nails.
Step 6. Let the Adhesive Set
Follow the waiting time printed on your specific kit. Avoid unnecessary contact with water immediately after application.
Check the edges before finishing. If a nail is crooked or has a large gap, do not simply cover the problem with more glue.
How to Apply KISS imPRESS Nails
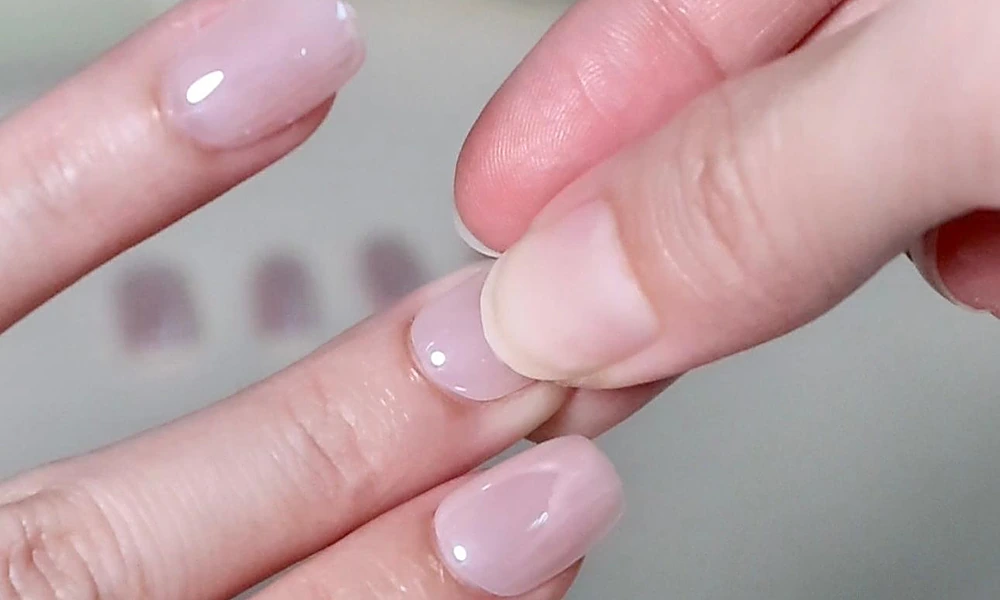
imPRESS uses a different application method because the adhesive is already attached to each artificial nail.
Follow these steps:
- Choose the correct size for each natural nail.
- Wash and dry your hands.
- Clean the nail surface with the supplied preparation pad or rubbing alcohol.
- Remove the clear backing from the artificial nail.
- Align the adhesive side with your cuticle.
- Press firmly across the center and sides for about 30 seconds, following the package instructions.
Apply your thumbnails last. KISS also recommends waiting at least one hour before filing or getting your hands wet.
Do not add regular nail glue to an imPRESS nail if you want to keep its normal no-glue removal method.
KISS Glue-On Kits vs. imPRESS vs. SuperGrip Glue
These products serve different purposes, so the best choice depends on how you want to apply and remove your manicure.
| Product | Best for | Brand-stated wear | Removal |
|---|---|---|---|
| KISS glue-on kits | A stronger adhesive hold | Up to 14 days | Acetone or KISS Glue Off |
| KISS Core Magnetic | Ready-made magnetic-effect designs | Up to 14 days, depending on the kit | Acetone or KISS Glue Off |
| imPRESS nails | Quick application without separate glue | Up to 10 days | Gentle side lifting; warm soapy water if needed |
| SuperGrip glue | Attaching or repairing compatible artificial nails | Depends on the nail set and application | Suitable remover or acetone for glued tips |
These are the brand’s advertised wear times, not guaranteed results. Your actual wear depends on nail preparation, sizing, application, water exposure, and daily activities.
For another comparison of artificial nail systems, the fake nails guide explains how press-ons differ from acrylics and gel extensions.
How Long Do KISS Nails Last?
KISS glue-on nails are advertised to last up to 14 days when applied according to the instructions. imPRESS nails advertise up to 10 days.
However, some sets may lift earlier. Common reasons include:
- Oil or moisture left on the natural nail.
- Incorrect artificial nail sizing.
- Uneven glue coverage.
- Water exposure soon after application.
- Using the nails to open or pull objects.
- A damaged or poorly fitted artificial tip.
If a nail starts lifting, do not pull it off. Check whether the product is still safe to wear and follow the correct repair or removal instructions.
How to Remove KISS Glue-On Nails Safely
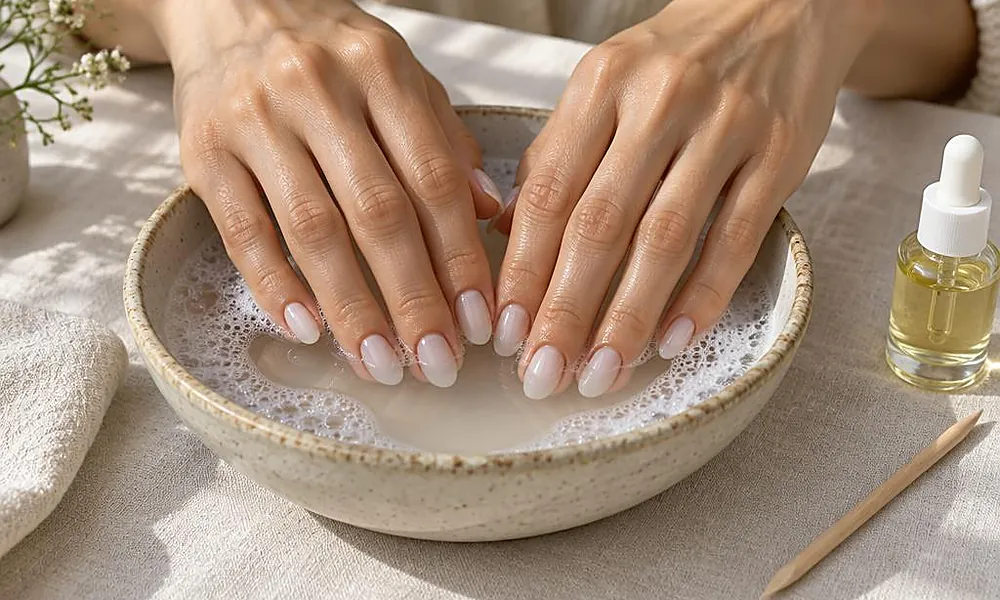
Glue-on KISS nails need a different removal method from imPRESS nails. Do not try to remove a glued set by pulling it off or soaking it only in warm water.
KISS recommends using its Glue Off remover or soaking the nails in acetone until the artificial product softens.
1. Shorten the Artificial Nails
If the nails are long, carefully trim the free edges to make removal easier.
Avoid cutting too close to your natural nail.
2. File the Surface
Lightly file the shiny top layer of the artificial nail. This helps the remover reach the adhesive and artificial nail material.
Do not file down into your natural nail.
3. Use Acetone or a Suitable Nail Remover
Soak cotton in acetone and place it against each nail. Wrap the fingertips with foil if you are using the foil method.
You can also use KISS Glue Off according to its product directions.
Removal time varies with the nail material, glue amount, and product. Do not assume every set will soften in exactly 15 or 20 minutes.
4. Check Whether the Nails Have Softened
After soaking, check one nail gently.
If the artificial tip starts to loosen, ease it away carefully with a wooden manicure stick. If it remains firmly attached, soak it again.
Never force a nail off just because the expected soaking time has passed.
5. Clean and Moisturize Your Nails
Remove softened adhesive gently. Wash your hands and apply cuticle oil or hand cream.
If your natural nails feel weak or sensitive, avoid applying another set immediately.
For more detail about acetone removal and aftercare, the guide to removing acrylic nails explains why patience matters when removing artificial nail products.
How to Remove KISS imPRESS Nails
imPRESS nails use pre-applied adhesive, so their removal method is different from glue-on KISS nails.
Follow the brand’s instructions:
- Start gently lifting the nail from one side.
- Use the included manicure stick if needed.
- If the nail feels stuck, soak your fingertips in warm, soapy water for about a minute.
- Try lifting the nail gently from the side again.
- Remove any leftover adhesive without scraping the natural nail.
Do not pull the nail straight off. If it does not loosen, give it more time or follow the product’s additional removal instructions.
Remember that adding regular nail glue to an imPRESS set changes the removal process. Once you use liquid glue, the warm-water method may no longer be enough.
Expert Tips for Getting Better Results From KISS Nails
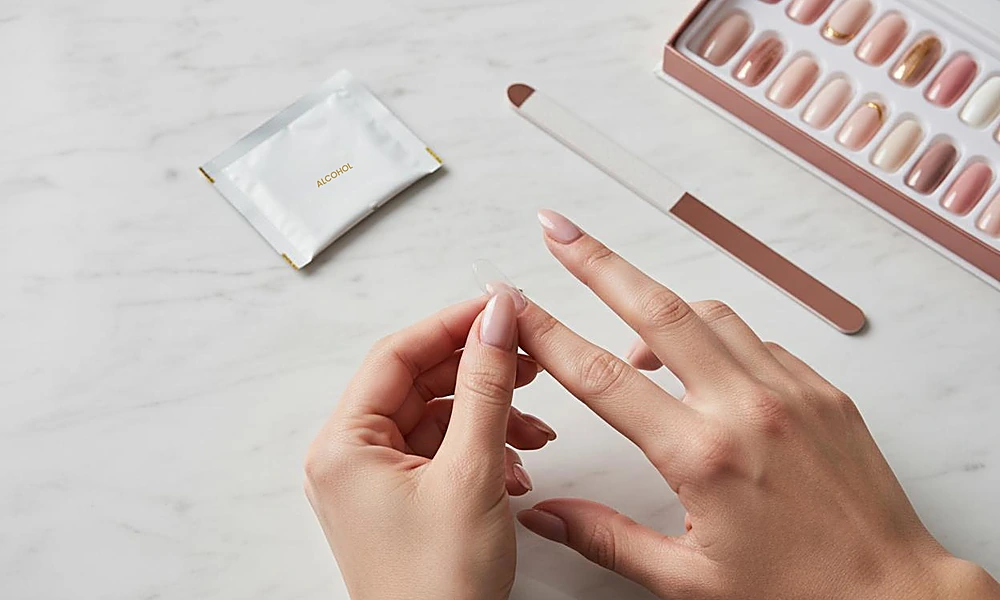
Small application habits can make a noticeable difference in how your press-on manicure wears.
- Prepare every nail first: Clean and size all ten nails before opening the glue.
- Use a thin, even layer: Too much glue can spread onto the skin, while too little may leave gaps.
- Hold for the full time: Follow the product instructions instead of releasing the artificial nail too early.
- Choose a suitable length: Shorter press-ons can be easier to manage if you use your hands frequently.
- Keep the glue properly closed: Store it according to the label and avoid using dried or contaminated adhesive.
- Do not ignore lifting: A lifted edge can catch on hair or clothing. Remove or repair it according to the product instructions rather than pulling it.
- Give your nails attention between sets: Moisturize your hands and check the condition of your natural nails before applying another manicure.
A gentle routine also helps maintain healthy natural nails between press-on applications.
Frequently Asked Questions
Are KISS nails and imPRESS made by the same company?
Yes. Both are KISS Products lines, but they use different attachment methods.
How long do KISS glue-on nails last?
KISS advertises up to 14 days of wear with correct application. Actual wear varies.
How long do imPRESS nails last?
The brand advertises up to 10 days, depending on preparation and daily activities.
Can I use SuperGrip glue on press-on nails?
Yes, it is designed for attaching compatible artificial nail tips. Follow the glue and nail kit instructions.
Do KISS glue-on nails need acetone for removal?
KISS recommends acetone or its Glue Off remover for glue-on nails. Do not pull them off dry.
Can I remove imPRESS nails with warm water?
Yes. Warm, soapy water can help loosen a nail that does not lift easily from the side.
Final Thoughts
KISS nails offer several ways to get a ready-made manicure at home. Glue-on kits are a good choice when you want a stronger adhesive hold, while imPRESS is useful when you prefer a quick application without a separate glue bottle.
Before choosing a set, consider how long you want to wear it and how you plan to remove it. Clean preparation, correct sizing, and careful removal matter just as much as the design.
A well-applied press-on manicure should be convenient without putting unnecessary stress on your natural nails.









