When did you last check your car’s brake fluid? If the answer is “never” or “the shop does that,” drivers often give the same reply. This small reservoir of hydraulic fluid lets a gentle push on the pedal stop two tons of metal. Checking it takes about ten minutes, needs no tools beyond a rag, and catches problems long before they turn into a spongy pedal or a scary stopping distance. (Actually drives pokemon card value check it)
This guide walks through the job in the order you actually do it, with the result you should expect at each step. It also covers the mistakes that quietly ruin brake systems, and the checks that tell you when a simple top-up is not enough.
What You Need Before You Start
Gather everything first so you are not hunting for a funnel with the cap off. A clean lint-free rag or paper towel, a small funnel, and a flashlight are the basics. If your car uses a translucent reservoir, the flashlight helps you see the fluid line through the plastic.
You also need to know what fluid your car takes. The specification is stamped on the brake fluid reservoir cap, and the owner’s manual confirms it. Most vehicles use a glycol-ether based fluid such as DOT 3 or DOT 4, but some use silicone-based DOT 5 or mineral oil-based LHM, and mixing types can wreck the system. Never guess.
Two safety notes worth taking seriously. Brake fluid damages paint on contact, so keep water handy to rinse any spill off the fender. And it is not kind to skin or eyes, so rinse thoroughly with water if it touches either.
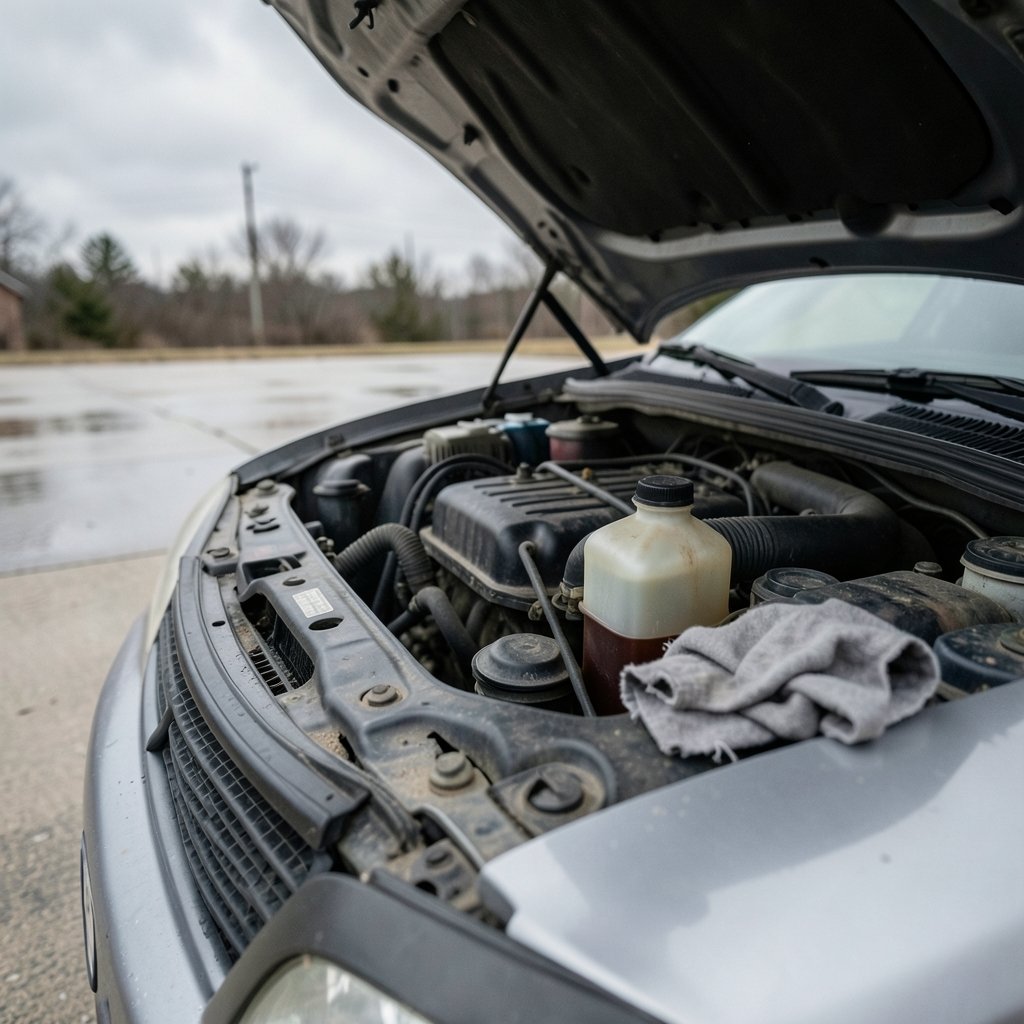
One more preparation step: park on a level surface with the engine off and cool. A hot engine bay makes contact burns more likely, and a sloped driveway gives you a false level reading.
Step 1: Find the Brake Fluid Reservoir
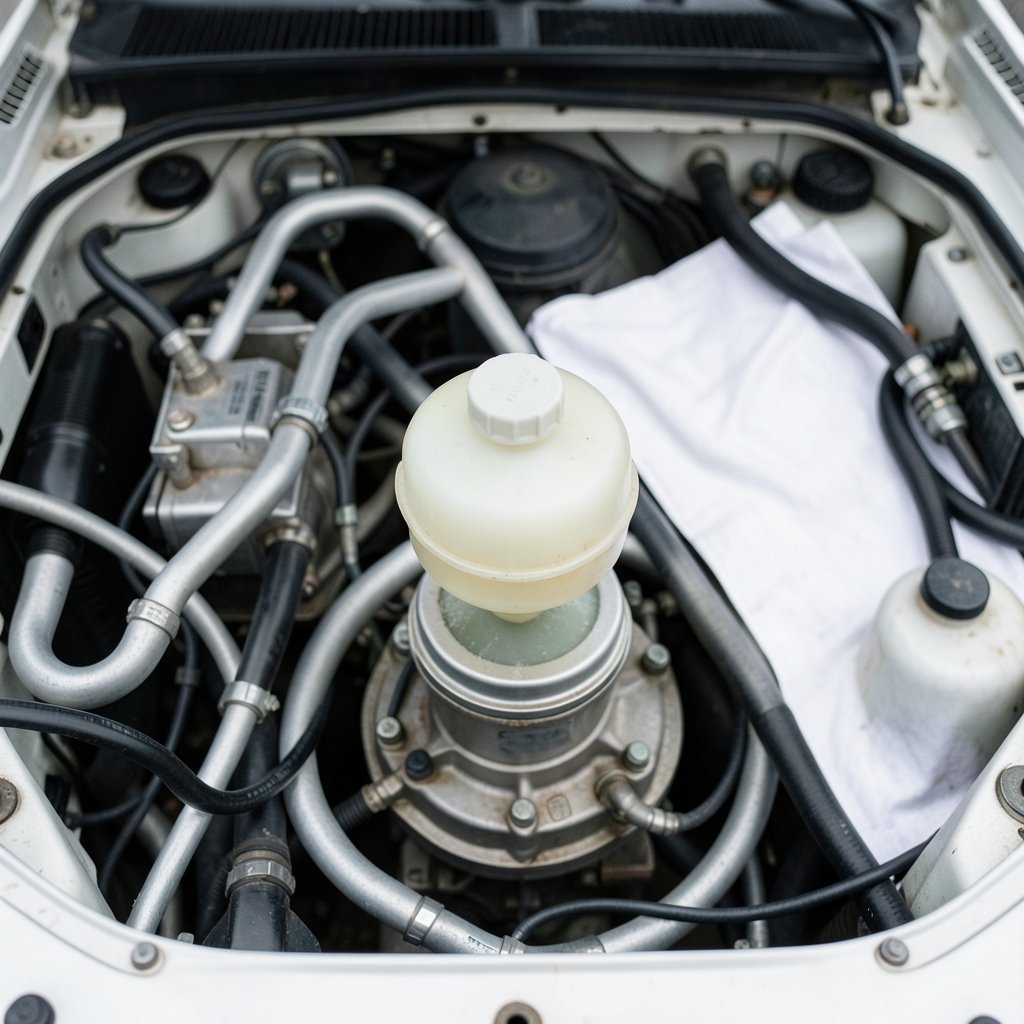
Pop the hood and look near the firewall at the back of the engine bay, usually on the driver’s side, close to where the brake pedal sits on the other side. The reservoir is a plastic canister mounted on top of the master cylinder. It is often translucent, which means you can read the level without opening anything.
If you cannot spot it, the owner’s manual will show its location. Do not confuse it with the windshield washer bottle, which usually has a blue or yellow cap, or with the coolant overflow tank.
Expected result: you have identified a plastic canister with MIN and MAX lines molded into the side, capped with a lid that names the fluid type.
Step 2: Read the Level Against the Marks
With the car level and the engine off, look at the fluid line through the plastic. It should sit between the minimum and maximum marks. That is the whole test at this stage.
A level that has dropped slightly over months is normal, because the fluid moves down as the brake pads wear and the calipers extend. A level that has fallen sharply, or that keeps falling after a top-up, points to a leak somewhere in the lines, hoses, calipers or wheel cylinders. That is not a top-up situation; it is a diagnosis situation.
Expected result: a clear reading you can compare against the marks, taken without removing the cap if the reservoir is translucent.
Step 3: Check the Condition as Well as the Level
This is the step most drivers skip, and it matters more than the level. Fresh fluid is nearly clear or light honey brown. According to AutoZone’s brake fluid guide, fluid that has turned dark brown or black is overdue for a flush.
Why does color matter? Brake fluid is hygroscopic, meaning it absorbs moisture from the air over time. Even two percent moisture can lower its boiling point by around 100 degrees, which is the kind of drop that turns into brake fade on a long downhill run. Contamination also promotes corrosion inside the lines and calipers.
If the fluid looks murky, smells burnt, or has visible debris, plan a flush rather than a top-up. A dark color is the system telling you the fluid has done its job for too long.
Expected result: you can classify the fluid as clear or honey-colored (healthy) versus dark, cloudy or burnt-smelling (needs replacement).
Step 4: Open the Cap and Inspect the Inside
If the reservoir is opaque, or you want a closer look, wipe the area around the cap clean first so dirt does not fall in, then remove the cap. Shine the flashlight into the reservoir. Look for sediment at the bottom, a dark ring at the fluid line, or a sludgy texture.
Only use brake fluid from a sealed container. Fluid that has been sitting open in a garage for a year has likely absorbed moisture and should not go into your car. This is one of the cheapest mistakes to avoid and one of the most expensive to fix later.
Expected result: a clean reservoir interior, or a clear reason to schedule a flush.
Step 5: Top Up Only If Needed, and Only With the Right Fluid
If the level is at or below the minimum mark and there is no sign of a leak, add fluid of the exact type specified on the cap. Use a funnel to avoid spills, add a little at a time, and stop at the maximum line. Overfilling is not harmless; excess fluid can overflow when the calipers retract during pad changes.
If the level was low because the pads are worn, the fluid will rise again once new pads go in. That is another reason to top up cautiously rather than filling to the brim.
Expected result: the level sits between the marks, the cap is back on tight, and no fluid has touched painted surfaces.
Step 6: Test the Pedal and Note Anything Odd
With the fluid checked, sit in the driver’s seat and press the brake pedal firmly with the engine running. It should feel firm and hold its position. A spongy or soft pedal that sinks slowly suggests air or moisture in the system, and it is a reason to visit a shop promptly rather than keep driving.
While you are there, listen for grinding or squealing. If the pedal pulses under braking, that is a separate symptom worth understanding on its own; our guide to what actually fixes a pulsing pedal from brake disc warping explains why the rotor, not the fluid, is usually the culprit.
Expected result: a firm pedal and no new noises, or a specific symptom to describe to a mechanic.
How Often Should You Check Brake Fluid?
A quick visual check takes a minute and is worth doing monthly, ideally alongside checking tire pressure and washer fluid. A full fluid replacement is a different schedule. FCP Euro’s brake inspection guide notes that brake fluid has a service life of generally one to two years and should be replaced every two years regardless of appearance, because moisture builds up even when the fluid still looks fine.
| Check | How often | What you are looking for |
|---|---|---|
| Level and color | Monthly, or before a long trip | Between MIN and MAX, clear to honey brown |
| Cap and reservoir interior | Every few months | No sediment, no dark ring |
| Pedal feel | Monthly | Firm, no sinking or sponginess |
| Full fluid flush | Every two years | Fresh fluid, moisture removed |
If your car sits unused for long stretches, moisture absorption still happens, so the calendar matters more than the odometer. The same logic applies to other fluids; brake and power steering fluid both absorb moisture and both degrade with time rather than distance.
Common Mistakes That Cause Real Damage
Mixing fluid types. DOT 3, DOT 4, DOT 5 and LHM are not interchangeable. Silicone and glycol-ether fluids do not play well together, and putting the wrong one in can swell seals and reduce braking efficiency. Always read the cap.
Using old, opened fluid. A bottle that has been open for months has been drinking moisture from the air. Buy small bottles and use them up.
Ignoring a falling level. Topping up a leak hides the problem while the fluid escapes somewhere it should not be. A persistent drop needs a pressure test, not another bottle.
Skipping the condition check. A full reservoir of black fluid is worse than a slightly low reservoir of clean fluid. Color and clarity tell you about the fluid’s health; the level only tells you about quantity.
Letting fluid sit on paint. Brake fluid dissolves paint. Rinse spills immediately with plenty of water. The same caution appears in manufacturer service procedures for a reason.
Checking on a slope. A tilted car gives a tilted reading. Level ground or nothing.
When a Top-Up Is Not Enough
Some symptoms mean the fluid is a messenger, not the problem. A pedal that sinks to the floor, a warning light that stays on, fluid weeping around a wheel, or a level that drops within days all point to components that need attention. Brake fluid that tests acidic, which some test strips can reveal by measuring pH, can corrode the system from the inside.
There is a broader lesson here that applies well beyond the engine bay: knowing what a system actually does beats guessing. The same principle shows up in odd places, like understanding what actually drives Pokemon card value before you check it, or knowing the basics of golf carts and where they are legal before you buy one. Mechanical confidence is built from small, specific checks done in the right order. (Golf cart basics they work where theyre legal check before)
And if you are planning a trip where the car matters, whether that is a long drive to a pet friendly luxury hotel in New York City or a weekend at a California weight loss spa, a ten-minute fluid check before you leave is cheaper than a breakdown on the way.
Conclusion
Checking brake fluid is one of the few maintenance jobs that rewards you almost instantly: ten minutes, no special tools, and a clear answer about whether your braking system is healthy. Find the reservoir, read the level against the marks, judge the color, top up only with the specified fluid from a sealed container, and test the pedal. Do it monthly, flush every two years, and treat a falling level as a question to answer rather than a nuisance to hide. Your brakes are the one system on the car you never want to learn about the hard way.
Frequently Asked Questions
Can I check brake fluid with the engine running?
It is safer to check with the engine off and cool. A hot engine bay raises the risk of burns if fluid splashes, and the level reads the same either way as long as the car is on level ground. Save the pedal test with the engine running for after the cap is back on.
What color should brake fluid be?
Fresh fluid is nearly clear or light honey brown. Dark brown or black fluid is overdue for a flush. Cloudy or murky fluid, or fluid with visible sediment, is also a sign that moisture and contamination have built up.
Can I just add brake fluid instead of flushing it?
Only if the level is slightly low and the fluid still looks clean. If the fluid is dark, burnt-smelling or contaminated, adding fresh fluid on top does not remove the moisture or debris already in the system. A flush is the correct fix.
What happens if I mix DOT 3 and DOT 4?
Both are glycol-ether based, so a small accidental mix is usually tolerated, but you should still use the type specified on the reservoir cap. Mixing glycol-ether with silicone DOT 5 or mineral oil LHM is a different matter entirely and can damage seals and reduce braking performance.
Why does my brake fluid level keep dropping?
Fluid drops slightly as pads wear, which is normal. A level that keeps falling after a top-up usually means a leak in a line, hose, caliper or wheel cylinder. That needs a proper inspection rather than repeated top-ups.
How long does brake fluid last?
Generally one to two years in service, which is why a two-year replacement interval is standard advice regardless of how the fluid looks. Fluid in an opened bottle also absorbs moisture, so use sealed containers and buy only what you need.