
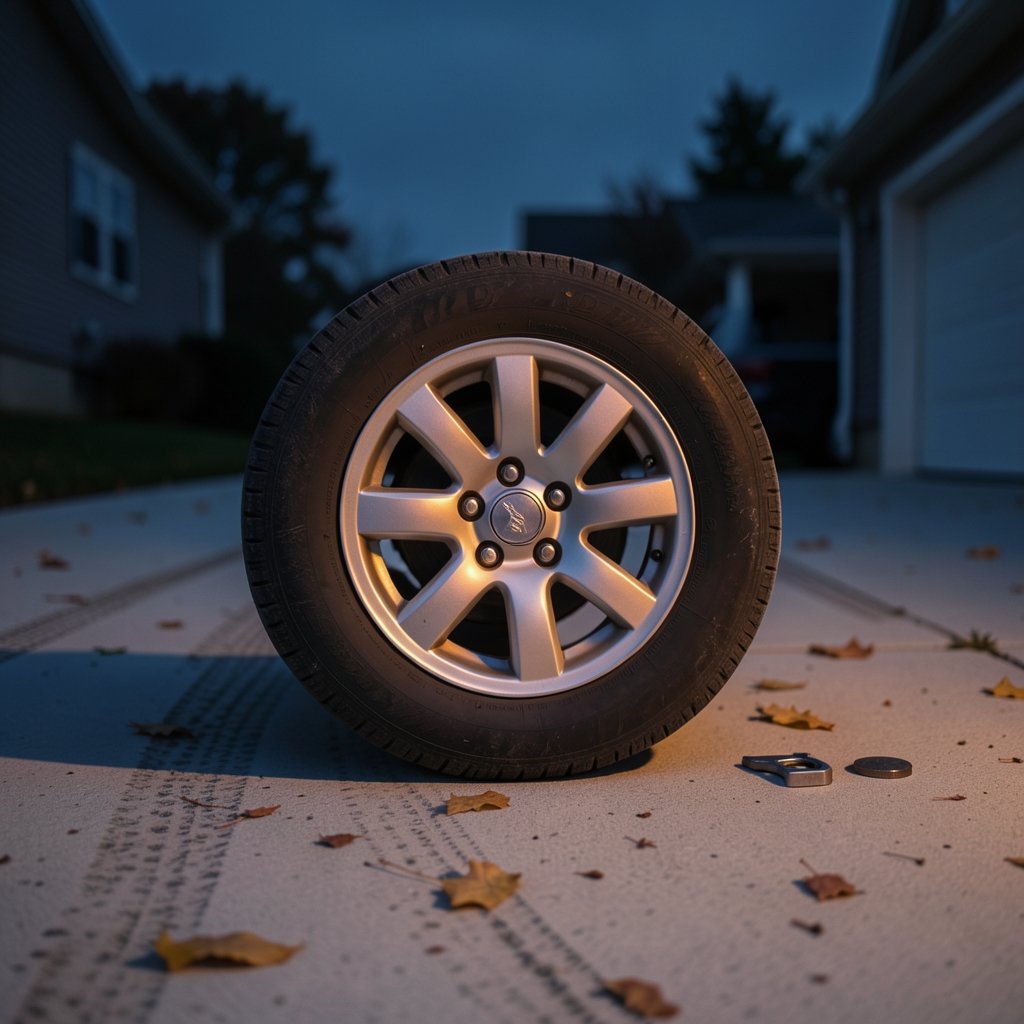
When was the last time you actually looked at your tires? Not a glance in the parking lot, but a real check with your hands and a measuring tool? Most drivers can’t remember. Tires wear so gradually that the change is invisible day to day, right up until a rainy highway on-ramp turns into a skating rink. The good news: checking tread depth takes about ten minutes, needs almost no equipment, and tells you exactly where your tires stand. Here’s how to do it properly, in the order the job is actually done. (Actually drives pokemon card value check it)
What You Need Before You Start
Gather these first so you’re not running back to the garage mid-check:
- A tread depth gauge (a few dollars at any auto parts store) or a coin: a penny in the US, a quarter in Canada, a 20 pence coin in the UK.
- A flashlight for spotting cracks and embedded objects.
- A tire pressure gauge, since you’re already down there.
- A notebook or phone to record the numbers so you can track wear over months.
Park on a flat, level surface, set the parking brake, and switch the engine off. If you’re checking a manual transmission car, leave it in gear. Never crawl under a vehicle supported only by a jack.
One thing worth knowing before you begin: tires don’t wear evenly. The center groove, the groove closest to the car, and the groove furthest out can all read differently. That’s why the standard advice is to test three grooves per tire (center, inner, outer) and take the lowest reading as your true number. A tire that passes in the middle but fails on the inner edge is still a tire that needs attention.
Step 1: Find the Tread Wear Indicators
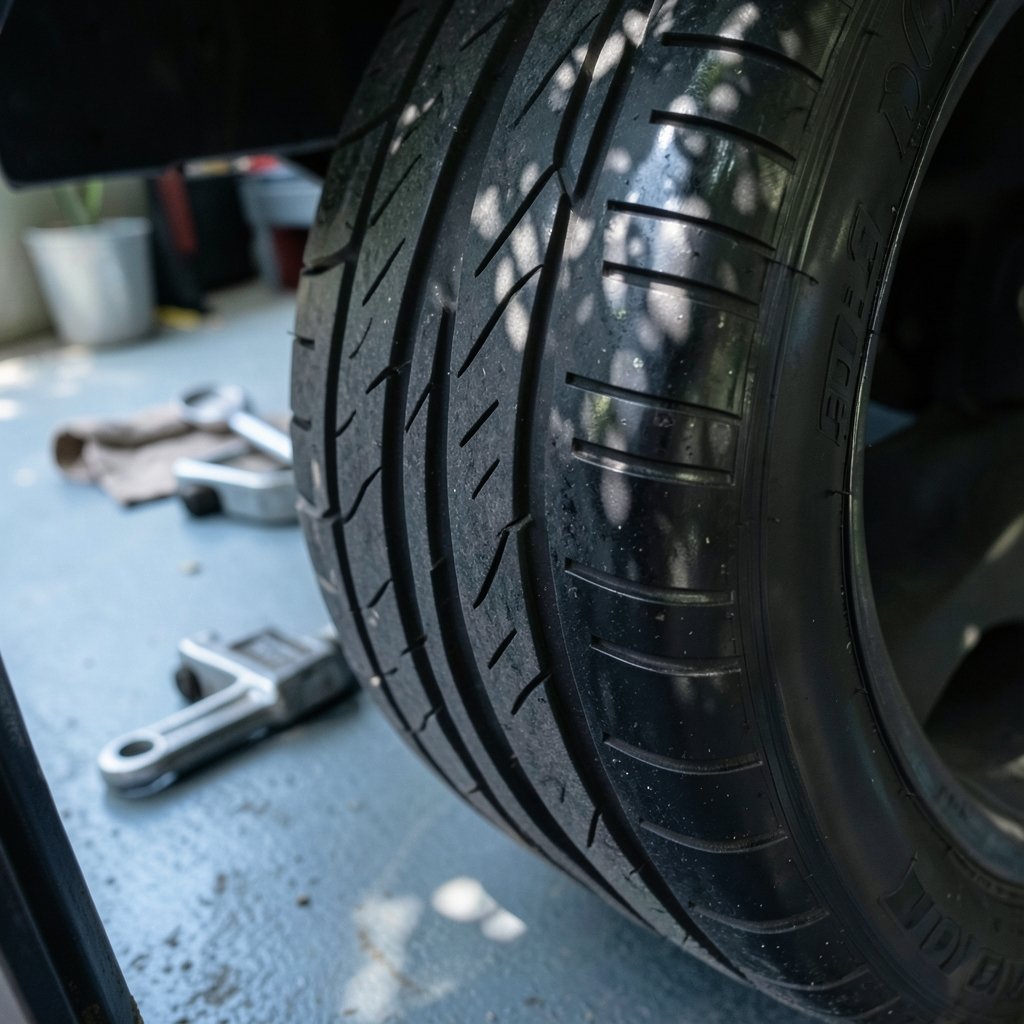
Every modern tire has built-in wear bars, sometimes called tread wear indicators or TWIs. These are small raised rubber bars sitting at the bottom of the main circumferential grooves, spaced around the tire’s circumference. On Michelin tires, a small Michelin Man figure molded into the sidewall points to where they sit.
Run your finger along each main groove until you feel a raised bump. If the indicator isn’t visible at the top of the tire, roll the car forward slightly (engine off, parking brake handled safely) and look again.
Expected result: You’ve located at least one wear bar in each main groove. If the surrounding tread is level with the bar, the tire has hit its legal wear limit and must be replaced. Don’t wait.
Step 2: Measure With a Tread Depth Gauge
This is the most accurate method and the one worth learning. Push the gauge’s probe into a groove until the base sits flat on the tread blocks, then read the scale.
Tread depth is measured in 32nds of an inch in the US and in millimeters almost everywhere else. Here’s how the numbers translate:
| Reading (inches) | Reading (mm) | What it means |
|---|---|---|
| 8/32″ or more | 3.2 mm+ | Healthy, plenty of life left |
| 6/32″ | 4.8 mm | Still good, monitor monthly |
| 4/32″ | 3.2 mm | Consider replacing, especially for winter driving |
| 2/32″ | 1.6 mm | Legal minimum in most places, replace now |
Take a reading in each of the three grooves on every tire, and write them down. The lowest number wins. A tire reading 7/32″ in the center but 3/32″ on the inner edge is effectively a 3/32″ tire, and the uneven wear itself points to an alignment problem worth investigating.
Expected result: Four tires, twelve numbers, one clear picture of your worst groove.
Step 3: Use the Coin Test as a Backup
No gauge on hand? A coin gets you close enough to make a decision. The method varies by country, and the logic is the same: if the top of the figure’s head is fully visible, you’re at or near the limit.
- US penny: Insert Lincoln’s head into a groove upside down. If all of his head shows, you’re at roughly 2/32″ and due for replacement.
- Canadian quarter: Push the caribou’s feet into the groove. If the tread reaches the animal’s feet, you have roughly 6/32″ or more. If the top of the caribou’s hooves is fully exposed, you’re near the limit.
- UK 20 pence: The wide rim of a 20p coin is about 1.6 mm, the UK legal minimum. Slot it into a groove; if the rim sits flush with or above the tread, the tire is illegal.
The coin test is a rough screen, not a measurement. Use it between proper gauge checks, not instead of them.
Expected result: A yes/no answer on whether you need to break out the gauge or book a tire appointment.
Step 4: Inspect the Entire Tire and Its Grooves
While you’re at each wheel, spend another minute on the parts the tread check doesn’t cover:
- Sidewalls: Look for bulges, cuts, and dry cracking. A bulge means internal cord damage and the tire should come off the road immediately.
- Embedded objects: Nails and screws don’t always cause a leak right away. Note them and get them professionally removed.
- Uneven wear patterns: Wear on both outer edges suggests chronic underinflation. Wear down the center suggests overinflation. A single worn edge points to alignment or suspension issues. This is also the moment to think about whether the wheels are sitting square, since the three alignment angles do more to your car than most drivers realize.
- Tire pressure: Check it cold, against the door-jamb placard, not the number molded on the sidewall.
Expected result: A short list of anything suspicious to show a tire technician.
Step 5: Repeat Monthly and Before Long Trips
Tire makers generally recommend a full inspection once a month and before any long road trip. That sounds like a lot until you realize it’s a ten-minute habit that folds into checking your oil or topping up washer fluid.
Keep your recorded numbers. Wear of about 1/32″ per 10,000 miles is typical for a properly maintained tire, so a log tells you roughly when replacement is coming instead of being surprised by it. It also catches a fast-wearing tire early, which usually means something else is wrong.
Expected result: A wear trend you can actually see, and no last-minute scramble before a road trip.
Common Mistakes That Undermine the Check
Measuring only the center groove. This is the single most common error. The inner shoulder of a tire often wears fastest, especially on cars with aggressive alignment settings, and the center can read two or three 32nds higher. Always take three readings.
Checking a hot tire. Tread depth itself doesn’t change with heat, but pressure does, so do the pressure part of the job when the car has been sitting for a few hours.
Trusting the coin test alone. Coins are a screening tool. A gauge costs less than a tank of fuel and removes all the guesswork.
Ignoring the wear bar because the gauge says you’re fine. If the wear bar is flush anywhere on the tire, the tire is done, regardless of what another groove reads.
Forgetting seasonal gear. If you run winter tires, the threshold for replacement is higher, around 4/32″ (3.2 mm), because winter compounds rely on deep grooves and sipes to bite into snow. The same logic applies to any traction accessory: just as tire chains only help when you actually need them and use them right, tread depth only protects you when there’s enough of it left.
Skipping the spare. A compact spare with 15-year-old rubber and a flat spot is not a spare. Check it twice a year.
When to Replace Instead of Monitor
The legal minimum in most jurisdictions is 2/32″ (1.6 mm), and in the UK it’s 1.6 mm across the central three-quarters of the tread around the full circumference. But legal isn’t the same as safe. Wet grip falls off sharply well before the legal limit, and most tire manufacturers recommend thinking about replacement at 4/32″ (3.2 mm). For winter conditions, that 4/32″ figure becomes the practical floor rather than an early warning. (Golf cart basics they work where theyre legal check before)
Replace immediately, regardless of depth, if you find sidewall bulges, exposed cords, irreparable punctures, or cracking so deep it reaches the cord. And if one tire is dramatically more worn than the others on a car with all-wheel drive, ask a technician about matching tread depths across the axle.
FAQ
How often should I check my tire tread depth?
Once a month and before any long road trip is the standard recommendation. Monthly checks take about ten minutes for all four tires and let you catch rapid wear before it becomes a safety issue. (Pet friendly luxury hotels new york city check before)
What is the legal minimum tire tread depth?
In the US and Canada, it’s 2/32 of an inch (1.6 mm), measured in the main grooves. In the UK, it’s 1.6 mm across the central three-quarters of the tread and around the entire circumference. Many tire makers suggest replacing at 4/32″ (3.2 mm) for better wet and winter performance.
Can I check tread depth without a gauge?
Yes. A penny, quarter, or 20 pence coin works as a rough screen depending on where you live. If the top of the figure’s head is fully visible when inserted into a groove, the tire is at or near the limit. A gauge is still more accurate and costs very little.
Why does my tire wear more on one edge?
Uneven edge wear usually points to an alignment problem, worn suspension components, or chronic underinflation. It’s worth having the alignment checked, since the angles involved affect handling and tire life far more than most drivers expect.
Do I need to replace all four tires at once?
Not always, but on all-wheel-drive vehicles, mismatched tread depths can stress the drivetrain. Many manufacturers specify a maximum difference in tread depth between tires. Check your owner’s manual, and ask a technician if one tire is significantly more worn than the rest.
Does tread depth matter in dry weather?
Less than in rain, but it still matters. Tread evacuates water and grips loose surfaces, and worn tires lengthen braking distances even on dry pavement. Heat buildup in a thin tire also raises the risk of failure at highway speed.
Conclusion
Checking tire tread depth is one of those rare maintenance jobs that costs almost nothing, takes minutes, and pays off in ways you’ll hopefully never notice, because the crash that didn’t happen doesn’t make headlines. Grab a gauge, test three grooves per tire, write the numbers down, and look at the wear bars while you’re there. Do it monthly, replace at 4/32″ rather than waiting for the legal floor, and treat uneven wear as a message from your suspension rather than a tire problem. Your tires are the only thing connecting the car to the road. Ten minutes a month is a small price for knowing exactly how much rubber stands between you and the surface.
Keep a simple log. A notebook page or a note on your phone with the date, mileage, and twelve readings turns guesswork into a trend line. When a groove drops by 2/32″ between checks, you know roughly how many months of driving remain before replacement, and you can budget for it rather than improvising at the roadside.
Set a calendar reminder. The first of the month works well, since it pairs naturally with checking pressure and topping up fluids. A reminder you actually see beats a good intention every time.
With a gauge in the glovebox, a monthly ten-minute routine, and a written record, you’ll never be caught out by a bald tire again. The whole method is repeatable, cheap, and takes less time than a coffee stop, so there’s no reason to put it off.