
Ever held a jacket in a store, loved it on the hanger, bought it, and watched it fall apart within a month? Most shoppers have. The frustrating part is that the warning signs were probably there all along, hiding in plain sight.
Spotting quality craftsmanship is a learnable skill, not a secret talent. It comes down to knowing where to look, what to touch, and which details separate a garment built to last from one designed to survive a single season. This guide walks through the checks in the order a careful shopper performs them, with the expected result at each stage, plus the mistakes that trip up even experienced buyers.
What You Need Before You Start
You do not need a magnifying glass or a textiles degree. You need about five minutes, decent lighting, and permission to handle the garment properly. Most stores will not object if you turn a piece inside out and give it a gentle tug; if a shop discourages that, treat it as information in itself.
Two habits make the whole process faster. First, always judge the inside of a garment before the outside. Second, judge fit in motion rather than standing still in front of a mirror. People who make clothing look at construction first, then fit, and only then fabric, and mirroring that order keeps you from being distracted by a pretty print.
One more thing worth knowing up front: price and country of origin are weak signals. A high price tag says nothing on its own, and production is so globalized that “Made in Italy” or “Made in Japan” cannot carry the weight shoppers often assign to it. The details below are far more reliable.
Step 1: Turn It Inside Out and Inspect the Seams
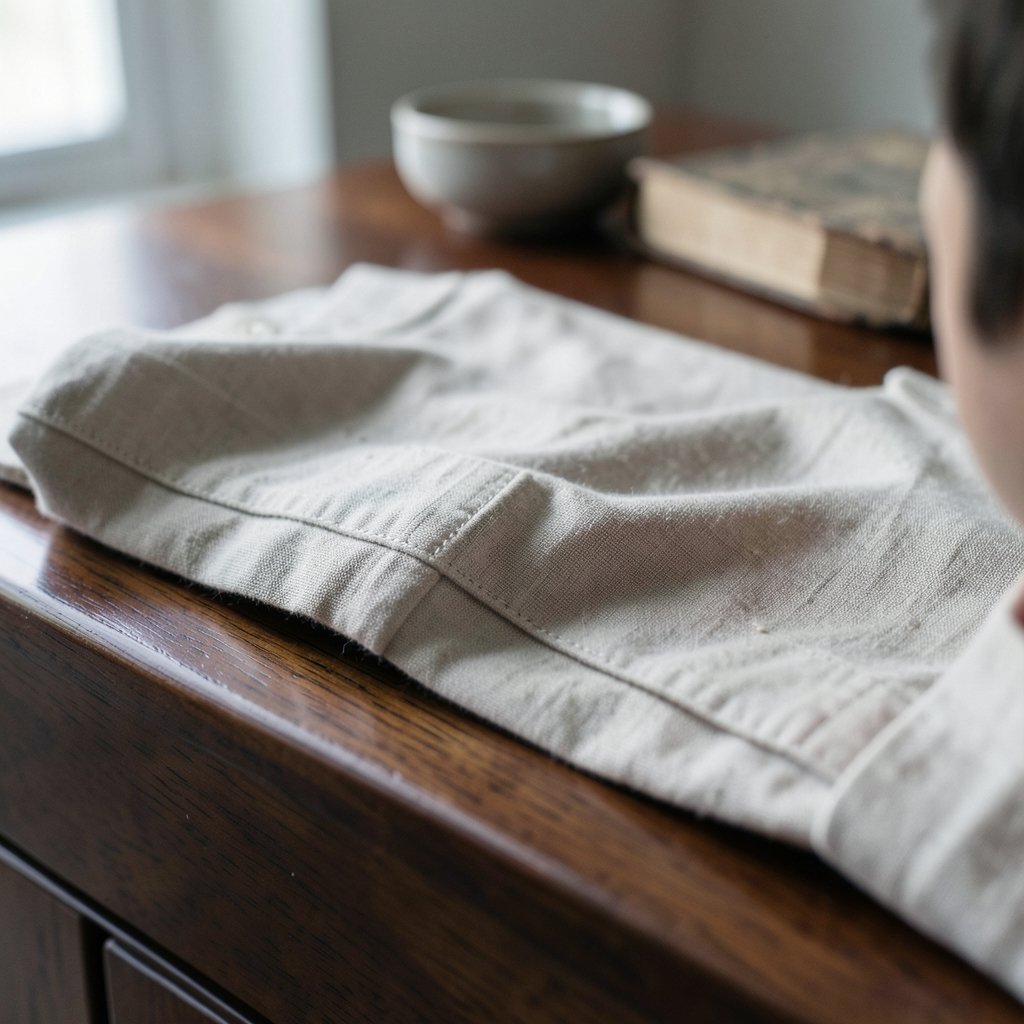
Start where the maker’s decisions are most visible. Flip the garment and look at the seam allowance, the strip of fabric between the stitch line and the raw edge.
What to look for: seams that are thoroughly sewn down, with no loose hems or dangling threads. A loose hem is easy to snag with a thumb, and it signals a rushed finish. Look at the seam type too. French seams enclose raw edges on lightweight and delicate fabrics, giving a neat, protective finish. Flat-felled seams appear in high-wear areas because they sit flat, resist abrasion, and tolerate repeated movement. Simple overlocked edges are not automatically bad, but on a delicate fabric or a high-stress join they suggest a quicker finish.
Expected result: a clean inner face with enclosed or neatly bound edges, and no fraying visible before you have even worn the item.
The Tug Test
Gently pull a seam crosswise. On a cheaply made garment made with a longer stitch length to save thread, gaps will open between individual stitches. Those gaps mean less protection against wear, and the seam is more likely to come apart. A good seam holds firm when pulled.
Stitch length does vary with fabric, so a stretch material may legitimately use a longer stitch to allow movement. If the seam opens up dramatically, though, walk away.
Step 2: Check That Patterns Line Up at the Joins
This is the fastest single test in the whole process. Look at where the fabric meets itself: side seams, pocket flaps, the center front, collar joins, vents.
What to look for: stripes, checks, and prints that continue across the seam rather than jumping sideways. Professional stylist Alison Deyette calls mismatched patterns at the seams a sure sign of poor craftsmanship. Panels cut on the same grain also hang and reflect light consistently, while mixed grain produces uneven drape and sheen, another marker of less considered cutting.
Expected result: motifs that mirror or continue at the important joins. Skilled cutters balance visual matching against efficient use of cloth, so matching at visible joins is tangible evidence of care.
Be realistic here. On a busy print, perfect matching everywhere is rare even in expensive clothing. Prioritize the joins you will actually see: center front, pocket flaps, and the collar.
Step 3: Examine the Stitching on the Outside
Now flip the garment back and study the visible stitch lines.
What to look for: stitching that lies flat. Any puckering or bumpiness is a red flag for hasty sewing. Run your eye along hems, cuffs, and topstitching. Wavy lines, skipped sections, or thread that looks thin and fuzzy relative to the fabric all point the same direction.
Expected result: even, flat, continuous stitching with no puckers and no wandering lines. If the thread looks fragile next to a heavy fabric, the seam will likely fail before the cloth does.
Step 4: Test the Hardware and Fastenings
Buttons and zippers do a lot of work and are cheap places to cut corners.
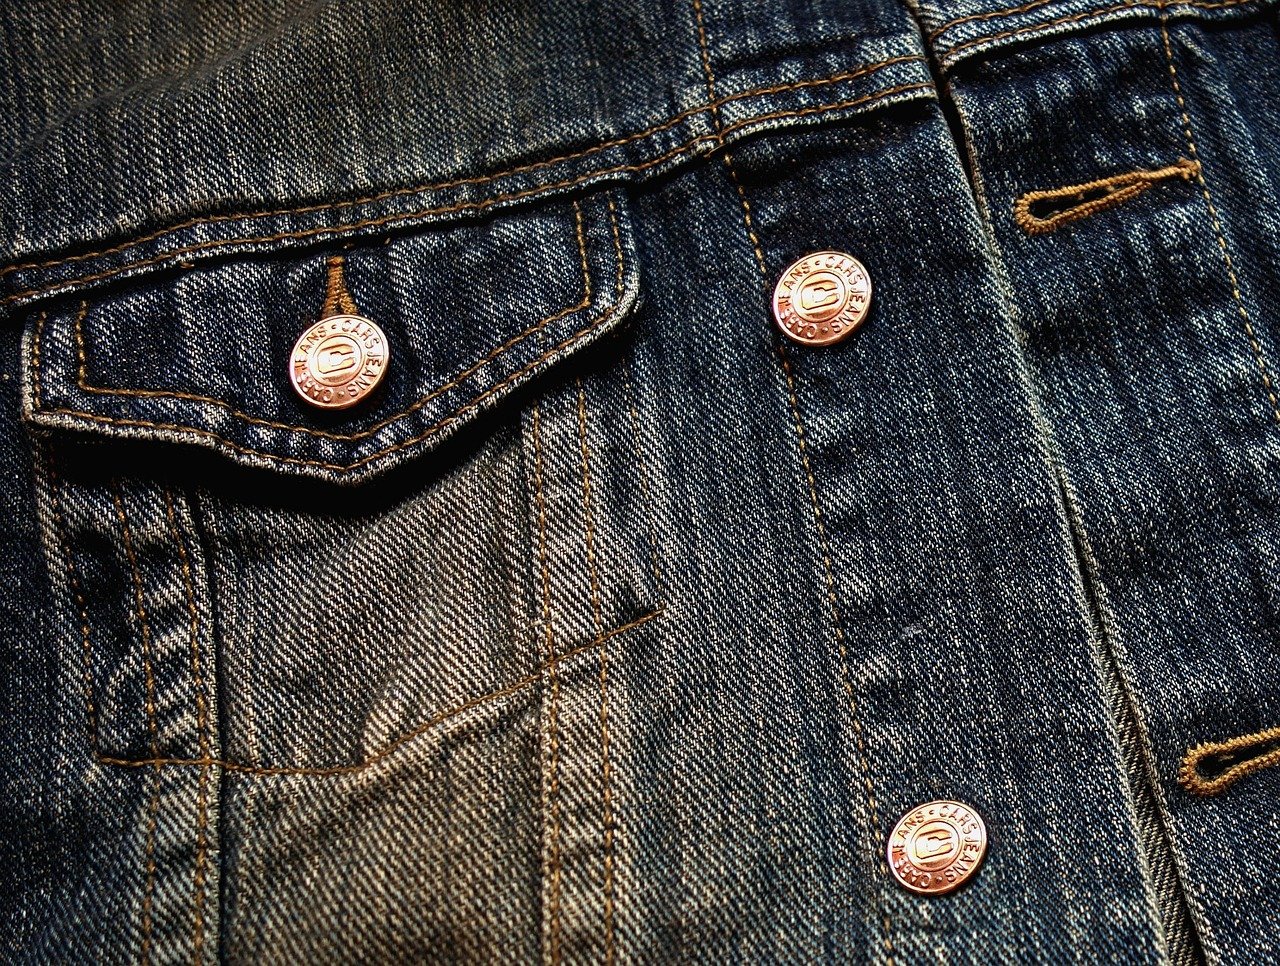
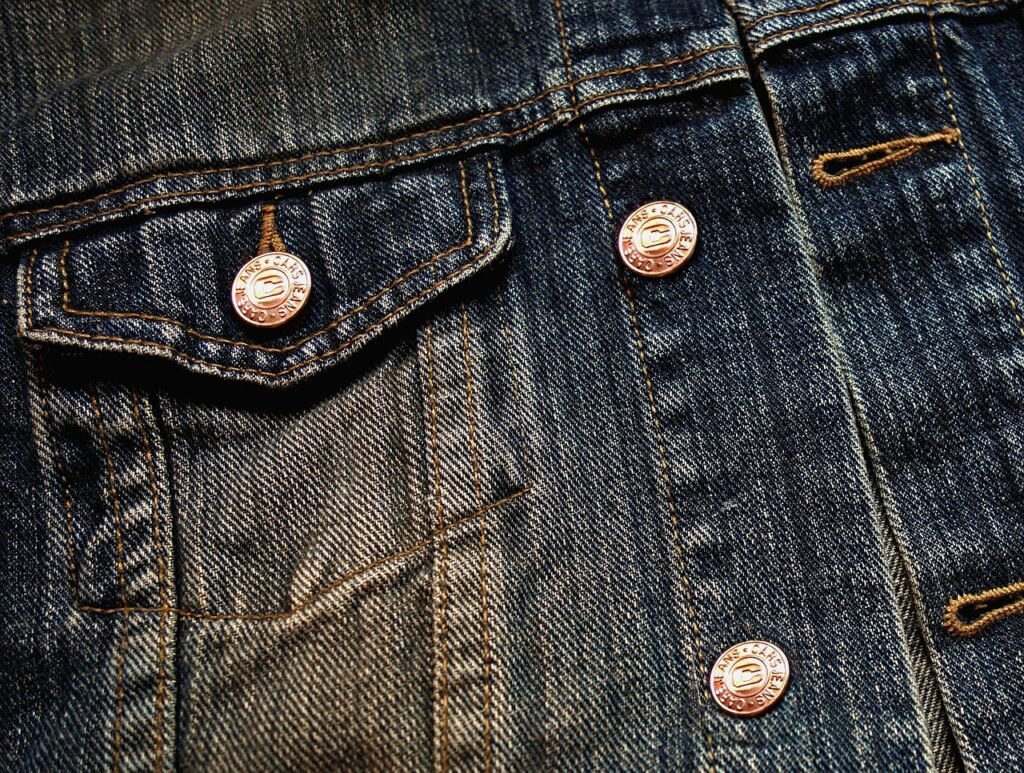
What to look for: look under the buttons. Well-made garments reinforce them snugly with loops of thread; a button held by four loose strands will be gone within weeks. If the piece has a zipper, run it up and down several times. A properly attached zipper glides smoothly. One sewn too close to the fabric will catch and snag. Check that the pull feels solid rather than flimsy, and that any snaps or hooks engage with a clean click.
Expected result: smooth zipping, firmly anchored buttons, and hardware that feels proportionate to the garment’s weight.
Step 5: Read the Fabric, Not the Label
Fabric assessment comes after construction, not before. Rub the material gently against your neck or inner wrist to judge how it feels against skin, and hold it up to the light to see how dense the weave is.
What to look for: natural fibers age and can be repaired, while synthetics degrade and pilling cannot be undone. That does not make every synthetic bad, but it changes how long the garment can realistically serve you. Also check the care label: a garment demanding dry cleaning only is worth a second thought if you want low-maintenance wear.
Expected result: a fabric whose fiber content, weight, and care requirements match how you will actually use the piece.
Step 6: Judge Fit in Motion, Then Check the Seam Allowance
Most people judge fit standing still. A patternmaker judges it in motion, which is why fittings involve walking a few steps, sitting down, raising your arms, and reaching for a phone or bag. Do the same in the fitting room. The point is not comfort alone; it is understanding how the construction behaves when you move.
Then return to the inside one last time and look at the width of the seam allowance. Under a centimeter and the garment can never be let out, which means it has no second life if your size shifts or the fit needs adjusting.
Expected result: a garment that moves with you and leaves enough cloth inside for future alterations.
Common Mistakes That Fool Smart Shoppers
Even careful buyers slip up. These are the errors that recur most often.
| Mistake | Why It Fails | What to Do Instead |
|---|---|---|
| Trusting the price tag | Expensive does not mean well made; “investment piece” is often just a price label | Run the seam and pattern checks regardless of cost |
| Trusting the country of origin | Globalized production makes origin a poor proxy for quality | Inspect construction directly |
| Starting with the fabric | A beautiful cloth distracts from weak seams and hardware | Construction first, fit second, fabric third |
| Judging fit while standing still | Garments behave differently in motion | Walk, sit, and reach in the fitting room |
| Skipping the inside | The outer face hides nearly every shortcut | Always turn it inside out first |
| Ignoring care instructions | High-maintenance pieces get worn less and age faster | Match care needs to your real routine |
There is a broader lesson in that table. Many of the hallmarks commonly recommended as quality shortcuts are deceptively oversimplified, and shoppers who lean on a single signal, whether price, brand, or origin, get burned. The same discipline applies beyond clothing: knowing how to spot real value rather than marketing noise is what separates a good purchase from a regretted one, whether you are hunting for fashion jewelry that lasts or verifying a coupon code to find real discounts.
Troubleshooting When the Checks Conflict
Real garments rarely score perfectly across every test. Here is how to weigh mixed results. (Best buy black friday deals spot real savings)
Great fabric, weak seams. Common in mid-priced pieces that spent the budget on cloth. Buy only if the seams can be reinforced cheaply by a tailor, and factor that cost in.
Beautiful finishing, thin cloth. The garment will look excellent for a season and then wear through. Skip it unless the item is inherently low-wear, like an occasion piece.
Perfect pattern matching, sloppy hardware. Buttons and zippers are replaceable, so this is usually fixable. Loose thread loops under buttons take minutes to secure at home.
Everything checks out but the seam allowance is tiny. Fine if the fit is already ideal and you do not expect body changes. Risky for anything you plan to keep for a decade.
One practical note on shopping online, where a large share of buyers now do most of their clothes shopping: you cannot tug a seam through a screen, so rely on close-up photos of the inside, stated fiber content, and care instructions. When those are missing, that absence tells you something too. The same instinct for reading the fine print serves you well when you spot bad tyre alignment geometry before it ruins your tyres or work out what “classic cosmetic” really means when you spot one: the visible surface rarely tells the whole story. (Best helado artesanal near me spot real craft ice cream)
How Hand Finishing Changes the Picture
On embroidered or embellished pieces, the tests shift slightly. Genuine handwork shows natural variation: stitches are never perfectly identical, and the reverse side of the fabric reveals texture and slight irregularity that machine work struggles to replicate. Machine embroidery tends to be uniform to the point of sterility. Flip the piece over and look at the back. If the reverse looks as tidy and mechanical as the front, you are likely looking at machine work.
The same principle applies to tailoring details. Collar joins, vents, and pocket flaps where motifs continue and mirror across seams are marks of considered panel placement and careful finishing.
Conclusion
Quality craftsmanship is not mysterious once you know the sequence. Turn the garment inside out and check the seams and seam allowance. Tug a seam to test stitch density. Verify that patterns line up at the joins you will actually see. Study the visible stitching for puckers. Work the zipper and inspect the buttons. Only then judge the fabric, and judge fit in motion rather than in a mirror. Five minutes of this routine will save you from most of the disappointing purchases that clutter closets.
The deeper shift is mental. Once you start reading construction instead of labels, you stop paying for the story and start paying for the garment. That is a habit worth building, and it applies just as much when you find your ideal study spot by testing the environment rather than trusting the photos. Look closely, test gently, and let the details make the argument.
Frequently Asked Questions
What is the single fastest way to spot poor craftsmanship?
Check pattern alignment at the seams. If stripes or checks jump sideways where panels meet, the maker cut corners, and the same haste usually shows up in the stitching and hardware.
Do expensive garments always have better construction?
No. Price reflects branding, marketing, and retail markup as much as manufacturing care. A mid-priced piece with French seams, matched patterns, and reinforced buttons will outlast an expensive one with puckered stitching and a catching zipper.
How do I judge quality when shopping online?
Look for close-up photos of the garment’s interior, the stated fiber content, and full care instructions. Clear seam shots and detailed fabric descriptions are good signs; vague listings with only styled exterior photos are a warning.
What is a good seam allowance, and why does it matter?
Roughly a centimeter or more is workable. Under that, the garment cannot be let out, so it has no second life if your size changes or the fit needs adjustment. It is a quiet indicator of whether the maker expected the piece to last.
Are synthetic fabrics always a sign of low quality?
No. Synthetics can be durable and practical, but they degrade over time and pilling cannot be reversed, unlike natural fibers that age and can be repaired. Judge the fiber against how long you want to keep the garment.
How can I tell hand embroidery from machine work?
Look at the back of the fabric. Handwork shows slight stitch variation and natural texture, while machine embroidery is uniform and mechanically consistent on both sides. Perfectly identical stitches are a machine signature.