

It is 9 p.m., the shoulder is narrow, and the steering wheel suddenly pulls hard to the right. What do you do in the next ten minutes? Most drivers have never practiced a tire change, and that is exactly why the first attempt tends to go wrong. The good news is that changing a flat tire is a mechanical skill, not a talent. Learn the sequence once, in daylight, in a driveway, and the roadside version becomes almost boring.
What You Need Before You Start
Before touching anything, confirm the vehicle actually carries the tools. Many modern cars ship with a sealant kit or run-flat tires instead of a spare, so check the trunk and the owner’s manual at home rather than on the shoulder. According to BFGoodrich, three items must be present and functional: a spare that holds pressure, a jack rated for the vehicle, and a lug wrench that fits the nuts. Add a flashlight, gloves, wheel chocks, and a reflective triangle or vest to that list.
| Item | Why it matters | Common mistake |
|---|---|---|
| Spare tire | Gets you rolling again | Never checked; found flat when needed |
| Jack | Lifts the vehicle | Rated for a lighter car |
| Lug wrench | Breaks nuts loose | Wrong size for the nuts |
| Wheel chocks | Stops rolling | Skipped on slopes |
| Locking lug key | Removes security nuts | Left in the garage |
| Flashlight and vest | Visibility | Buried under luggage |
One extra detail catches a lot of drivers: if the wheels have locking lug nuts, the key adapter must be in the car. Without it, the wheel simply will not come off, no matter how good the jack is.
Step 1: Get Off the Road and Park on Level Ground
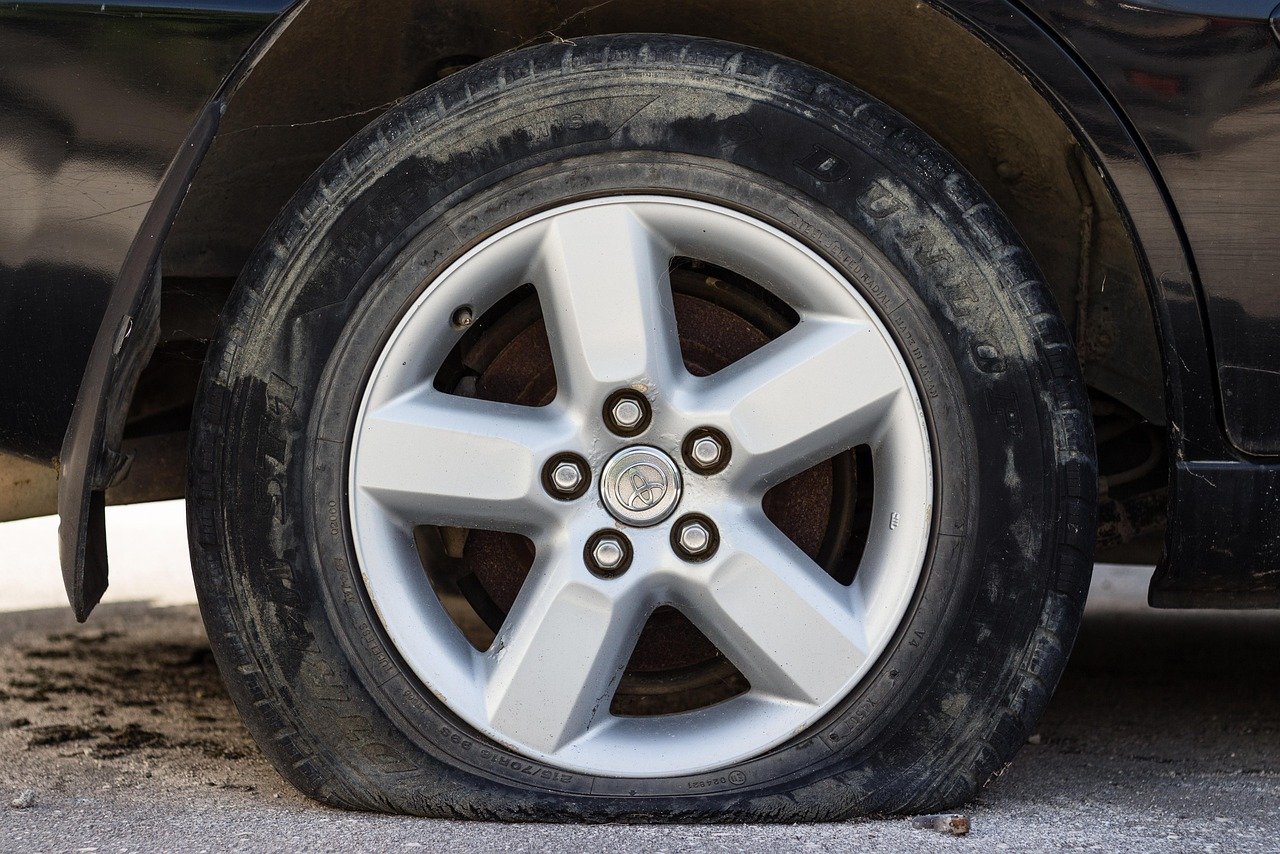
Safety comes first, and every professional guide opens with the same warning. Pull as far from traffic as possible, ideally into a lot or a wide shoulder, and avoid slopes or soft ground. Michelin strongly advises against attempting any tire change on a slope or uneven surface. Shift into park, set the parking brake firmly, and switch on the hazard lights.
Have passengers exit on the side away from traffic and stand well behind the barrier. If a solid object such as a brick or a piece of wood is available, place it in front of and behind a tire on the opposite side of the car to stop it rolling. That single habit prevents most of the horror stories.
Step 2: Loosen the Lug Nuts Before Lifting
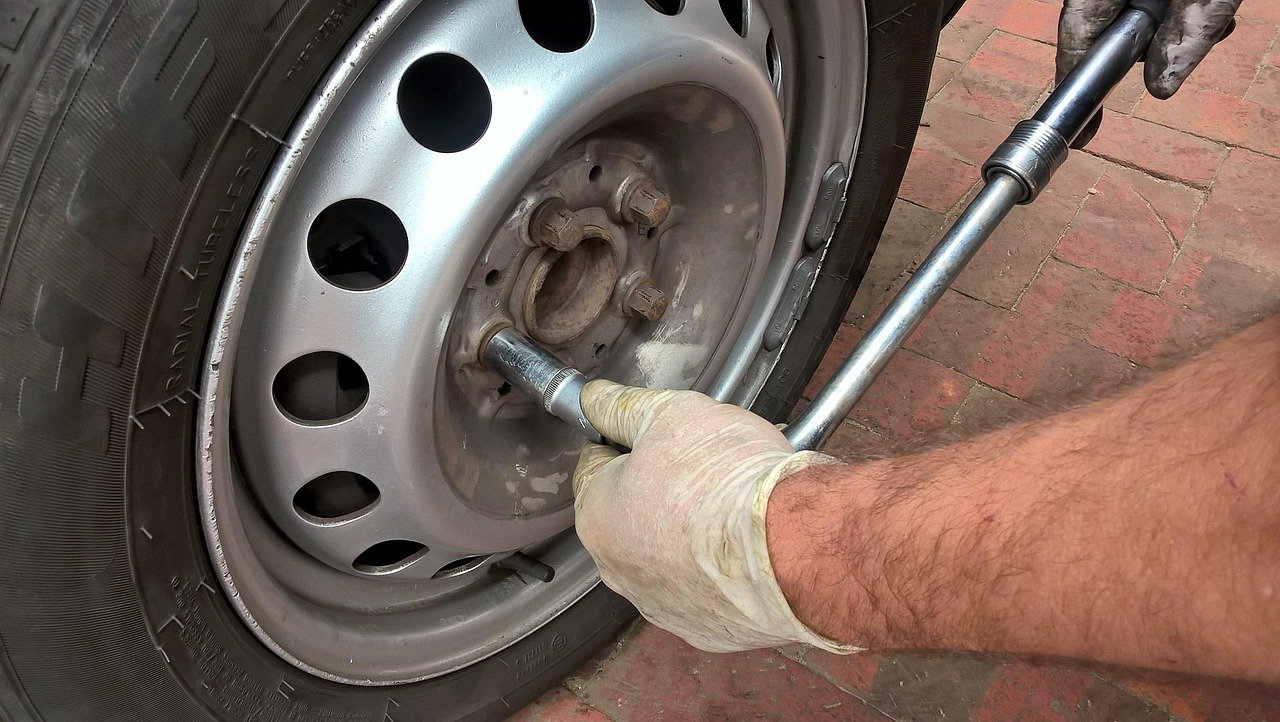
This is the step beginners skip, and it is the one that ruins the job. The wheel must still be on the ground when the nuts are broken loose, because a raised wheel simply spins. Fit the wrench fully onto each nut and turn counterclockwise. If a nut refuses to move, a firm push with a foot on the wrench handle often works; steady force beats a jerky yank. Loosen each nut about a quarter to a half turn, no more.
Step 3: Lift the Car at the Correct Jacking Point
Slide the jack under the reinforced jacking point shown in the owner’s manual, usually a seam or notch just behind the front wheel or ahead of the rear one. Placing it under a floor pan, a sill, or a suspension arm can crush metal or let the car drop. Raise the vehicle until the flat tire clears the ground by a couple of centimeters, no higher.
Never put any part of the body under a car held up only by a jack. A jack is a lifting tool, not a support. If the car will be up for a while, a proper stands is the safe answer.
Step 4: Remove the Wheel
Fully unscrew the loosened nuts and keep them together in a pocket or a cup. Grip the tire with both hands and pull it straight off the hub. Flat tires are heavy and awkward, so lift with the legs and let the wheel rest against the ground rather than the bodywork. Rusty hubs sometimes hold the wheel tight; a firm rock from side to side usually frees it.
Step 5: Mount the Spare and Start the Nuts
Lift the spare onto the hub, aligning the bolt holes, and push it flush. Thread the nuts on by hand in a star or crisscross pattern until they are finger tight. The star pattern matters because it seats the wheel evenly; working around in a circle can leave one side proud of the hub. Les Schwab’s sequence follows the same logic: install the spare, reinstall the nuts finger tight, then lower the jack and tighten properly.
Step 6: Lower the Car and Torque in a Star Pattern
Lower the jack until the tire touches the ground and the vehicle’s weight rests on it. Now tighten the nuts firmly in the star pattern, working across the wheel rather than around it. A lug wrench tightened by hand with steady pressure is enough to reach a tire shop; a torque wrench set to the figure in the manual is better. Recheck the nuts after roughly 50 kilometers of driving, since new fittings can settle.
Step 7: Know the Limits of Your Spare
Not all spares are created equal. A space-saver or compact spare is a temporary device, and AutoZone notes it should only be driven far enough to reach a repair shop, typically no more than 50 miles at speeds under 50 mph. A full-size spare can be treated more normally, but check its pressure first, because spares lose air sitting in the trunk for years. Run-flat tires can still go flat; they simply allow a limited distance at reduced speed.
If the car came with a sealant kit instead of a spare, read the instructions before use. Sealant is a get-you-home measure and often makes a proper internal patch impossible afterward, so tell the shop what was used.
Common Mistakes That Turn a Ten-Minute Job Into an Hour
The first mistake is jacking before loosening the nuts. The second is jacking at the wrong point, which damages the sill and can be expensive to repair. The third is forgetting the locking nut key. The fourth is tightening the nuts in a circle instead of a star, which can warp a brake rotor. The fifth is driving off on a compact spare at highway speed.
A less obvious mistake is ignoring the wheel afterwards. A wheel that took a hard hit can end up out of true, and the car may pull or vibrate even with a good tire fitted. If the steering feels off after the swap, a check of the suspension geometry is worth the money; this guide to tire alignment and the three angles that actually do your car explains what those angles change. Similarly, if the flat happened in snow, fitting a spare is only half the job; knowing when you actually need tire chains and how to use them right keeps the rest of the trip safe.
Practicing at Home Makes the Roadside Version Easy
The single best preparation is a dry run in the driveway on a sunny afternoon. Loosen the nuts, jack the car, swap a wheel, and put everything back. Ten minutes of practice turns a stressful roadside event into a routine. It also exposes problems in advance: a seized nut, a missing key, a spare with no pressure, or a jack that does not fit under a lowered car.
While the tools are out, check the tires themselves. Tread depth, sidewall cracks, and even wear patterns tell you whether the next flat is a matter of luck or maintenance. Uneven wear across a tire often points to alignment or pressure issues rather than bad rubber, and a set of running shoes for flat feet that actually helps rather than hype is a reminder from the fitness world that fit matters more than marketing; tires follow the same rule. Keep a small notebook in the glovebox with the torque figure, the tire size, and the date of the last pressure check. It sounds fussy, but it saves an argument at the shop.
When to Call for Help Instead
Some situations are not DIY. A flat on a busy highway with no safe shoulder, a car loaded with passengers on a blind curve, or a wheel that will not come off after honest effort are all reasons to call a professional. So is any flat that comes with damage to the rim, a torn sidewall, or a puncture near the shoulder of the tire, since those cannot be safely repaired. Modern cars with no spare and no jack leave little choice but a call.
Weather decides too. Changing a tire in freezing rain or in fast-moving traffic is a risk that outweighs the savings. A tow truck costs less than a hospital visit, and no schedule is worth standing in a live lane.
What to Do After the Swap
Drive slowly at first and listen. A rhythmic thump suggests a nut not seated or a wheel not flush. A pull to one side suggests pressure differences or alignment. Stop at the first safe place and recheck the nuts with the wrench. Then get the damaged tire assessed quickly: a simple puncture in the tread can often be patched, while a sidewall cut means a new tire. Keep the removed wheel in the trunk if it fits, or collect it from the shop later.
Finally, restock. Replace the flashlight batteries, put the gloves back, and check the spare’s pressure every few months. The next flat will come at an inconvenient time, and preparation is the only variable you control.
Conclusion
Changing a flat tire comes down to a fixed order: park safely, loosen the nuts on the ground, jack at the marked point, swap the wheel, and torque in a star pattern. None of it requires strength or special tools beyond what the car already carries. What it does require is a decision made before the emergency, ideally in a driveway with good light. Drivers who practice once handle the roadside version calmly; drivers who do not tend to learn the hard way. Check the spare this week, learn the jacking point, and the next flat becomes an inconvenience rather than a crisis.
FAQ
How long does it take to change a flat tire?
A practiced driver can do it in 10 to 15 minutes on a clear shoulder. A first-timer should allow 25 to 30 minutes, mostly because of stiff lug nuts and a heavy wheel. Practice in a driveway cuts the roadside time roughly in half.
Can I drive on a flat tire to the nearest shop?
Only if staying put is more dangerous than moving. Driving even a short distance on a deflated tire can damage the wheel and suspension, and a compact spare is limited to roughly 50 miles at under 50 mph. If the tire is fully flat, stop and change it.
Do I need to loosen the lug nuts before jacking the car up?
Yes. The wheel must be on the ground so it cannot spin while the nuts are broken loose. Loosen each nut about a quarter turn, lift the car, then remove them fully. Trying to loosen tight nuts on a raised wheel is the most common beginner error.
What if my car has no spare tire?
Many newer cars ship with a sealant kit or run-flat tires instead. Read the manual before you need it. Sealant is a temporary fix and should be reported to the tire shop, since it can complicate a proper repair.
How tight should the lug nuts be?
Firm and even, tightened in a star pattern with a lug wrench, is enough to reach a shop safely. The exact torque figure is in the owner’s manual, and a torque wrench is the only way to hit it precisely. Recheck after about 50 kilometers.
Is it safe to change a tire on a slope?
No. A car on an incline can roll or slip off a jack. Move to level, firm ground first, even if that means driving slowly a short distance on the flat. Set the parking brake and chock the opposite wheel before lifting.