
Have you ever noticed how some people can pile on five chains, three rings, and a wrist full of bangles and still look polished, while the same combination on someone else reads as a tangled mess? The difference is rarely the jewelry itself. It is the order in which the pieces go on, the spacing between them, and the discipline to stop before the stack starts wearing the person.
Layering jewelry is a skill, and like any skill it has a sequence. This guide walks through the process the way a stylist would: what to prepare before you start, then the steps in the order they actually happen, each with the result you should see. Troubleshooting comes after, because most layering problems are predictable and fixable in under a minute.
What You Need Before You Start
Stylists rarely begin with a shopping trip. They begin with an inventory. Pull every chain, ring, and bracelet you own onto a flat surface in good light. A white towel or a sheet of plain paper works well because it shows metal color and texture honestly.
Sort the pieces into three loose groups: delicate (thin chains, small pendants, slim bands), medium (chain links, signet rings, cuffs), and bold (chunky chains, wide cuffs, statement pendants). This sorting does most of the creative work before you have clasped a single piece.
You also need a mirror at chest height, a lint-free cloth, and a small dish for pieces you reject mid-process. Keep the dish close. Most bad stacks happen because people leave rejected pieces on and convince themselves they work.
One more piece of preparation matters more than any product: decide which body zone will lead. A stack looks intentional when one area carries the visual weight and the others support it. If the neck is the star, the wrists stay quiet. If the wrists are loaded with bangles and cuffs, the fingers can take a backseat. Trying to make every zone equally loud is the single most common reason a layered look fails.
Step 1: Build the Necklace Base Layer
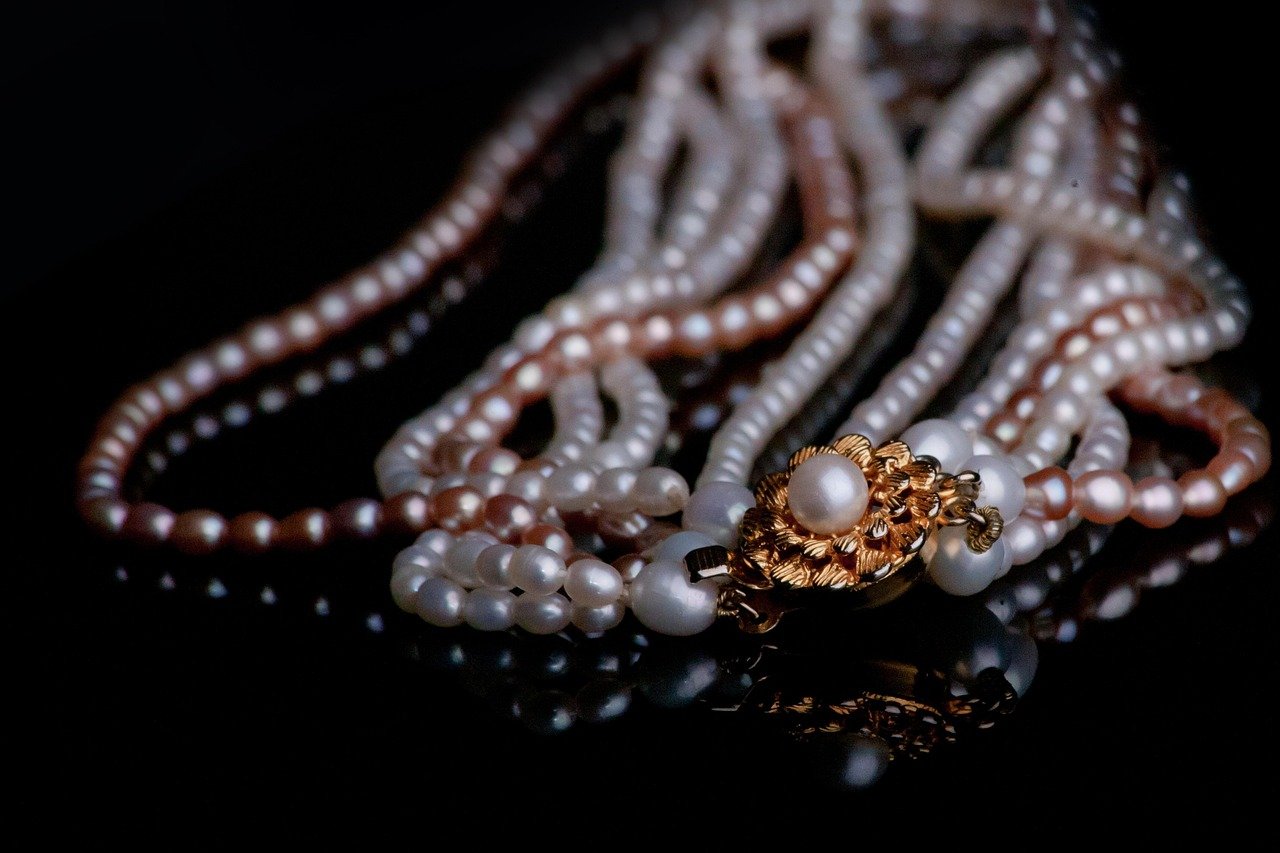
Start with the shortest chain, the one that sits at the base of the throat or just below the collarbone. This is the anchor, and it should be the piece you would wear alone without hesitation. A fine chain with a small pendant or a plain box chain both work.
Expected result: a clean line at the top of the chest that defines where the rest of the stack will hang.
The base layer does two jobs. It sets the neckline’s visual starting point, and it gives the longer chains something to relate to. Without it, longer layers float and the whole arrangement looks unfinished.
Step 2: Add Length in Deliberate Tiers
Now add the second chain, and make sure it lands at least two finger-widths below the first. This gap is what creates dimension. When every necklace sits at the exact same spot, the stack tangles both visually and physically.
The third chain, if you use one, should drop another clear step lower, often ending in a pendant that sits at the sternum or below. Stylists often describe this as a rule of thirds: at least three necklaces at different lengths, with varied motifs rather than a matched set. Resist the urge to make every layer identical. A plain chain, a small charm, and a single pendant tell a better story than three copies of the same idea.
Expected result: a staircase of metal down the chest, with visible space between each tier.
If you are unsure whether the spacing works, photograph the neckline in a mirror. Gaps that look generous in person often look cramped in a photo, and the camera is a harsher judge than the eye.
Step 3: Mix Metals and Textures on Purpose
Once the lengths are set, vary the finish. A polished chain beside a brushed one, or a warm gold tone next to a cool silver, keeps the stack from reading as a single flat mass. Mixing metals is no longer a rule violation; it is one of the fastest ways to make a layered look feel personal rather than purchased as a set.
Expected result: the eye moves across the stack instead of sliding over it.
There is a practical limit. Two or three metal tones read as deliberate. Five read as accidental. If you love both gold and silver, repeat each tone at least twice so the mix looks like a decision rather than a leftover.
Step 4: Stack Rings From the Index Finger Outward
Move to the hands. Begin with the index or middle finger, placing your most substantial ring there, then work outward toward the pinky and inward toward the ring finger with progressively finer bands. This creates a natural taper across the hand.
Expected result: a hand that looks balanced from knuckle to knuckle rather than heavy on one side.
Two rules keep ring stacks comfortable. First, never stack a wide band directly against another wide band; put a thin band between them so the fingers can still bend. Second, leave at least one finger bare. The bare finger is what makes the rest look chosen.
For readers thinking about how small details change a whole look, the same principle that applies to brow grooming applies here: the before-and-after difference comes from proportion, not from adding more. The way eyebrow shaping before after results actually look like is a useful parallel for anyone learning to judge subtle visual balance. (Best ramen recipes build bowl that tastes like real bowl)
Step 5: Balance the Bracelets Against the Watch
Bracelets are where most stacks tip over. Decide first whether a watch is part of the look. If it is, treat the watch as the anchor of that wrist and add one or two delicate pieces on the same side, keeping the opposite wrist nearly bare.
Expected result: a wrist that looks curated rather than cluttered.
If there is no watch, build a stack of three to five pieces with mixed weights: one rigid bangle, one chain bracelet, one beaded or corded piece. Rigid and soft textures next to each other prevent the tangle that happens when several loose chains slide over one another.
A useful test: shake your wrist gently. If pieces clink and catch, remove one. Bracelets should move together, not fight.
Step 6: Check the Total Balance and Edit
Stand back from the mirror at arm’s length. Look at the neck, hands, and wrists together. One zone should clearly lead. If two zones compete, remove a piece from the quieter one, not the louder one, so the lead stays intact.
Expected result: a finished look where the jewelry reads as one decision rather than several.
This is the step people skip, and it is the step that separates a stylist’s work from an enthusiastic pile. The edit is not a failure of the stack. It is the stack.
Common Mistakes and How to Fix Them
Everything at the same length. The fix is simple: shift one chain up or down by a clasp extender or a different chain. Two finger-widths of separation solves most tangles.
Matching sets everywhere. A matched necklace-and-earring set layered with more matched pieces looks like a catalog page. Break it with one piece in a different texture or era.
Ignoring the neckline. A high crew neck compresses the space available for chains. With a turtleneck, longer chains over the fabric work better than short ones tucked underneath. Layering is seasonal too; transitional weather, when a jacket comes off at midday, rewards a two-chain setup in the morning that grows to three by afternoon.
Forgetting the hands during daily tasks. Rings and bracelets take real wear. If you cook, type, or work with your hands, keep the stack on the non-dominant side lighter. The same practical thinking that goes into layering makeup so it lasts all day without caking applies to jewelry: build in thin layers that can handle the day, not one heavy application that collapses by noon.
Wearing the stack only for occasions. The best layered looks are built over time from pieces the wearer actually loves. Stacks that start with something meaningful tend to look effortless because the combination is genuinely personal rather than assembled for a photograph.
Skipping care. Humidity, sweat, and perfume all affect how metals wear. Wipe pieces with a soft cloth after wearing, keep chains clasped and flat to prevent knots, and store silver away from open air. A stack that looks dull is usually a stack that needs a clean, not a redesign.
How the Zones Should Relate
| Zone | Leads when | Stays quiet when | Typical piece count |
|---|---|---|---|
| Neck | Neckline is open or plain | Statement earrings are worn | 2 to 3 chains |
| Fingers | Hands are the focus, nails done | Wrists are loaded | 3 to 5 rings across 2 to 3 fingers |
| Wrists | Sleeves are short or pushed up | Watch is bulky or neck is busy | 3 to 5 mixed pieces |
The table is a starting point, not a law. The principle behind it is what matters: one lead, the rest support.
Conclusion
Layering necklaces, rings, and bracelets well comes down to sequence and restraint. Sort by weight, anchor the neck with a short chain, build downward in clear tiers, mix metals deliberately, taper the rings across the hand, balance the wrists against the watch, and then edit until one zone leads. None of these steps requires new purchases. Most require only that you put a few pieces back in the dish.
The stylists who make it look easy are not wearing more jewelry than everyone else. They are wearing fewer pieces, spaced better, with the confidence to stop. Start with two chains, one ring stack, and three bracelets. Once that combination feels natural, adding a fourth layer becomes a choice rather than a gamble.
Frequently Asked Questions
How many necklaces is too many to layer at once?
Three is the practical ceiling for most people, and two is often enough. Beyond three, chains begin to compete for the same visual space and tangle more easily. If you want a fourth layer, make it a longer pendant that sits well below the others so it reads as a separate statement rather than another rung on the same ladder.
Can you layer gold and silver jewelry together?
Yes. Mixing metals is a standard styling move rather than a mistake. The trick is repetition: wear each tone at least twice across the stack so the combination looks intentional. A single silver chain among four gold pieces can look like an accident, while two silver and two gold pieces look like a plan.
What is the rule of thirds in jewelry layering?
It is a guideline for necklaces: wear at least three chains at three different lengths, with different motifs rather than a matched set. The varied lengths create visible tiers, and the varied motifs keep the eye interested. The number three is less important than the spacing between each layer.
Should bracelets go on the same wrist as a watch?
Usually yes, with restraint. Treat the watch as the anchor and add one or two delicate pieces beside it. Keep the opposite wrist nearly bare so the look stays balanced. If the watch is large or chunky, skip the extra bracelets entirely and let the watch carry that wrist alone.
How do you stop layered necklaces from tangling?
Separate the lengths by at least two finger-widths, mix chain weights so the pieces do not slide identically, and consider a clasp extender to fine-tune placement. Store chains clasped and laid flat rather than dropped in a bowl. Physical tangling is almost always a spacing problem, not a clasp problem.
How do you make a jewelry stack look personal rather than store-bought?
Start with pieces you already love and wear often, then build around them with contrasting textures and one unexpected element, such as a vintage ring among modern bands or a single charm that means something. Avoid buying complete matched sets. The stacks that photograph best are the ones assembled slowly from pieces with their own history.